
Steps Install
 |
| Section 30 |
A majority of this was completed by the quickbuilders so it's not really a time sink, really all that's left is pushing in the actual steps and bolting them in place. However slight problem with my kit as I didn't get the two AN3-20A bolts used to final attachment. They are typically shipped holding a temporary bar in place... however that wasn't the case with mine and holding my temporary bar in place were crate wood screws instead, no big deal Vans just had to send me a few.
During nightly research reading session I learned that there have been cases of these steps becoming loose over time. A few solutions builders like to do is to install inspection panels made up of the stall horn access plates so you can visually inspect the bolts and tighten if need be. These panels don't allow you to take the screws out so I don't really see the point. Also continually tightening the bolt will just space the pipe, so I went with a different solution.
I bought Step Bushing from TCW technologies which more or less fill in the space allowing a tighter more secure fit. I literally was able to push the bushings down into each step using a hammer, piece of PVC and a string (In case you have to pull it back out). Then it's a matter of torquing the bolts down to spec and moving on. If there comes a point where I need to visually inspect this area I can retro fit an access panel, much like I did on the wing.


Fuselage Conduit
As with the wings I struggled a bit on how to route the conduit. Then I found a Matronics post with some great pictures, even reached out to Carl Froehlich for some clarification. In the end I did a total of 6 (3 each side) runs using the flex pipe from Vans. Where I needed to drill 3/4" through the seat panels and ribs I made some doublers. Probably didn't need them but gives it a cleaner look in the end.

Drilling these were not easy


 |
| Drilling these were not easy |


Sound Proofing/Insulation
Some say you don't need it, some say you do... I decided I do despite flying with a fantastic ANR headset. The product I went with was 1/2" Self adhesive foam from Soundproofing.org. I suggest going through them because for whatever reason ACS really ups the pricing going from 1/4" to 1/2". I ordered 20' worth, and it's too early to tell if that's enough or over kill but so far it looks like I should be able to do the cabin side of the firewall and the walls. I can't take credit for the install though, that's being done by my wife who has found her niche in aircraft construction.

Another place I've added insulation is under the front floor boards. Since I wasn't able to remove the floor panels due to the gear weldment I decided to just spray foam instead. The aviation section of Home Depot has some fire resistant canned stuff that worked well. Just place some paper or tape or something under the rear holes and get to spraying. After shooting a can under each side let it cure for a day and cut out any excess that squeezed out.


It's the orange stuff


 |
| It's the orange stuff |
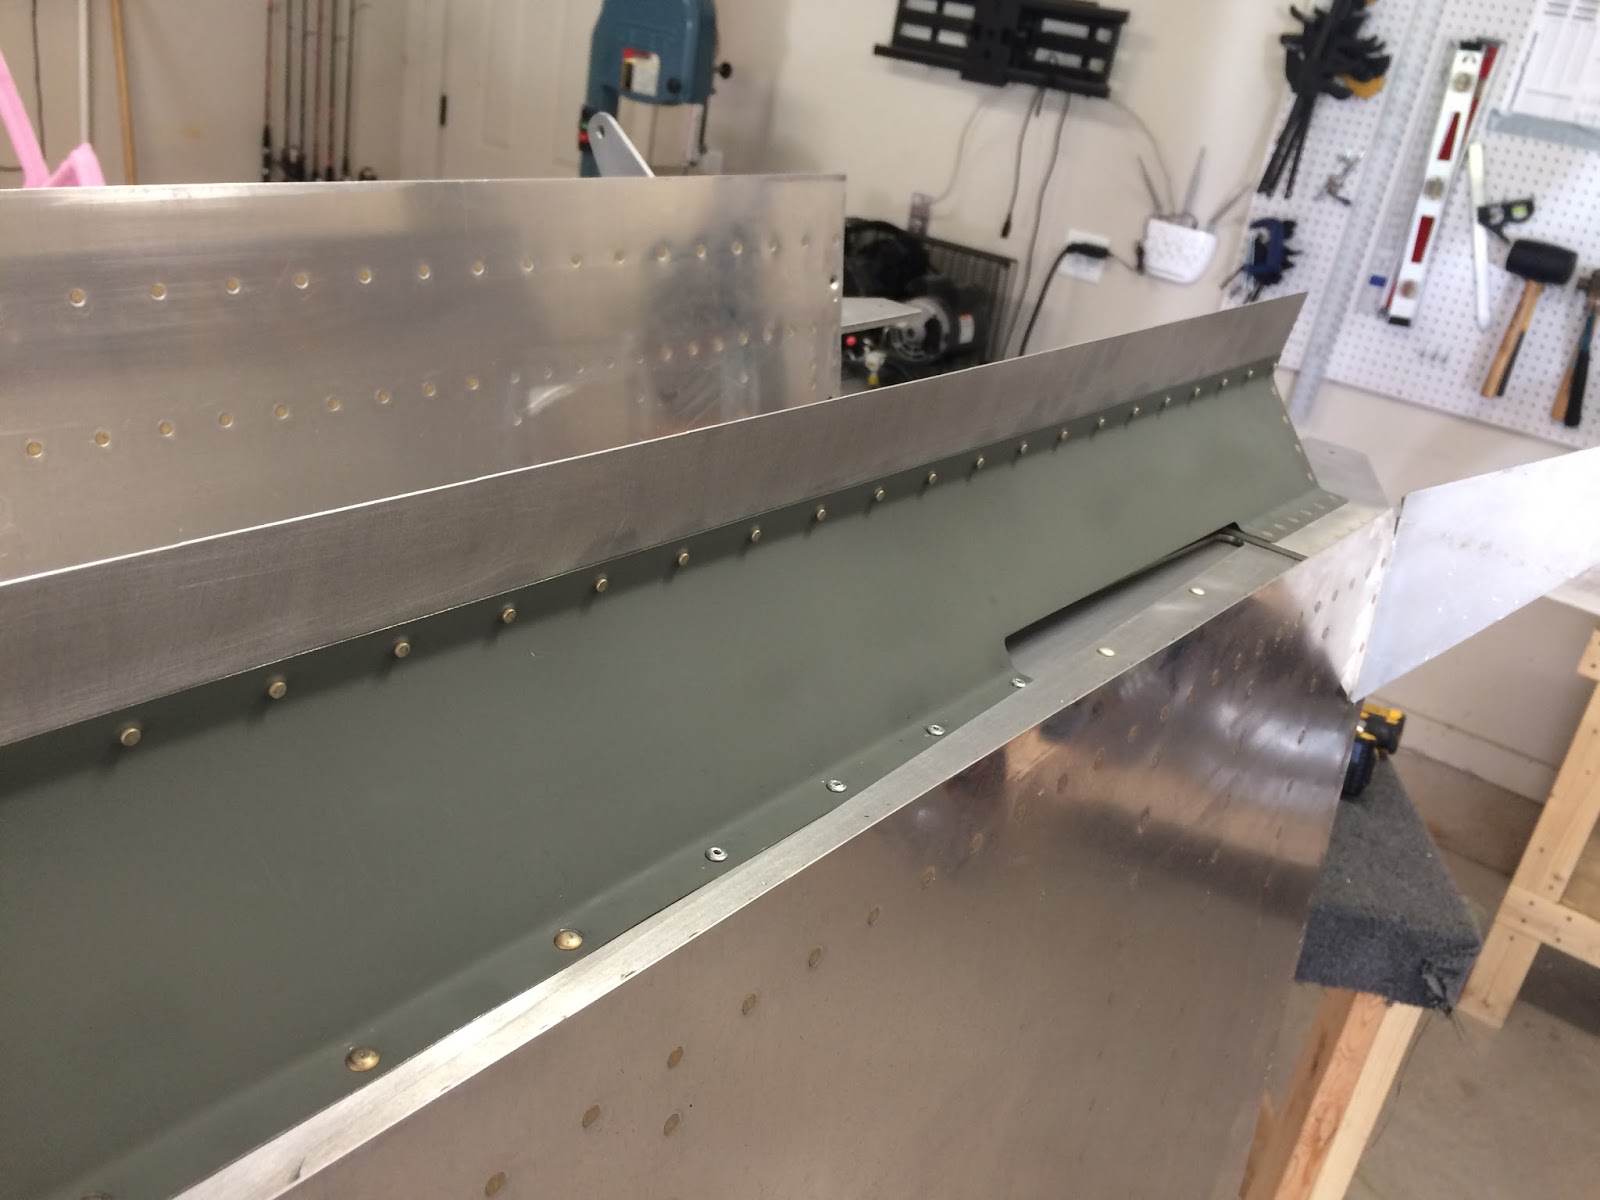
Baggage Area
 |
| Section 33 |
The baggage area was an on again, off again piece of work that I've been cracking away at for a bit. There's some decisions that you have to make such as conduit, soundproofing, step and other odds and ends posted above prior to riveting down the floor boards.
The plans also separate out QB vs Standard build actions however maybe the guys in the Philippines were working off a different set of plans because they missed a number of items. Not a huge issue just need to double, triple check what was supposed to have been done was indeed complete. The rest of the actions required isn't anything challenging but does take some time. There's a lot of drilling, a lot of nutplates, a good bit of riveting and such.
I did borrow a friends pneumatic cherry rivet gun to try on the floors. Here's a picture of it...

It actually takes a bit to get used to. You need to make sure you have the correct end on it, I had an end that was for more of a LP rivet so when I ran some CS rivets it rounded the top requiring me to drill them out. After about 10 mins you get the hang of it and you can whip through pulled rivets like nobody's business. There are still areas though where the cramped spaces require you to use a traditional hand riveter.
Below are some pictures of the progress at random points...


 |
| Those bushings are to protect the panels from the seat belt cables |
 |
| That's the baggage area completed |


