|
| Section 45 |
If you've done it yourself or have followed anyone's build you'll know that the doors are a dreaded step in the build. I'm about 50 some odd hours into section 45 and probably have a good 50-100 hours to go till completion. Need a bit of attention to detail to work through the section and should ask questions if you have any. Mess ups not might not come around till later and then you will end up having to back track.
I'm moving a bit out of order in this section. For example where I'm sitting right now is preparing to glass in the windshield. Per the plans this is typically done post door finalization, however waiting on some after market parts to do the door functioning mechanisms. It's a non issue but wanted to throw that out before I continue through this. Also will probably be more pictures than writing, you spend a lot of time on small parts of the plans.
Cabin Doors
This jist of the doors is you take the parts Vans sends you, rough cut and line up to a series of index holes. Not my index holes were a bit off so as long as you can get the front and the back to line up it all works out. After initial trimming and test fitting I added some insulation and then glued them together.
 |
| Free Child Labor |
 |
| Free Adult Labor |
 |
| Ready for some brackets and then glue |
 |
| More kid labor |
 |
| Insulation before glue, didn't install where door mechanism will go. |
Parabeam material from Vans. Interesting stuff
My middle kid was a huge help on gluing the door halves together. She walked into the garage at the wrong time and I quickly recruited her. I used a mess of tape to hold these things in place, checking and triple checking. At this point if they are way off then you're pretty much going to start over with a new set.
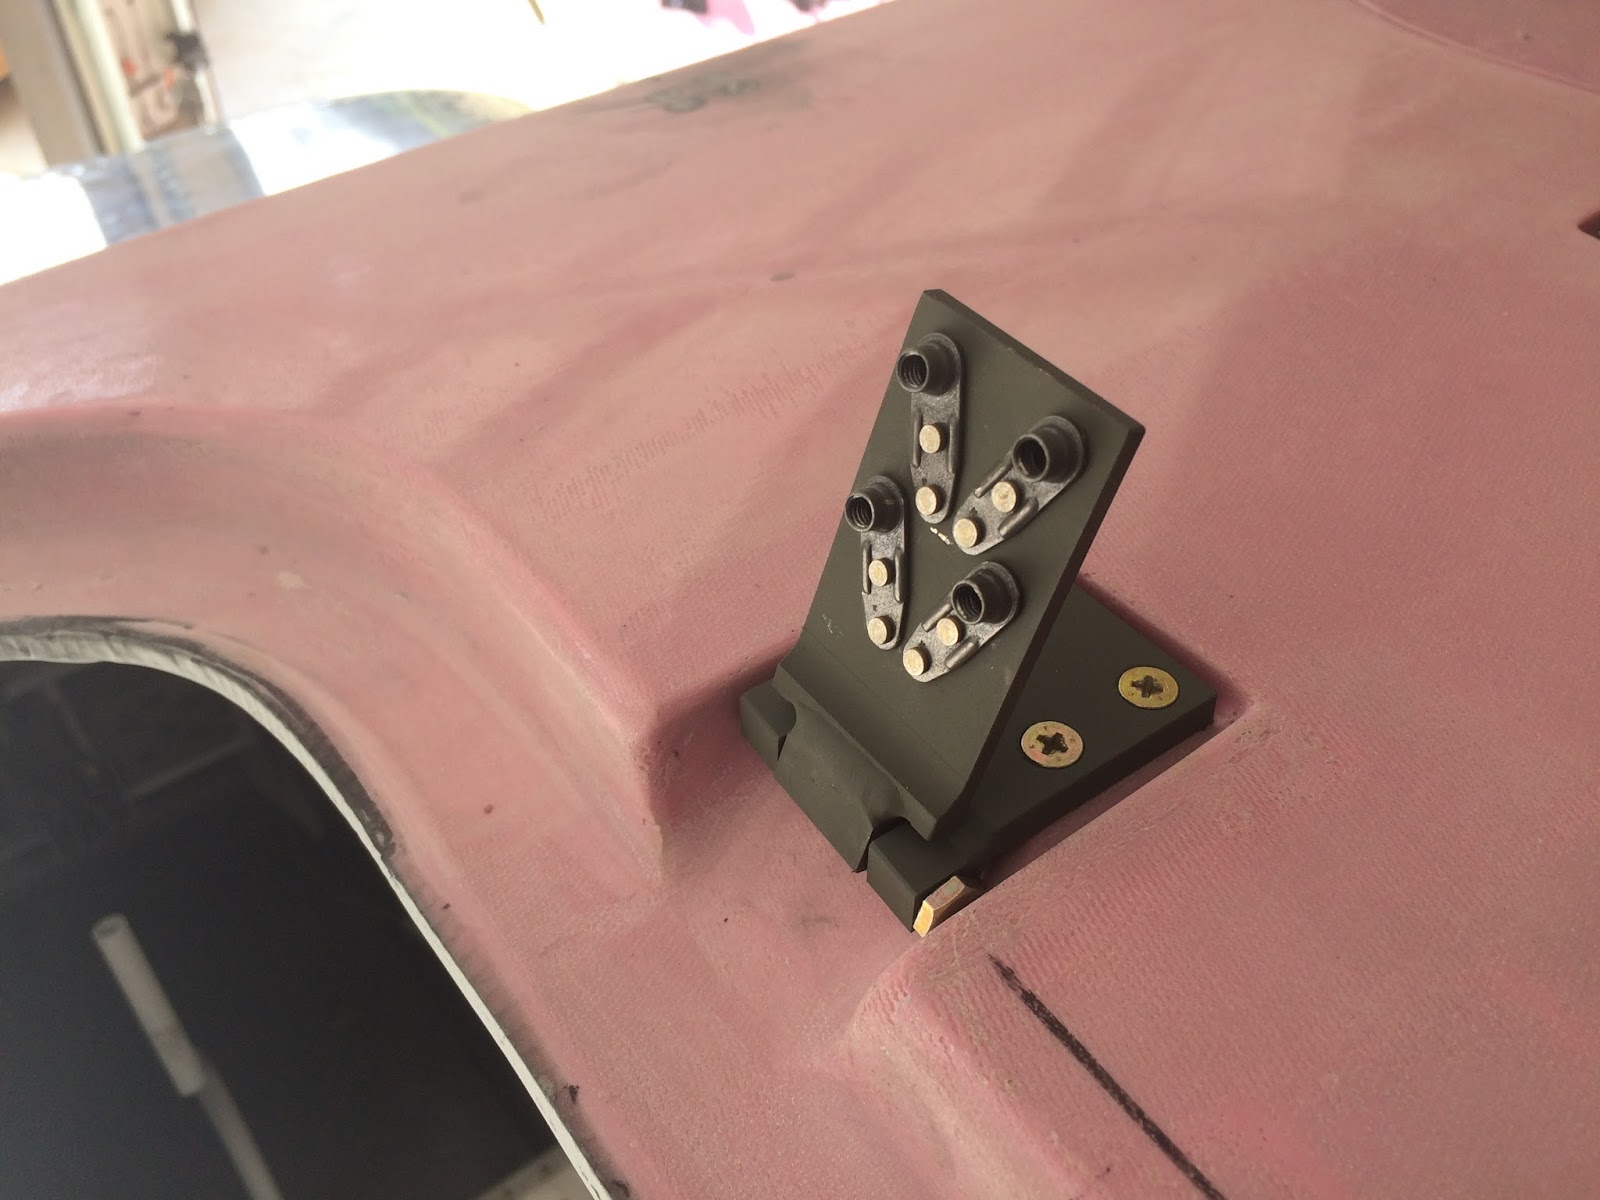
After epoxy cures you can then remove and trim up. After I could get them to set in the door cabin recess I made new brackets to hold them in place aligned with the index tabs. These were used to align and get the door hinges together.
Typical to using the McMaster door seal is the modification of closing off the door hinge gap as well as using nutplates. Here are pictures of that activity.
Transparencies
In between some things I got working on the transparencies, this includes the windscreen fit, rear and door windows. I also painted the glare shield which I plan to cover at some point also. I went ahead and touched up the center brace since it got scratched fitting the wind screen. I used Lord Adhesive to attach all transparencies and am now in the process of taping out and finishing up the outside of these to make them look good. Also have prepped the windscreen area for all the layups and filler on that.
 |
| Final Fit Windshield |
 |
| Current State, oh I put the engine mount on too... |
The above picture shows the planes current progress. I have a lot to do and just for reference here's a quick checklist to finish this section.
- Install Aerosport door handle and PlaneAround latch system.
- Get final 3/16th or so reveal around door.
- Do windscreen transition and layups
- Sand, fill, sand, fill, sand.... the area's around the transparencies and any areas I want to look better
- Finish and paint inside of door.
Hey only 5 things but like I said in the beginning certain tasks such as the sand, fill repetitive process will take weeks if not months!