Tuesday, December 1, 2015

Cessna Annual and Tailcone Part 2

Cessna Repair

A tad bit off the subject of the RV-10, however it's relevant to the education process of building a plane in general.  December means its time for the annual inspection on my second favorite project plane, a 1977 Cessna 172N 180 HP conversion... for reference here's a before and after picture....

Before

After
Being a certified plane, and since I'm not an A&P I obviously didn't do much of the work.  Things like engine overhaul, exterior paint, sportsman STOL, new windscreen, avionics, etc were all done by professionals.  However, I was able to redo the entire interior including some STCs and in the end it's a fantastic clean little plane.  She is also 40 years old that went from flying about 10 hours a year to over 150 hours over the last year.  So things are going to break.

I've remained fairly involved in the maintenance of the plane over the last year so no surprise to the A&P that I wanted to be involved this year on the annual.  A lot of my contribution consists of doing small tasks, ordering parts, helping hold various tools or doing the grunt work. I find similar with the plane build I'm continually learning which is always a good thing. In fact, as an owner/pilot it's incredibly important to be involved with your aircraft.  Especially when it's something that carries your family and friends around in the sky.

On this year's annual there are some minor repairs, some new parts that were ordered and some items to keep an eye on.  On the lower cowl there were a number of rivets that have worked their way loose and in several spots fell completely out. One thing about having a fresh paint job is the loose or failing rivets are easily noticed.  I decided to use my new-found knowledge, tools and Vans rivets to see if I could fix it.  I had meant to take some action pictures showing the process, but it literally took me all of 10 mins.
  • Cleco'd the empty holes
  • Drill out loose rivets
  • Clean holes with #40 reamer bit, ScotchBrite, Acetone and compressed air
  • Rivet with gun and bucking bar... proper sized rivet is determined using gauge.
  • A&P inspects and is amazed at your structural mechanic skills!
Sorry for the dirty cowl....
That was all there was to it and I enjoyed putting my newly developed building skills to practical use on my current bird.

Tailcone

Now onto the RV-10 build. I had been looking forward to the tail cone for quite some time.  While the other parts are extremely cool, nothing beats looking down the end of the tail cone in all it's shiny gloriousness.
Pretty!
Getting to the above picture though took both time and patience as well as learning a few lessons on the way.  Here are a few things that I learned;
  • Cleco Management - I had ordered 300 3/32 (Silver) clecos at the start of this project.  Never really ran into any type of shortage issue until I got to the tail.  You have to start getting rather crafty in harvesting clecos from completed areas... take too much and you can't ensure alignment... don't take enough and you can't complete tasks.  My process was to start removing from the bottom then work to the sides.
  • 3/32 vs #40, 1/8 vs #30 bit - I was under the incorrect assumption that these were synonymous with each other.  I for whatever reason thought when the plans were telling you to use a 3/32 that that meant use a #40.  After a discussion on VAF my ignorance was pointed out and I was able to correct it.  The reason you drill once with a 3/32 and then again with a #40 is because this is done when you're overlapping two skins.  So 3/32 will get the first skin cleco'd in and the final drill with the #40 ensures a snug fit.
Following the plans from where I was last posting I had to make some very large longerons.  Now I had to reorder one of these because I inadvertently cut a bracket out of the long piece.  No excuse just overlooked, $14 for the part $25 for shipping.. easy fix.  I guess a good rule of thumb is really double triple check the large or long parts before you cut, drill or otherwise defile these.. because shipping them is expensive.  Working with the piece was fairly simple, just required you to cut to length, put a few notches in them and then hammer a bend in it.  The bend correlates to a change in curvature of the skin.


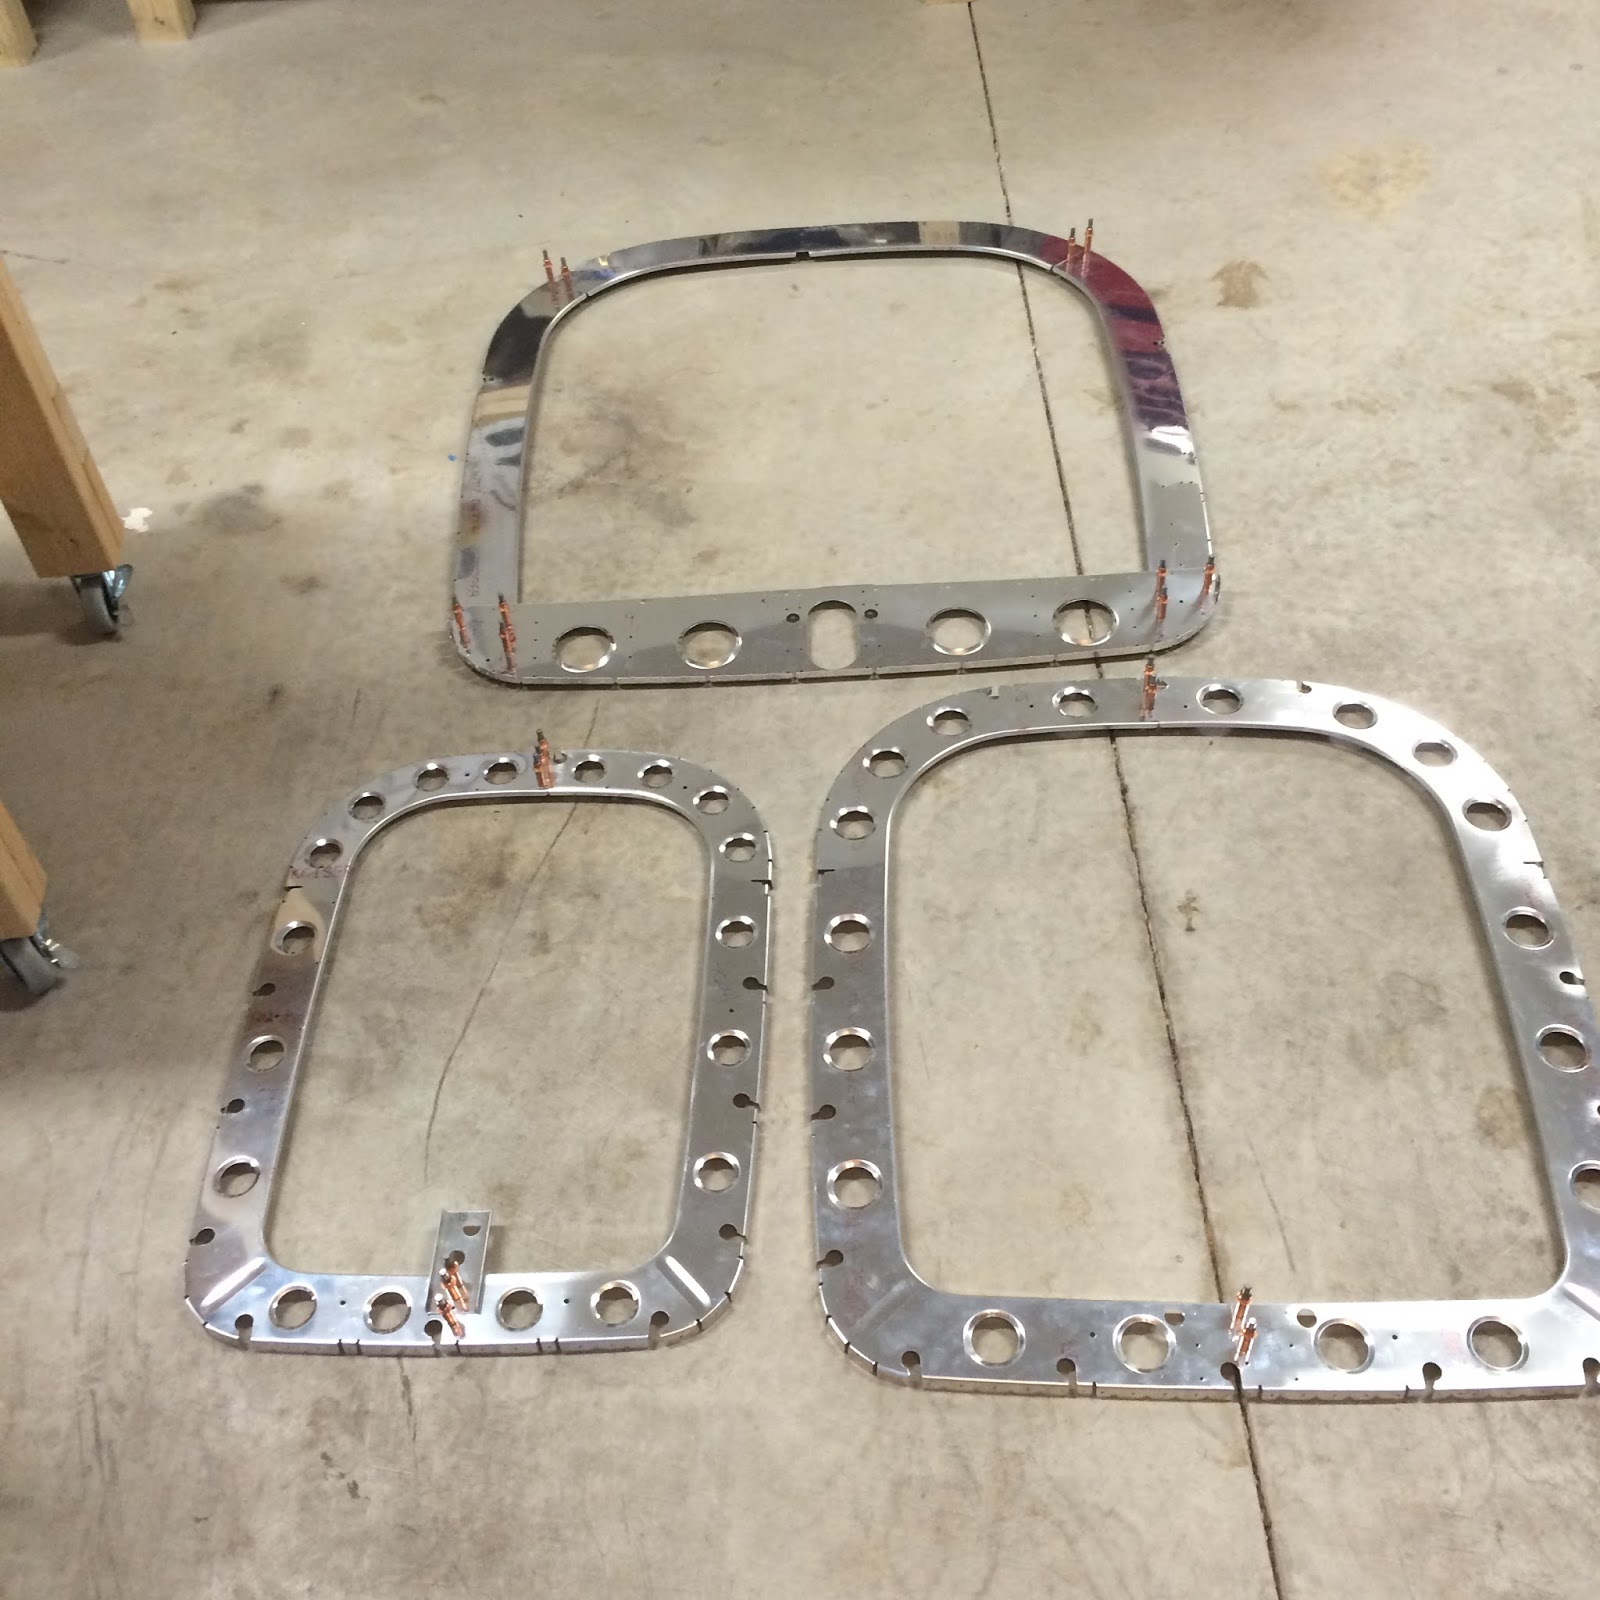
Now comes the action!  You start clecoing the frame ribs to the base of the tail.  Lacking saw horses I tried several methods of working with the pieces.


This was the winner in the end.
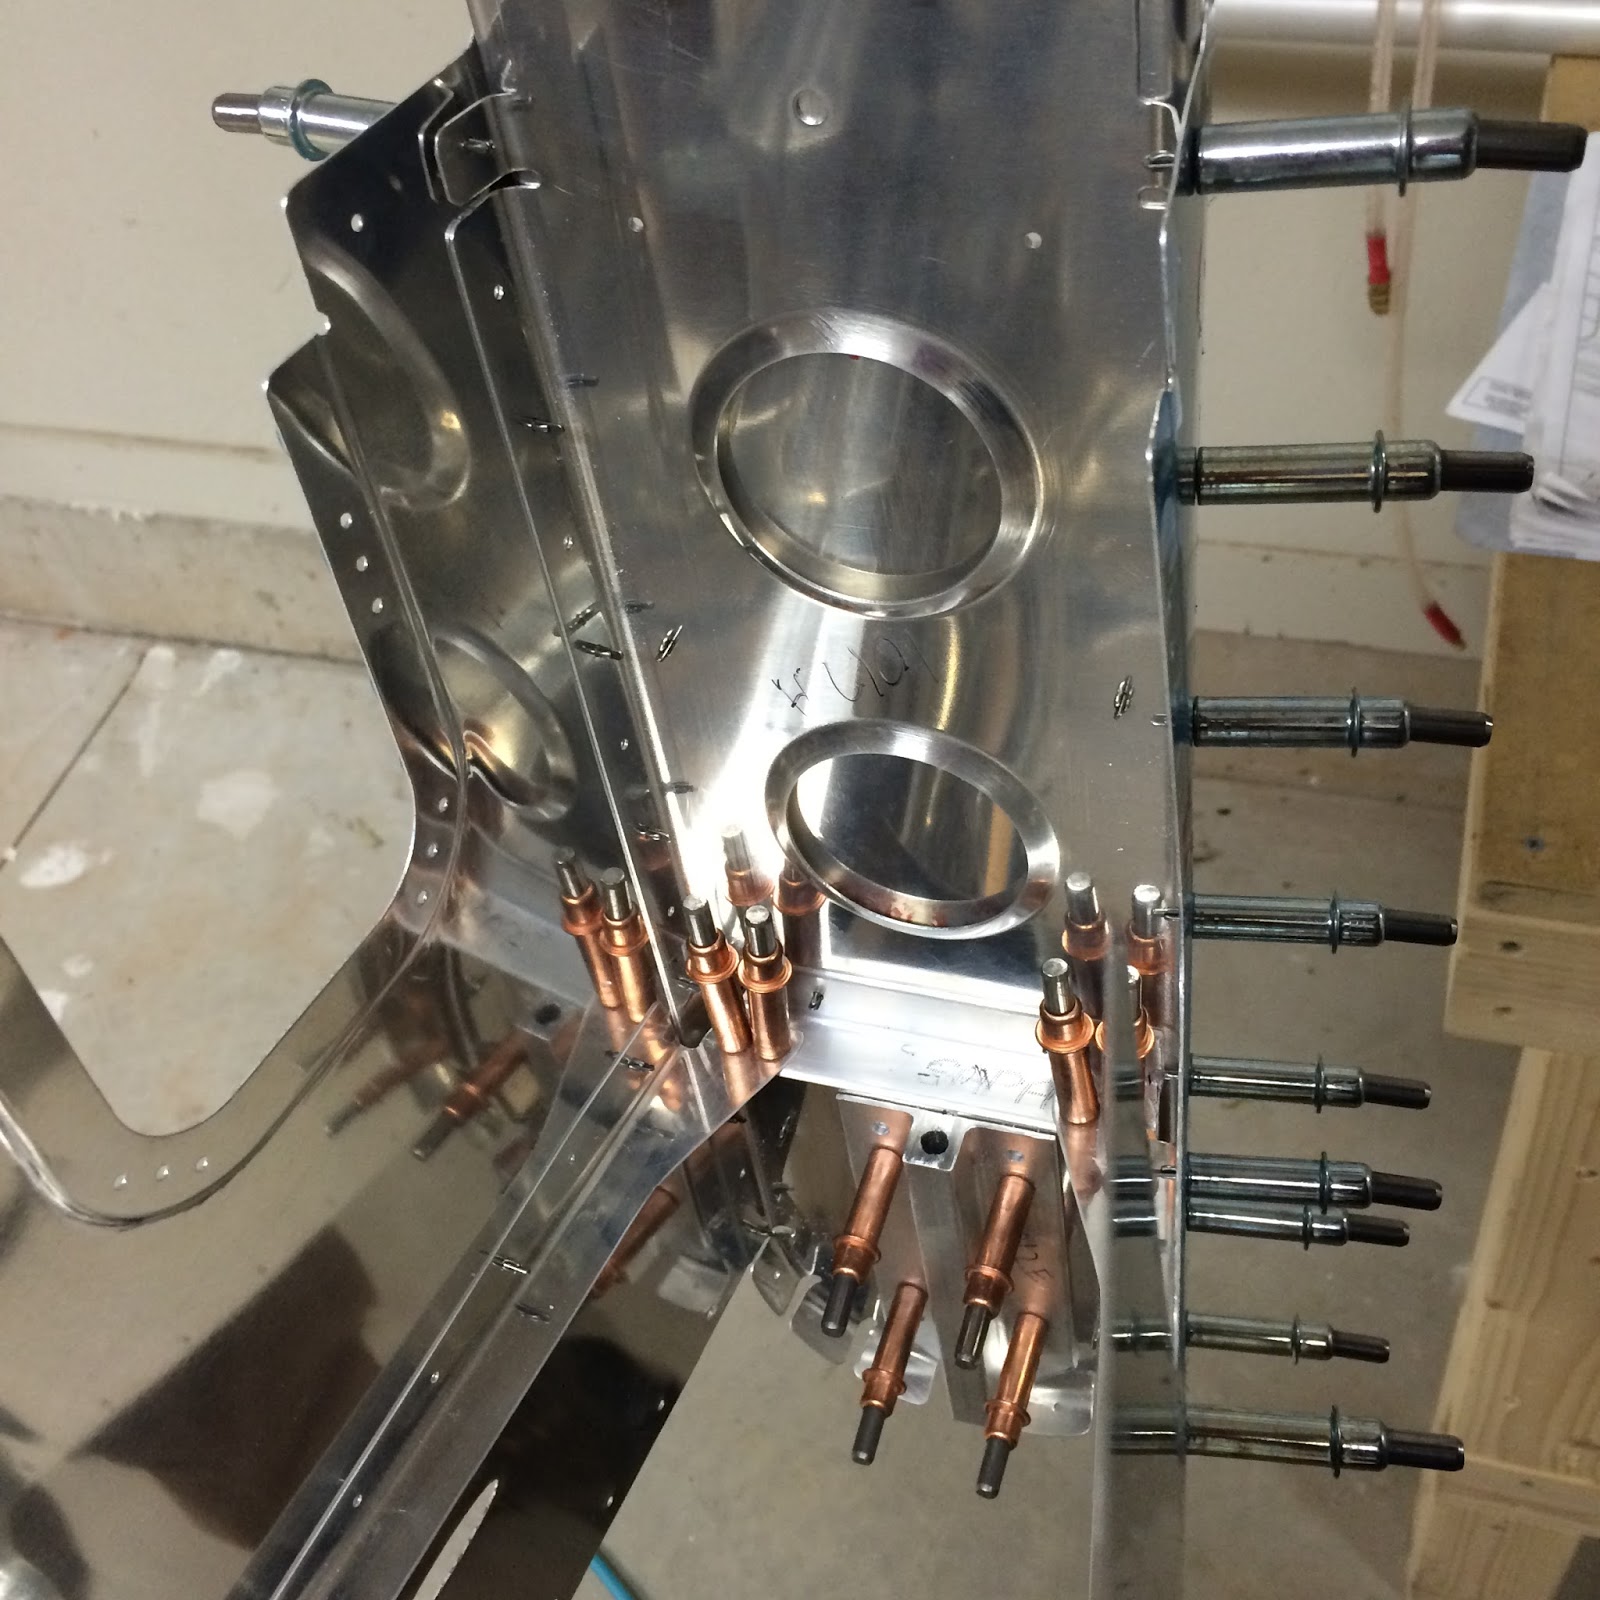
This process consists of a lot of match drilling and clecoing, using this many clecos in the beginning you'll start to realize fairly quick that you're going to run out... unless you bought maybe 500 of them. The jframe pieces you made start going in and you start attaching the sides as well.  No major issue just again time consuming and you really need to pay attention to the lines you drew on the pieces to ensure they line up correctly.


Reminds me of a canoe
After the sides and ribs are attached you finish up attaching the aft end tail assemblies you made previously.  It is very important that these are somewhat level.  If they're not then you probably have something misaligned and you'll want to fix that later.  This level is cool, but these are cooler.  I actually picked one of the Smart Tool level but it didn't come till after I took this picture.  I did go back and I learned the piece was off by 3 10ths of a degree... my bench is off by 1.4 degrees and my floor is off by 4 10ths of a degree, but I think that's by design.  I found myself walking through my house checking various services for levelness....


Hard to tell in the picture but this part is you make some more brackets and attach them to the bell-crank ribs.  Not to give it away but as you can tell by the perfectly countersunk holes this will end up being an access panel for this area.


After you have some rigidity to the tail you are able to put the rest of the aft piece in place.  This includes match drilling to 3/32  the longerons to the side skins.  It's extremely snug when you do this and your hand will be in some pain afterwards from pushing in the clecos.

It all goes together very nicely, however don't forget to put the small skin piece under the tail tie down area.  For whatever reason I missed this and didn't discover it until I was looking over the plans in bed and immediately went to the garage and corrected it.  Nothing major because I hadn't match drilled it yet and it didn't affect the leveling at all.


You get to a point on the tail cone assembly where you can't work on it sitting on a work bench anymore.  Unless I suppose you're freakishly tall which in that case you might not fit in the plane when it's completed anyhow.  I'm not a fan of just setting stuff on my garage floor so I took the container my replacement HS spar came in and re-purposed it to a little platform along with some scrap ply wood.


Setting the tail on the platform allowed me to work through and attach the top skins, match drill and final drill everything together.  It becomes a little challenging to match drill the stiffeners solo so it helps to have an extra set of hands come either drive the drill or align the line in the holes.  In the end you have a pretty cool piece.

Not looking forward to taking this all apart....

Wednesday, November 25, 2015

Tailcone Started & Interior Paint Test

Tailcone

Section 10
Before starting on the tailcone build I wanted to clean up the work space a bit.  Mainly I wanted to utilize those above garage shelves to store all the completed pieces until I'm ready to mount them. I was able to get the stabs and control surfaces neatly put away .


Onto the tailcone... well the first step requires you to take a bracket and tap it for a 3/8th machine thread... problem is I don't have a tap set, my neighbor doesn't have a tap set and a buddy of mine has one but not sure he has one that large.  So I got online to fine one and it in my search I found that I could spend $25 for a quality tap and handle or I could pay $8 and just order the part already threaded from Cleavelandtool. Since I'm doing the Quick Build wings I only need one of these tie-downs but I did go ahead and get 3 powder coated tie down rings from them as well.


The next several pages of the plans deal with shaping some pieces and starting to form up the substructure parts.  I had some foul ups on match drilling some parts.  Was able to just make another piece and move on.  When dealing with the Jchannel material you'll have some excess that allows you to do this so if you mess up on it go ahead and cut another piece from the end of one of the shorter pieces.


I set the above pieces aside and then got working on the ribs and jchannel pieces.  The ribs require a substantial amount of deburring.  I also went ahead and put some flutes in just to help keep the pieces flat.  After that just position and match drill the pieces... interesting note is apparently there were some steps removed because on one of these the plans jump straight to Step 3.


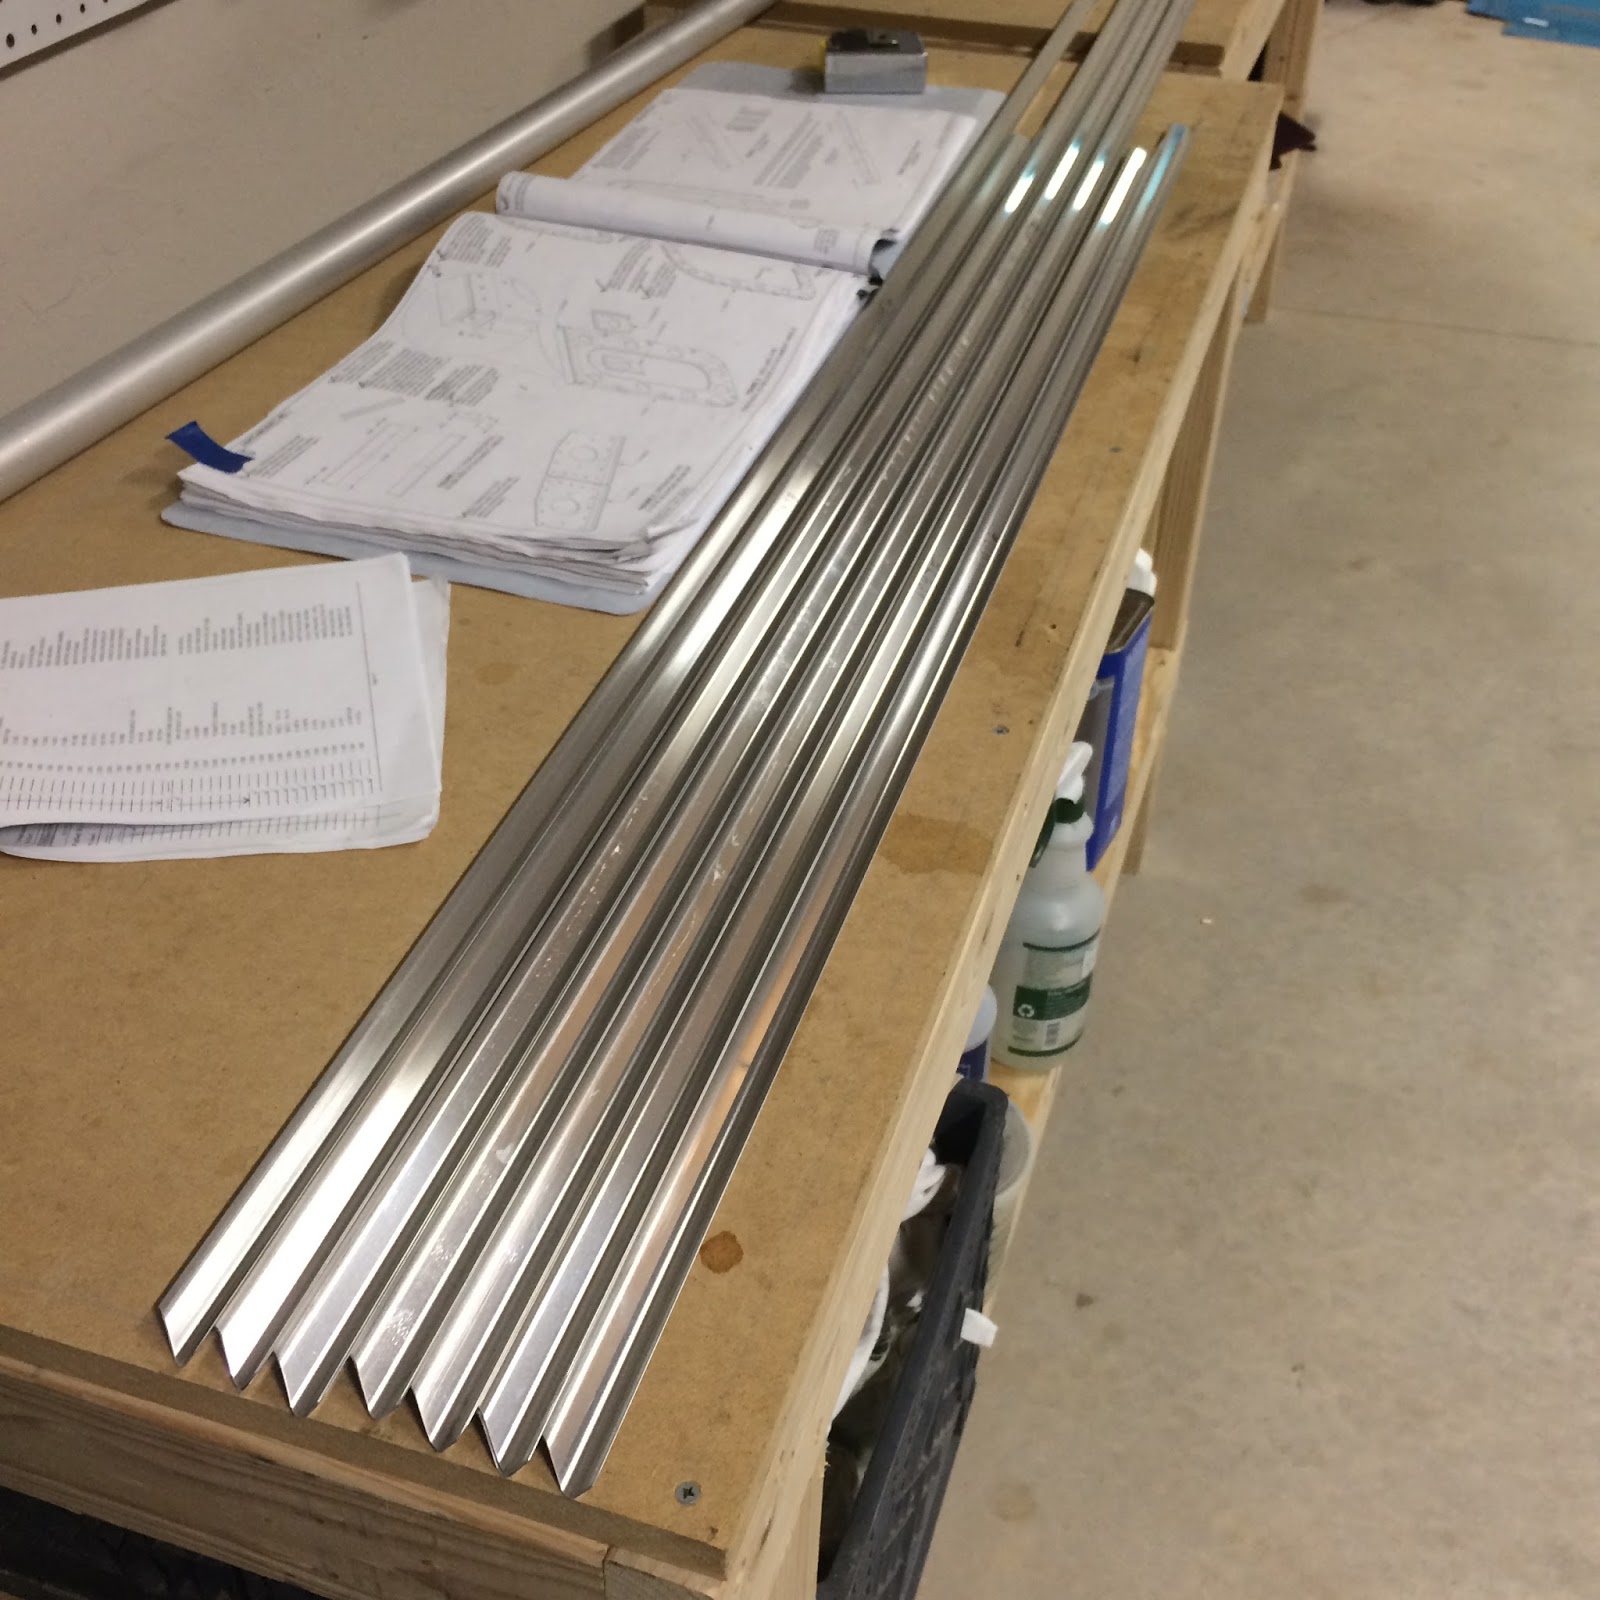
The Jchannel pieces are fairly time consuming.  Each piece has to be cut to length, have each end cut on a 45, deburred and then a series of lines drawn on the back side for positioning later.

12 pieces overall, some are stacked.

Interior Paint Test

Another note of endless debate is what to do with the interior of the plane.  You can keep it aluminum, use one of the many primer choices available or in my case you a shake can(s) of Rust-Oleum all over the place. You might be able to source the paint local but I didn't have any luck.  Prior to committing to a case (6 cans) from one of the big box retailers I wanted to get a single can to test it out.

This came as a suggestion from a plane builder who did similar on his RV-8.  An RV-8 is going to have a lot more metal showing than an RV-10 but I wanted some consistent coloring just for aesthetics. On top of that using a shakey can of spray paint makes for easier touch-ups as things get scratched or you make changes down the line.

One of my mistake pieces had already been primed before I discovered my issue so I used that as a test piece.  Did multiple coats from 1 - 4 light coats along the piece and settled at 3 light coats being the best.  Any less and the primer comes through, any more and it's not noticeable. 

Happy with the color
I'm going to give this a week or two of cure time and then abuse it to see how it deals with scratching, twisting, etc.  If all works out I'll order a few cases and my plan is to paint the entire interior of the tailcone and the fuselage pieces down the line.

Sunday, November 15, 2015

Trim Tab done, Elevators Complete

Trim Tab

The trim tab is a bit deceiving.  It consists of 5 aluminum pieces and 3 foam ribs each.  This was something I thought would take a few hours, maybe 5 at the most when including priming.  That was not the case, took close to 15+ hours when all was said and done. Some of the additional time sink items are making a couple wood forms to help hold the pieces together. Also, the home made metal brake that I mentioned before.


The first part really just deals with taping out the area to sand on the inside of the skins to ensure proper rib adhesion.  Then you get to use the brake to bend the skin more and then it's the typical deburring and cleco'ing routine. While a bit time consuming and at first somewhat confusing, there's really only one way to get it put together.

Still thinking this was going to be fairly quick I got to the point where you need to bend the side taps of the skin.  I tried following the directions in the plan and after struggling for close to an hour I seriously botched up one of the skins.  It looked as if I had just hammered it randomly with the rivet gun going for some type of aged look.  I picked up more phone right away and ordered a replacement... another $20 lesson learned.

I did some research on the boards and seemed there were some others that had issues with this step.  Some made some jigs, others reverted to the same method used on the elevators.  I decided that's what I would do but first I went to my neighbor's house now referred to as 'Hood' Depot, to score some hard wood scrap.  I took 3 oak pressed 1/4 boards and glued them together overnight.  Then I cut a bit of an angle on them, cleaned them up and used these as the backing for the bend.

Took me a while to do the first bend but once I got the placement and the method down I was able to complete all of them quite easily.  I started with a piece of wood to get the bend going, then finished up with the rivet gun on a very very very low speed.  This helped just secure the bend and not give it that aged hammer look.  I put each in the brake and weighted it down for about 12 hours just to help keep the bend in place.  Probably didn't do anything but I was done for the night and knew I wouldn't get to working on it for another day or so.


This trim tab contains some metal bracket pieces you have to cut a bit off before you can use.  Curious again why theses come like this, are they from another kit? Anyhow I've developed a certain level of skill at using the bandsaw and grinder to get the proper form.  After I completed them did the test fitting to the skin.  Then you match drill everything up and go through the dimpling process. All the pieces looked great.


On to priming, Prekote the pieces over lunch allowing me to set them out to air dry for about 5 hours.  After work I got right outside, mixed the primer and did my spraying, coming inside between coats so I didn't feel rushed to keep spraying.  Priming at a minimum takes about 2 hours no matter how small the batch is.  A lot of that is just waiting for the priming to 'pot' for 30 mins or the 10 mins between coats.  I do about 2 coats per side, then check for any missed spaces usually requiring another 2 coats on those spots.  So all in all that's about an hour of spraying... then you have the Precoat process on the front end and cleaning on the back end... so about 2 hours.


After letting the primer dry for about a day it's time to start getting these parts put back together. You're able to rivet the horns and the spar piece to the skins but only the bottom rivets. You also rivet the side tabs, the instructions were a bit confusing on this in that I didn't know if those holes should be dimpled or not.  It talks about dimpling all the #40 holes which I did before I primed but didn't dimple the tabs because they are #30... Second guessing this I looked at some other builder logs and pictures and some looks dimpled but I couldn't tell.  Decided it only made sense to do the same as the elevator tabs and go ahead and dimple these.  

You end up with a bit of a sandwich piece where you can test fit the ribs before you secure them in place.  To secure them you use the same sealant mixture you used on the elevator ribs.  It can be very messy but using gloves and being careful you can do it without too getting it all over the place.


After that you cleco the top skin on and use the wood forms you made to secure everything in place. Then place it on a shelve for the 3-4 day curing time.


After over 3 days I decided to go out and do some work, my intent being to only put about an hour in.  This hour turned into longer and I was able to finish the trim tab.

Nothing mind blowing here, just worked through the last page of the plans starting with splitting a long hinge piece into two pieces and then cutting those down to size.  Then you need to drill some #40 holes in the ends which will be used to help line the piece up for match drilling.  After securing that piece to the elevator you get it positioned and drill the other end.... then the middle... then work your way from the middle out to the ends, match drilling and cleco'ing as you go along.


You do the same thing with each trim tab.  I didn't take any pictures apparently, but the process is the same.  Cleco it to the starting hole, position it to drill and cleco on the other end... then one in the middle and work your way down.  Then you mark the outboard ends because you'll need to trim them.

You literally pull the hinge pins out separating the trim tab from the elevator but keeping the hinge piece on.  I took these hinge pins and put them in the freezer... why you ask?  Well the idea is by getting the pin cold it will shrink just enough to make reinsertion easier.  I've done this with bolts and what not, so I assumed it would work for this.

With the pieces separated I worked one piece at a time but removing the hinge.  I then cut the hinge to size, deburred each piece from my match drilling, ran a scotch bright underneath both the elevator hinge and trim hinge placement area.  Sprayed each piece with the air hose to ensure no metal was loose anywhere and got to riveting.  I was able to use the pneumatic squeezer for all these rivets.  I found the best way to do it was to cleco every other hole, start in the middle by riveting a single rivet.  Then working outboard take a cleco out, secure two rivets, rinse, repeat until each piece is done. 


Once all the hinges were riveted together I took a frozen pin out and was able to attach both pieces fairly easily.  I just used my hands to push it about 80%, then used a hammer to tap the end until I had about 1/8 of an inch coming out on the inboard side.  The final part is drilling a small 1/16" hole and bending the remaining hinge pin in the below manner and safety wire to the hole.  I'll do this later, I've safety wired several things but not sure if aviation safety wiring is different so will do some research and then go do it at some point.


Elevators Complete

Looks more like a horizontal stab with the trim tabs connected.  On to the Tail Cone....


Wednesday, November 11, 2015

Registration Number & Paint Scheme

Registration Number

I put down the $10 and reserved the registration number '405JW'.  405 is the OKC area code and JW are my initials... pretty straight forward.  It wasn't my first choice but unfortunately my first set of choices are in use so pending any purging of the N-number database in the next few years I will be sticking with this.

A lot of aircraft owners personalize their registration number to be something meaningful.  I'm less on the meaningful and more for the easy to say and most importantly easy to be understood. "November Four Zero Five Juliet Whiskey" or "Five Juliet Whiskey" are easy enough to say.  Fun thing is you can change it later if you decide you don't like it and don't mind repainting your plane.

Paint Scheme V1

Speaking of paint schemes, I made some progress visualizing what I would like. You can really do anything you want when it comes to paint. I started asking some very basic questions on the Vans board which led me to this fantastic Webinar Video. It's basically an hour and a half video talking about the various paint concepts from a guy who's been designing schemes for almost 20 years.  It really helped me break down the different components to a scheme and start narrowing down some ideas.  On top of that I spent a good amount of time on http://www.airliners.net/ looking at other RV pictures which helped refined what I was looking for.

As usual I wanted to incorporate some technology into this process.  I'm fairly tech savvy so I downloaded some CAD drawings opened them up in a borrowed copy of Adobe Illustrator. Bit of a learning curve with this software as it's designed for professionals.  But after awhile, and I learned how to add lines and then use the paint function to fill with color.  End result is this-


Nothing is to scale but visually gives me an idea of what I'm looking for.  Over the next few years I'll refine this and add a top and front view to give a full picture.  Great thing about doing it on a computer is you can change the colors as many times as you want just by clicking some buttons.

UPDATE:  By the end of the project both the registration number and paint scheme had changed several times.