Sunday, December 20, 2015

Tailcone Reassembly, Gap Fix and Longeron Redrill

Sub-assembly Riveting

Had another warm day this week so was able to go out and prime the skins pieces.  That leaves me with probably just enough AKZO to prime my replacement longerons and brackets.  I also used another 2 cans of paint so went ahead and ordered another case (6).  Since I knew I was tight on paint I wasn't able to paint the top skins, which is fine I can do those later and will just need to rough up the AKZO a bit to ensure adhesion.

In between the priming and paint curing I started riveting the sub assembly pieces.  I had missed previously where I was supposed to countersink some holes on the bell crank assembly. Wasn't a big deal, just went ahead and made my countersinks and then repainted over the holes prior to riveting.


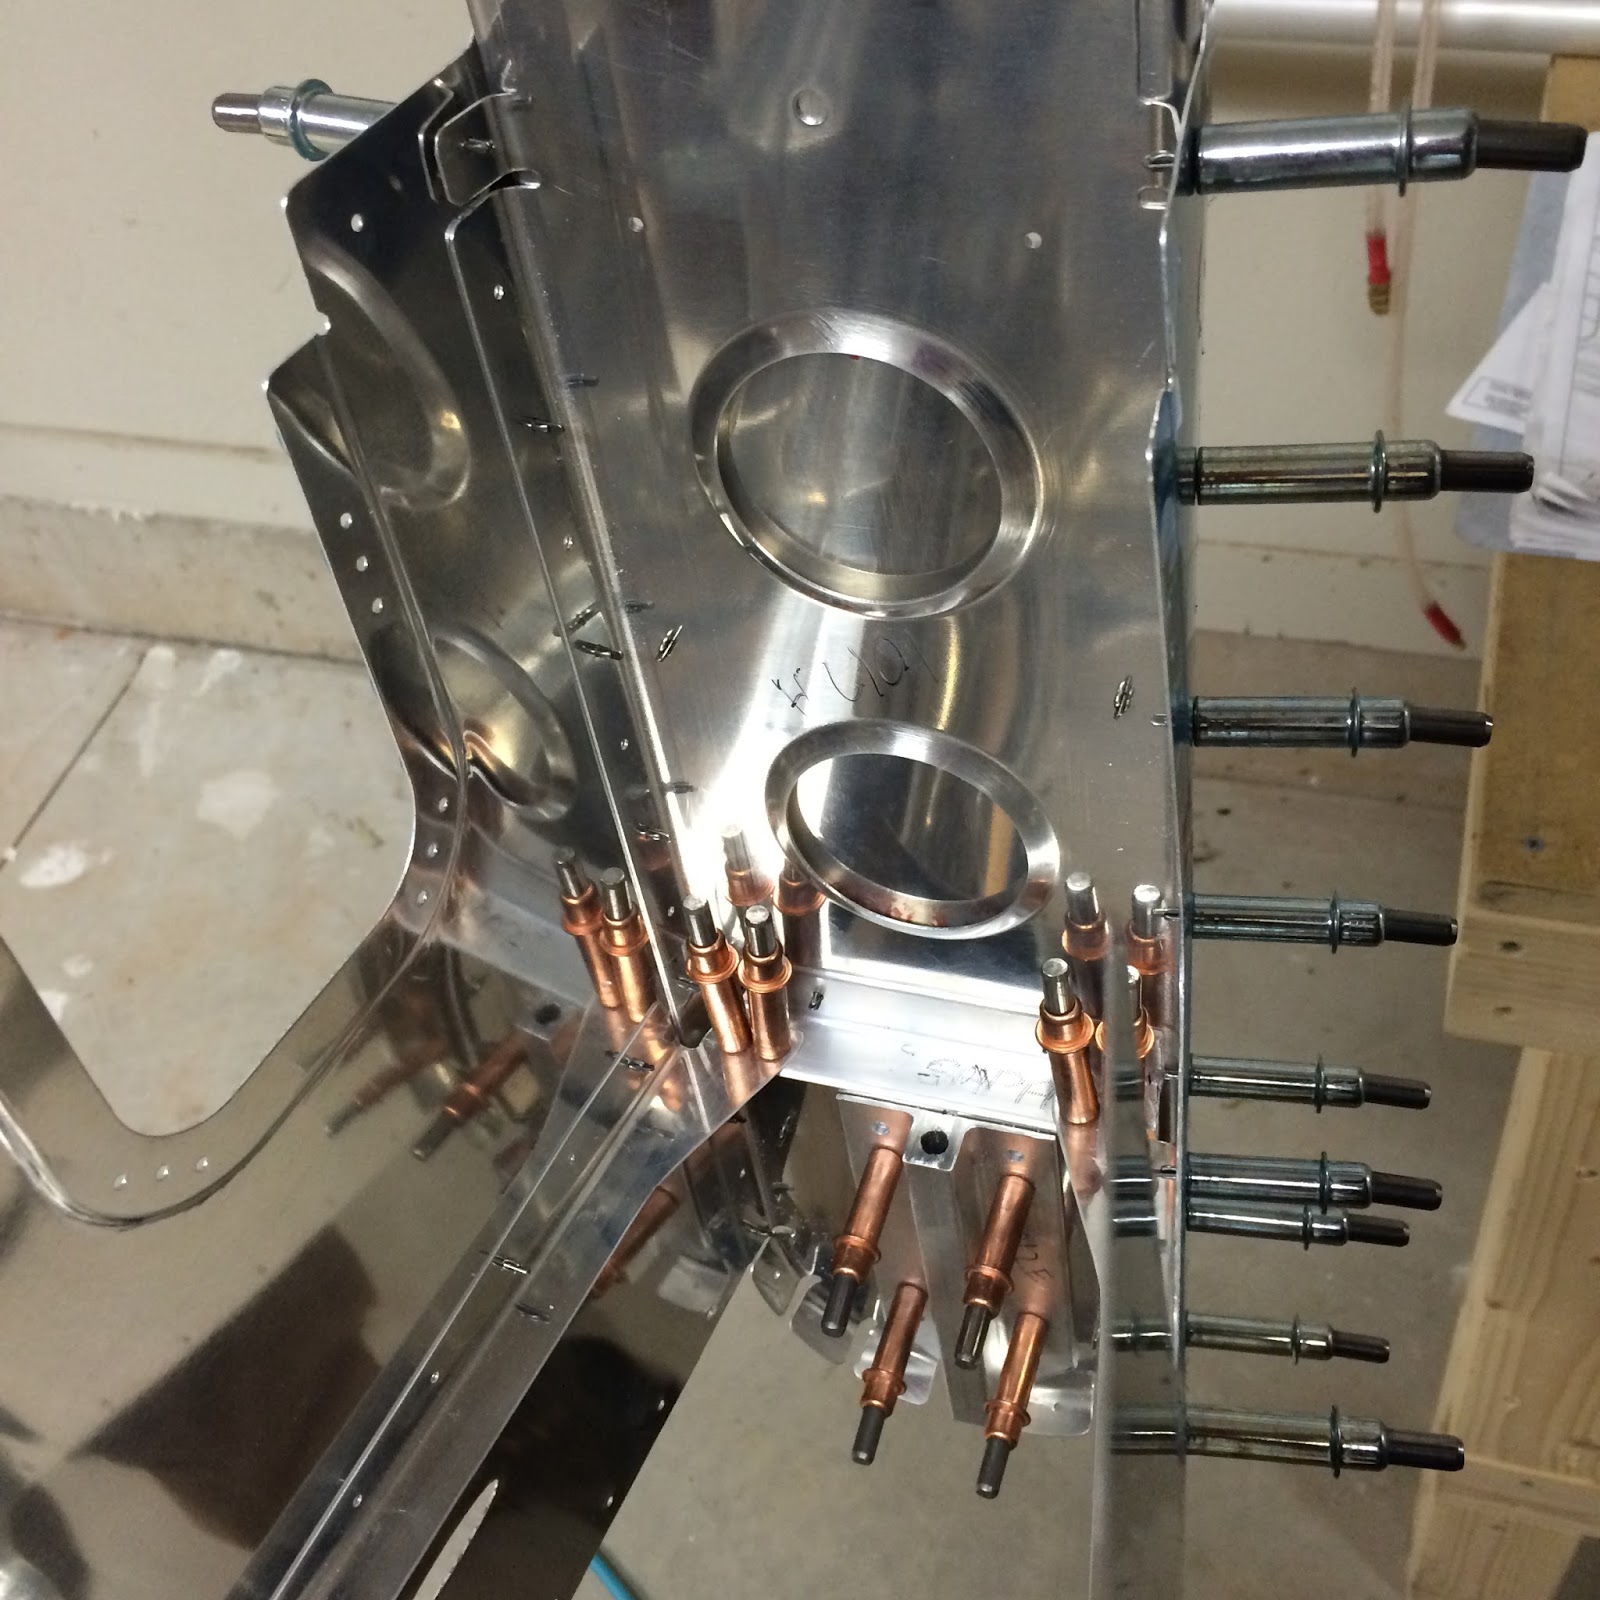
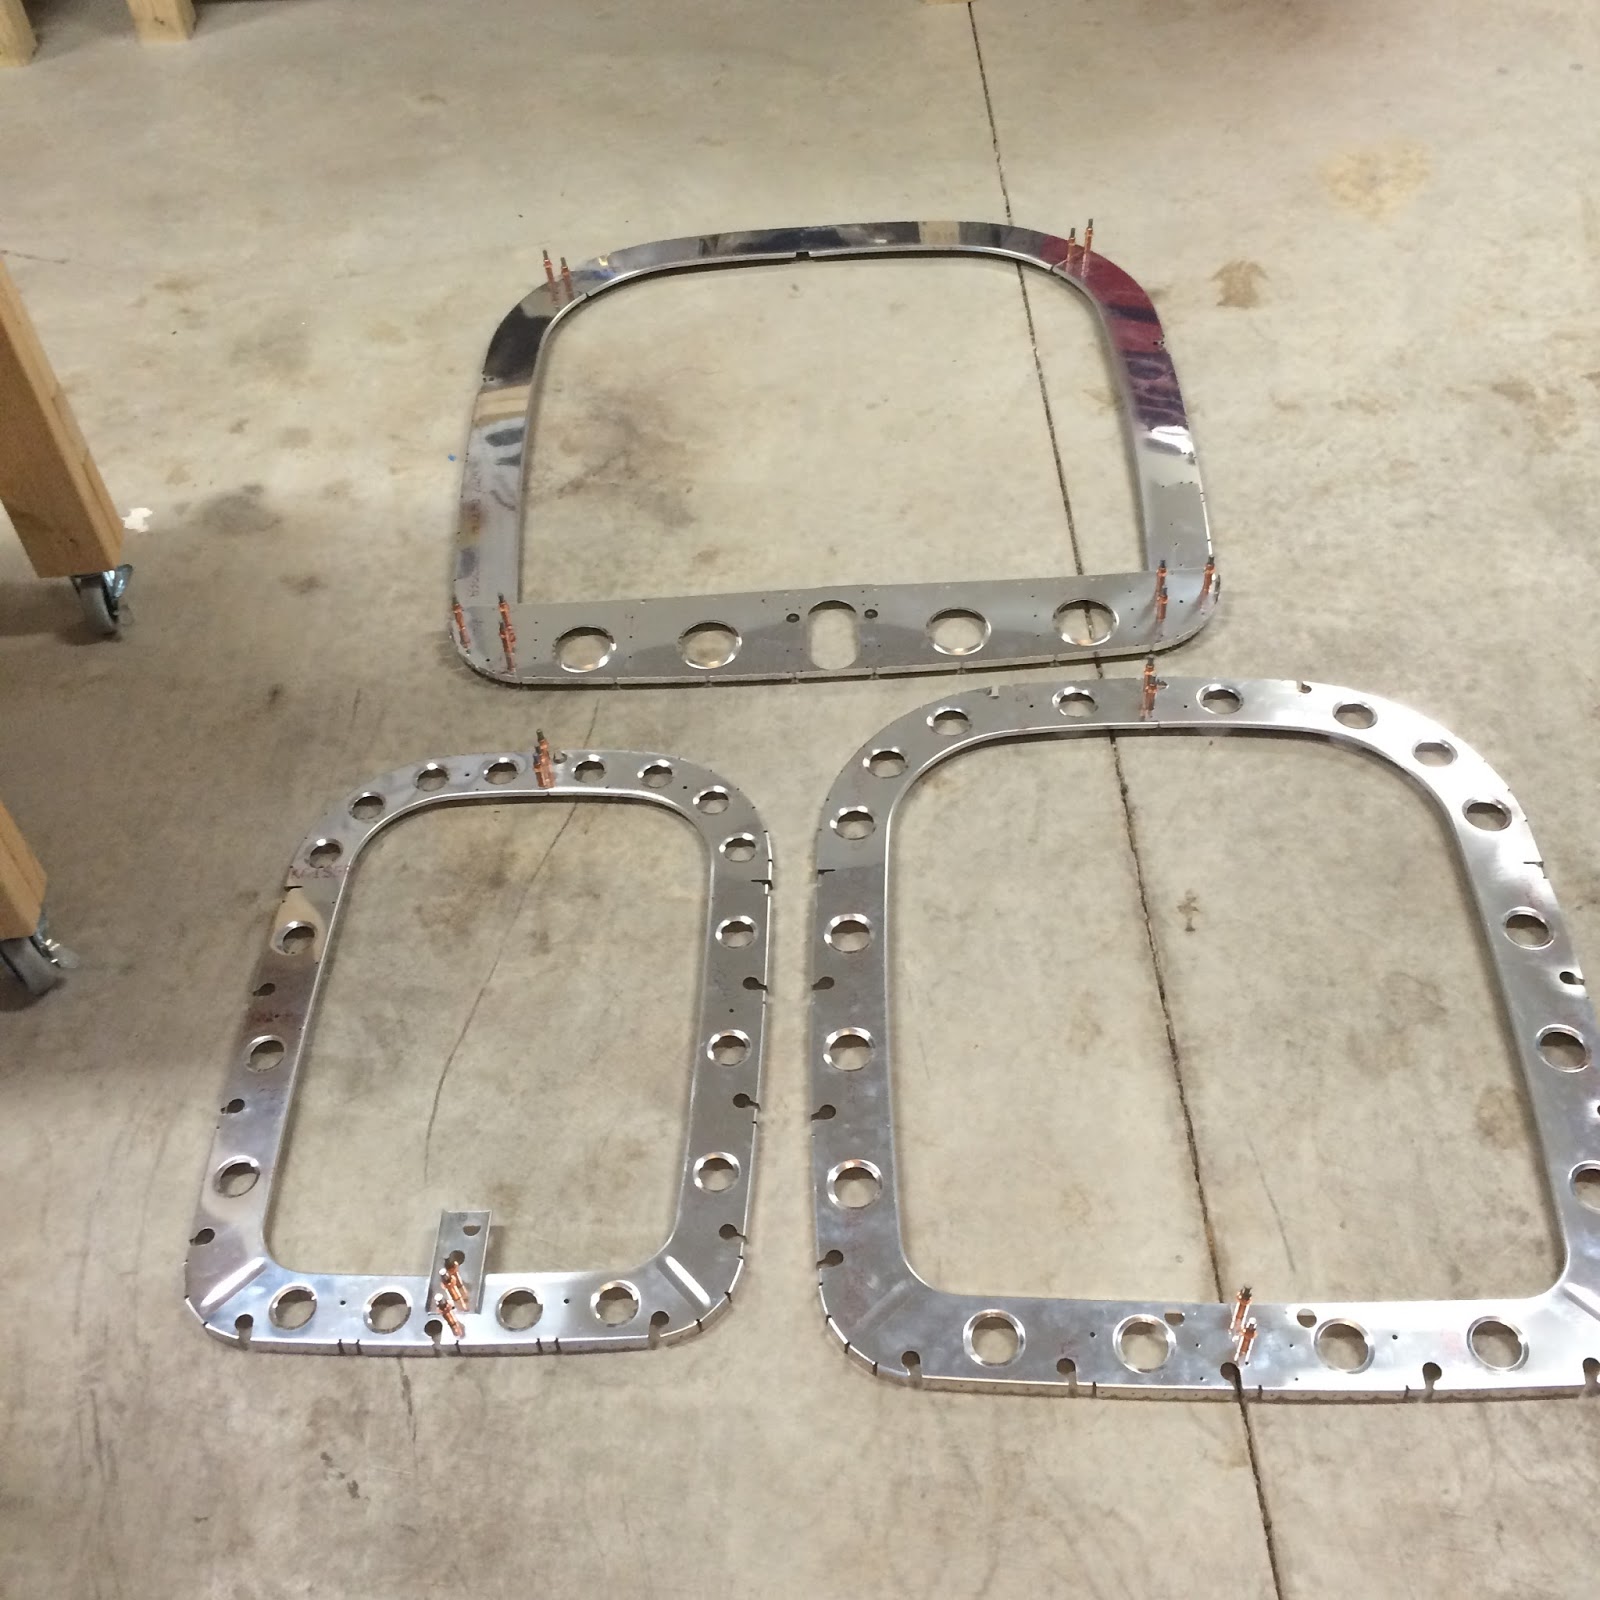
The next part is just a matter of riveting up some of the bulkhead parts, attachments and ribs. Was able to use the pneumatic squeezer for a majority of the rivets which made it easy and uniform.


To reassemble you just follow the process like before, the only tricky part is getting the back bulkheads and tie down skin back in.  The below picture is before that step.


Gap Fix

Because on my previous foul up with the longerons I needed to remake the F-1010A horizontal stabilizer attachment angle. When match drilling back onto the F-1010 bulkhead my clamps didn't hold tight enough, and the middle hole was a bit lower than I wanted.  I didn't know how much of an issue this would cause so I went ahead and match drilled the rest with a solution in mind if it was too low.

After clamping the new longeron pieces in place there was a substantial gap between the bracket and where the longerons needed to sit.


I tried to fabricate a part out of the 'Empennage Trim Kit' pieces provided by Vans.  They're pretty thin so it wasn't as snug as I wanted.  So instead I drew out the size of piece I needed on some scrap ie previously messed up parts.  Cut this out and worked on the sizing to get it to be as tight as possible so once bolted/riveted it won't move.  After putting the spacer (Also remade) on top I was extremely happy with the results.


No Gap!

Longeron Redrill

Ever since I botched up my old longerons I was logistically trying to mentally work out the fix. On one hand you don't want to enlarge the pre-punched holes and on the other you don't want to throw off the alignment with the new parts.  The plans call for drilling with a 3/32, cleco'ing the bottom skin, then when you get the top skin on match drill with the #40.  This insures it's a tight fit.  However after talking to Vans they just suggested I do it this time with the #40.  I assume this reduces the risk of messing up the pre-punched holes.

I hate to say it but my new longerons are a better fit than my first ones.  Cleco'ing everything up I tested the alignment of the tail... it was 2 10ths of a degree off.... but so is my floor so I'm calling it level.


Because of the amount of material you're removing from the longerons there's a concern with metal shavings.  First go through it's a non issue because you take everything apart again.  This go around I'm not so my solution was to tape some packing paper in the middle to catch the shavings and prevent them from getting stuck.

Now after drilling I removed the longerons to deburr and ran an old t-shirt on the skins and visually inspected each side.  This also knocked more material onto the paper which was easily removed and discarded.  There was one spot in the back I didn't cover well enough but was able to uncleco and work the shavings out with the t-shirt and air compressor.
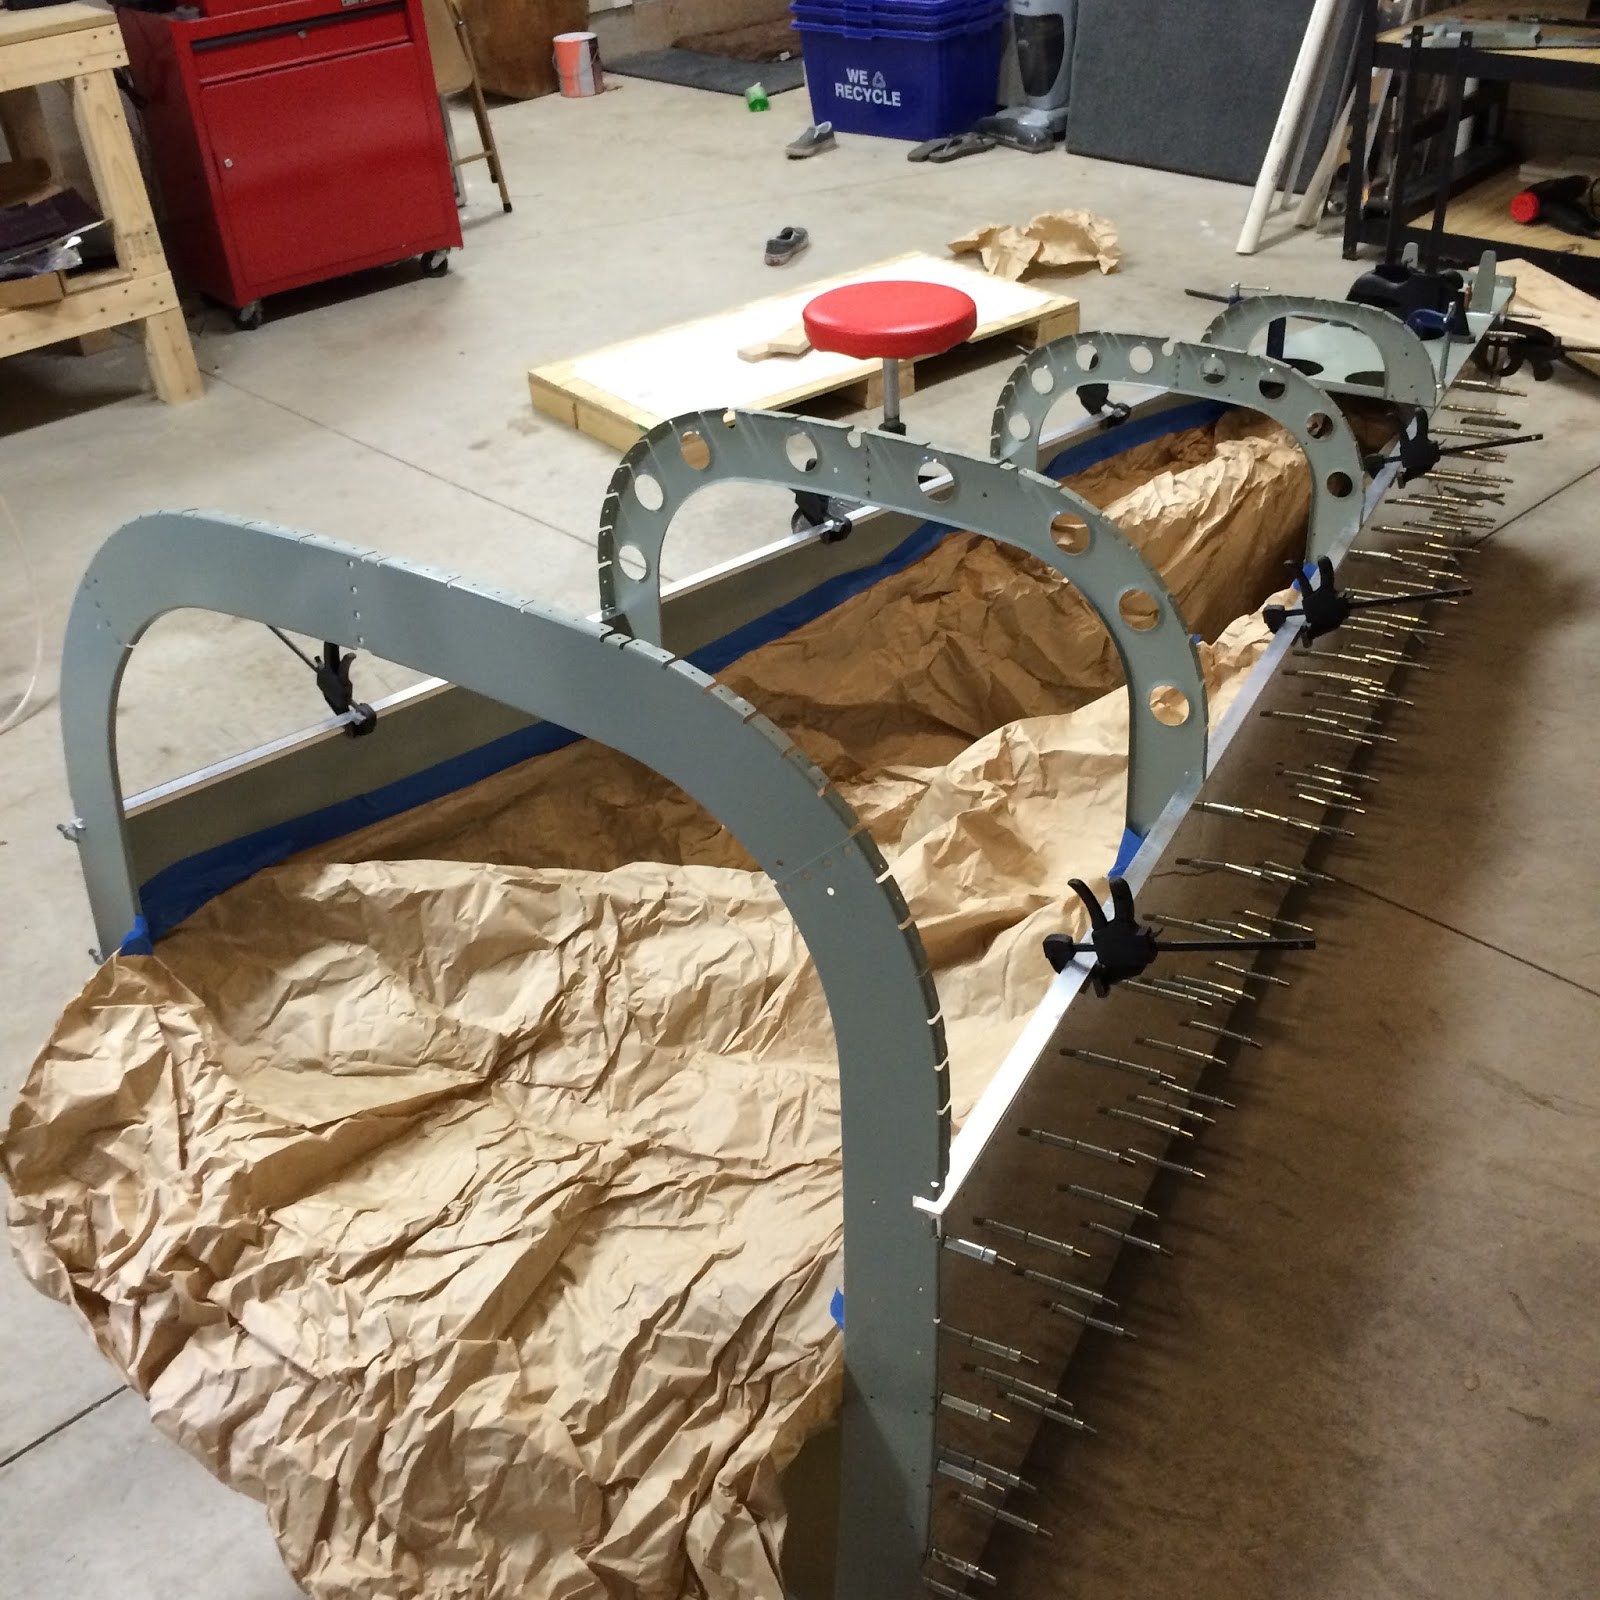
Ready for Surgery
Redrilled, Deburred, Cleaned and Back together... success!
With the Aft Deck cleco'd on.
My plan is to get a majority of the structure riveted up before placing the top skins on and redrilling the deck.  Since this is were I fouled up before I want to take my time to ensure no mistakes this go around.  I'm also waiting on the bracket piece I ordered, said shipped on the 10th but no status update so guessing it hasn't shipped.  Will probably just order the aluminium and make it myself again... but this time correctly.

Tailcone Riveting

Now starts the long process of riveting the stiffeners and bulkheads to the skins, in turn completing this major section.  This is the first time in the build that it's truly a two person job.  I've seen where people have riveted the bottom by removing a side, then riveting the two sides but my concern is alignment so would rather rivet it while it's all assembled.

My approach is similar to what others have done and that's to back rivet the entire thing.  Back-riveting ensures you're pushing the parts stiffeners and flanges in when riveting, also gives a much cleaner look on the outside.  The downside is it's a bit of a process to do this and defiantly requires two people to move this piece around.

Experimenting with different processes I was able to get one full stiffener riveted and part of another.  The rivets look great but it's going to be very time consuming.  I've read people spend 15 hours or more just on this step and can completely understand that.  My way forward on the bottom skin is to put each cleco in from the inside out, tape a line of rivets and then move the bucking plate along the bottom doing 6 or so rivets at a time.  The second person is required to help not only move this piece around but angle it during back riveting to ensure it's flat against the plate.  This is going to be especially crucial on the curves of the flanges.


Sunday, December 13, 2015

Tailcone Prime and Paint

One thing that I'm doing different on the tailcone versus the other empennage parts is that I'm painting the parts after priming.  Aesthetically I would prefer to see a clean color when looking down the tail vs AKZO primer green. Also, as I continue with this build I may scratch, add or remove parts and wanted to have an easy method for doing touch ups.  With the easy part in mind I picked an off the shelve Rust-Oluem product as a top coat. There are a number of colors and I picked Light Machine Gray because it's fairly neutral and I'm planning on a gray and charcoal interior so it should blend well.

With the current weather starting to get cooler I wanted to get a bulk of my tailcone parts primed and painted over the weekend.  Saturday it was warm enough to paint but with a threat of pending rain I had to plan accordingly.  I laid out the parts in my garage and did my usual routine of prepping the parts and letting them dry.  Once I was a few hours into part prepping I mixed a batch of primer and started with thin coats, 2 each side.  A few times drops of rain started to fall so I pulled everything back into my garage, dried pieces off and started again.  The rain wasn't falling consistently so was able to get everything primed over the course of the afternoon.

Organized parts, I labeled the cardboard instead of the parts.
Primed Parts, at the point I label the parts.
You have a window of time between priming in which you need to paint to ensure proper adhesion. AKZO states that time as being 3 - 24 hours.  So even though today it was in the 40s and really too cold to paint outside I had to get it done so decided to do it all in the garage. I set up my paint booth and laid out several pieces of cardboard.  Put my shop fan facing the work area and laid everything out.  To prep each piece, I visually inspected for any issues and used 600 grit sandpaper to sand any areas of concern, then used a clean rag to get any dust or particles off.

Painting was time consuming but not difficult.  I used a little $5 handle that hooks onto the rattle cans to save my fingers.  Worked out well and put 2-3 coats on each piece.  After letting it dry for an hour or so I flipped the pieces and repeated the process.  After an hour or so of that I visually inspected each piece and touched up as needed.  My garage is insulated but it's probably still 60 something in there so I'll give the pieces a few days to cure before I mess with them.

A few of the parts painted
Went through almost 5 cans!
Once I finish dimpling the skins I will repeat this process with them.  I will also have to do this with my replacement pieces that I should get in the next week or so.  Given that it will most likely be cold out I will need to do this in the garage again.  Wasn't much of an issue, important to wear a respirator and periodically open the garage doors and let the paint dust blow out.

Wednesday, December 9, 2015

Vans Diagnosis....

There is a feeling of wanting to quit when things go bad.  You shift from the mentality of "how do I resolve this?" to "how do I get out of this?".  In Physiology they call it 'Fight or Flight', in Project Management they call it things like 'Anxiety' or 'Stress Management'... call it what you want but it's a very powerful feeling and it's something I've been aware of since I was a kid.   My dad taught me back then that when you're working on a project (In that case a skateboard ramp) and you get to a point where you're annoying, angry or otherwise distraught about the project you're working on to take a break and come back later with renewed energy.

That's what I did, be it only 24 hours... that 24 hours was enough time for me to mentally grasp and accept the current position I'm at and look forward to what I need to do to resolve it.  Vans stance seems to be if there's any deviation from the plan the first step is to view what needs to happen to get it back to plan.  In my case these parts are all still loose parts so there's really no reason why I just don't replace the parts that have been impacted and move on with the build.  So that's what I'm doing.....

To correct this issue I need to replace the following;
  • F-1032-R Right Longeron
  • F-1032-L Left Longeron
  • F-1014 Aft Deck Vans said this can handle a few extra holes
  • F-1011D Attachment Bar Support Angle
  • F-1011B Stop/Doubler
And since I'll be redrilling through the Aft deck and it may or may not line up exactly like before I also need to replace
  • F-1010A Horizontal Stabilizer Attachment Angle (AA6-125X1X1)
  • F-1010B Spacer (AS3-125 x 1.000)
This comes out to about $50 in parts, since the longerons are well... long, shipping will be around $30.  So to get this back to plans it's going to cost less than $100 and add a few more hours to the build.  In the mean time I can continue, deburring, dimpling, priming and all the other fun activities that are involved with building an airplane.


Tuesday, December 8, 2015

Tailcone Brackets, disassembly and somewhat major issue

Tailcone Brackets

An item I left off on my previous post was having to create several brackets and do a bit of match drilling with the aft deck into the longerons and other pieces.  Making the brackets are fairly painless, just follow the measurements and trim accordingly.  The drilling however is a bit of a different story, maybe should have used a drill press or have someone QA my measurements prior to drilling but I messed up a set of holes on the F-1011D bracket.  In particular the holes that go into the longerons, but will get to that in a second.

See how the top bracket holes don't like up to the picture
Starting out with clamps in place and starting from the middle you start match drilling all the #30s in the order called out in the plans.  I was so focused on spacing the longerons correctly I overlooked that I had completely missed the center line on the F-1011D bracket.  Even looking at the picture now it sticks out like a sore thumb, probably because I know it's there.


After that I started the disassembly of the tailcone.  This is a methodical process making sure everything is labeled correctly and that no hole is left untouched or any pieces with jagged edges or otherwise unfinished looking edges.

Major Issue

While deburring the longerons I noticed that instead of holes where the F-1011D bracket is there were little notches instead.  I instantly knew where I went wrong, remeasured and found the problem.  


Solution #1 - Remake the bracket, replace the doubler, aft deck, both longerons and cleco the plane back together to match drill everything accordingly.  Time and cost aside this might lead to some enlarged holes or other issues such as fit with match drilling something twice which may or may not line up exactly as it was before.

Solution #2 - Call Vans!

Well that's only part of the solution and it's what I did.  Builder support requested I take some pictures and send it to them, so he can review it with their engineers.  The good news as I see it is the notch is only an 1/8 inch in... will be filled by a bolt and there's a lot of material in terms of doublers that will also help reinforce the longerons in that area.  Another positive is there's quite a bit of extra room below the longerons and in the bracket area that can be used to come up with some new methods to ensure proper strength in this area.

Shows the doubler and how the longerons line up.  Didn't include the Aft plate.
I will wait for Vans suggestion but here are some thoughts I have.  Always looking for the positive felt this would be a good time to work through some ideas.


This is actually upside down... 
Idea #1 - This involves making a fitted bracket which would be the thickness of the longerons to be sandwiched between the Aftdeck/doubler/bracket group and a new made bracket which extends beyond covering the entire bottom of the longerons.  This would allow the screws for the #12 to drive though the notches and be secured by the bottom piece which is all riveted to the aftdeck, doubler, ect.

Idea #2 - Same concept as above but involves instead trying to capture some forward rivet holes as well.  The concept is the same, first bracket is the thickness of the longerons.  The paper in the below picture represents a smaller triangle bracket which would capture not only the Aftdeck/doubler/bracket group but the first forward hole as well.  Could even throw in an extra rivet in the middle there.


Idea #3 - To me this one makes the most sense but may be a bit overkill... then again I don't mind overbuilding things, especially untested things.  This is similar to #2 but uses a much larger triangle bracket.  This bracket would capture the #12 hole, two Aftdeck/doubler/bracket group rivet holes, and two rivet holes on the longerons forward of the notch.  Could also add an extra rivet hole into the aft deck to keep the middle-sandwiched piece in line.


Will be continuing one with the next few pages of the plans until I hear back from Vans on a preferred method. They may have something completely different in mind and will defiantly post about the fix when I get it.

Tuesday, December 1, 2015

Cessna Annual and Tailcone Part 2

Cessna Repair

A tad bit off the subject of the RV-10, however it's relevant to the education process of building a plane in general.  December means its time for the annual inspection on my second favorite project plane, a 1977 Cessna 172N 180 HP conversion... for reference here's a before and after picture....

Before

After
Being a certified plane, and since I'm not an A&P I obviously didn't do much of the work.  Things like engine overhaul, exterior paint, sportsman STOL, new windscreen, avionics, etc were all done by professionals.  However, I was able to redo the entire interior including some STCs and in the end it's a fantastic clean little plane.  She is also 40 years old that went from flying about 10 hours a year to over 150 hours over the last year.  So things are going to break.

I've remained fairly involved in the maintenance of the plane over the last year so no surprise to the A&P that I wanted to be involved this year on the annual.  A lot of my contribution consists of doing small tasks, ordering parts, helping hold various tools or doing the grunt work. I find similar with the plane build I'm continually learning which is always a good thing. In fact, as an owner/pilot it's incredibly important to be involved with your aircraft.  Especially when it's something that carries your family and friends around in the sky.

On this year's annual there are some minor repairs, some new parts that were ordered and some items to keep an eye on.  On the lower cowl there were a number of rivets that have worked their way loose and in several spots fell completely out. One thing about having a fresh paint job is the loose or failing rivets are easily noticed.  I decided to use my new-found knowledge, tools and Vans rivets to see if I could fix it.  I had meant to take some action pictures showing the process, but it literally took me all of 10 mins.
  • Cleco'd the empty holes
  • Drill out loose rivets
  • Clean holes with #40 reamer bit, ScotchBrite, Acetone and compressed air
  • Rivet with gun and bucking bar... proper sized rivet is determined using gauge.
  • A&P inspects and is amazed at your structural mechanic skills!
Sorry for the dirty cowl....
That was all there was to it and I enjoyed putting my newly developed building skills to practical use on my current bird.

Tailcone

Now onto the RV-10 build. I had been looking forward to the tail cone for quite some time.  While the other parts are extremely cool, nothing beats looking down the end of the tail cone in all it's shiny gloriousness.
Pretty!
Getting to the above picture though took both time and patience as well as learning a few lessons on the way.  Here are a few things that I learned;
  • Cleco Management - I had ordered 300 3/32 (Silver) clecos at the start of this project.  Never really ran into any type of shortage issue until I got to the tail.  You have to start getting rather crafty in harvesting clecos from completed areas... take too much and you can't ensure alignment... don't take enough and you can't complete tasks.  My process was to start removing from the bottom then work to the sides.
  • 3/32 vs #40, 1/8 vs #30 bit - I was under the incorrect assumption that these were synonymous with each other.  I for whatever reason thought when the plans were telling you to use a 3/32 that that meant use a #40.  After a discussion on VAF my ignorance was pointed out and I was able to correct it.  The reason you drill once with a 3/32 and then again with a #40 is because this is done when you're overlapping two skins.  So 3/32 will get the first skin cleco'd in and the final drill with the #40 ensures a snug fit.
Following the plans from where I was last posting I had to make some very large longerons.  Now I had to reorder one of these because I inadvertently cut a bracket out of the long piece.  No excuse just overlooked, $14 for the part $25 for shipping.. easy fix.  I guess a good rule of thumb is really double triple check the large or long parts before you cut, drill or otherwise defile these.. because shipping them is expensive.  Working with the piece was fairly simple, just required you to cut to length, put a few notches in them and then hammer a bend in it.  The bend correlates to a change in curvature of the skin.


Now comes the action!  You start clecoing the frame ribs to the base of the tail.  Lacking saw horses I tried several methods of working with the pieces.


This was the winner in the end.
This process consists of a lot of match drilling and clecoing, using this many clecos in the beginning you'll start to realize fairly quick that you're going to run out... unless you bought maybe 500 of them. The jframe pieces you made start going in and you start attaching the sides as well.  No major issue just again time consuming and you really need to pay attention to the lines you drew on the pieces to ensure they line up correctly.


Reminds me of a canoe
After the sides and ribs are attached you finish up attaching the aft end tail assemblies you made previously.  It is very important that these are somewhat level.  If they're not then you probably have something misaligned and you'll want to fix that later.  This level is cool, but these are cooler.  I actually picked one of the Smart Tool level but it didn't come till after I took this picture.  I did go back and I learned the piece was off by 3 10ths of a degree... my bench is off by 1.4 degrees and my floor is off by 4 10ths of a degree, but I think that's by design.  I found myself walking through my house checking various services for levelness....


Hard to tell in the picture but this part is you make some more brackets and attach them to the bell-crank ribs.  Not to give it away but as you can tell by the perfectly countersunk holes this will end up being an access panel for this area.


After you have some rigidity to the tail you are able to put the rest of the aft piece in place.  This includes match drilling to 3/32  the longerons to the side skins.  It's extremely snug when you do this and your hand will be in some pain afterwards from pushing in the clecos.

It all goes together very nicely, however don't forget to put the small skin piece under the tail tie down area.  For whatever reason I missed this and didn't discover it until I was looking over the plans in bed and immediately went to the garage and corrected it.  Nothing major because I hadn't match drilled it yet and it didn't affect the leveling at all.


You get to a point on the tail cone assembly where you can't work on it sitting on a work bench anymore.  Unless I suppose you're freakishly tall which in that case you might not fit in the plane when it's completed anyhow.  I'm not a fan of just setting stuff on my garage floor so I took the container my replacement HS spar came in and re-purposed it to a little platform along with some scrap ply wood.


Setting the tail on the platform allowed me to work through and attach the top skins, match drill and final drill everything together.  It becomes a little challenging to match drill the stiffeners solo so it helps to have an extra set of hands come either drive the drill or align the line in the holes.  In the end you have a pretty cool piece.

Not looking forward to taking this all apart....

Wednesday, November 25, 2015

Tailcone Started & Interior Paint Test

Tailcone

Section 10
Before starting on the tailcone build I wanted to clean up the work space a bit.  Mainly I wanted to utilize those above garage shelves to store all the completed pieces until I'm ready to mount them. I was able to get the stabs and control surfaces neatly put away .


Onto the tailcone... well the first step requires you to take a bracket and tap it for a 3/8th machine thread... problem is I don't have a tap set, my neighbor doesn't have a tap set and a buddy of mine has one but not sure he has one that large.  So I got online to fine one and it in my search I found that I could spend $25 for a quality tap and handle or I could pay $8 and just order the part already threaded from Cleavelandtool. Since I'm doing the Quick Build wings I only need one of these tie-downs but I did go ahead and get 3 powder coated tie down rings from them as well.


The next several pages of the plans deal with shaping some pieces and starting to form up the substructure parts.  I had some foul ups on match drilling some parts.  Was able to just make another piece and move on.  When dealing with the Jchannel material you'll have some excess that allows you to do this so if you mess up on it go ahead and cut another piece from the end of one of the shorter pieces.


I set the above pieces aside and then got working on the ribs and jchannel pieces.  The ribs require a substantial amount of deburring.  I also went ahead and put some flutes in just to help keep the pieces flat.  After that just position and match drill the pieces... interesting note is apparently there were some steps removed because on one of these the plans jump straight to Step 3.


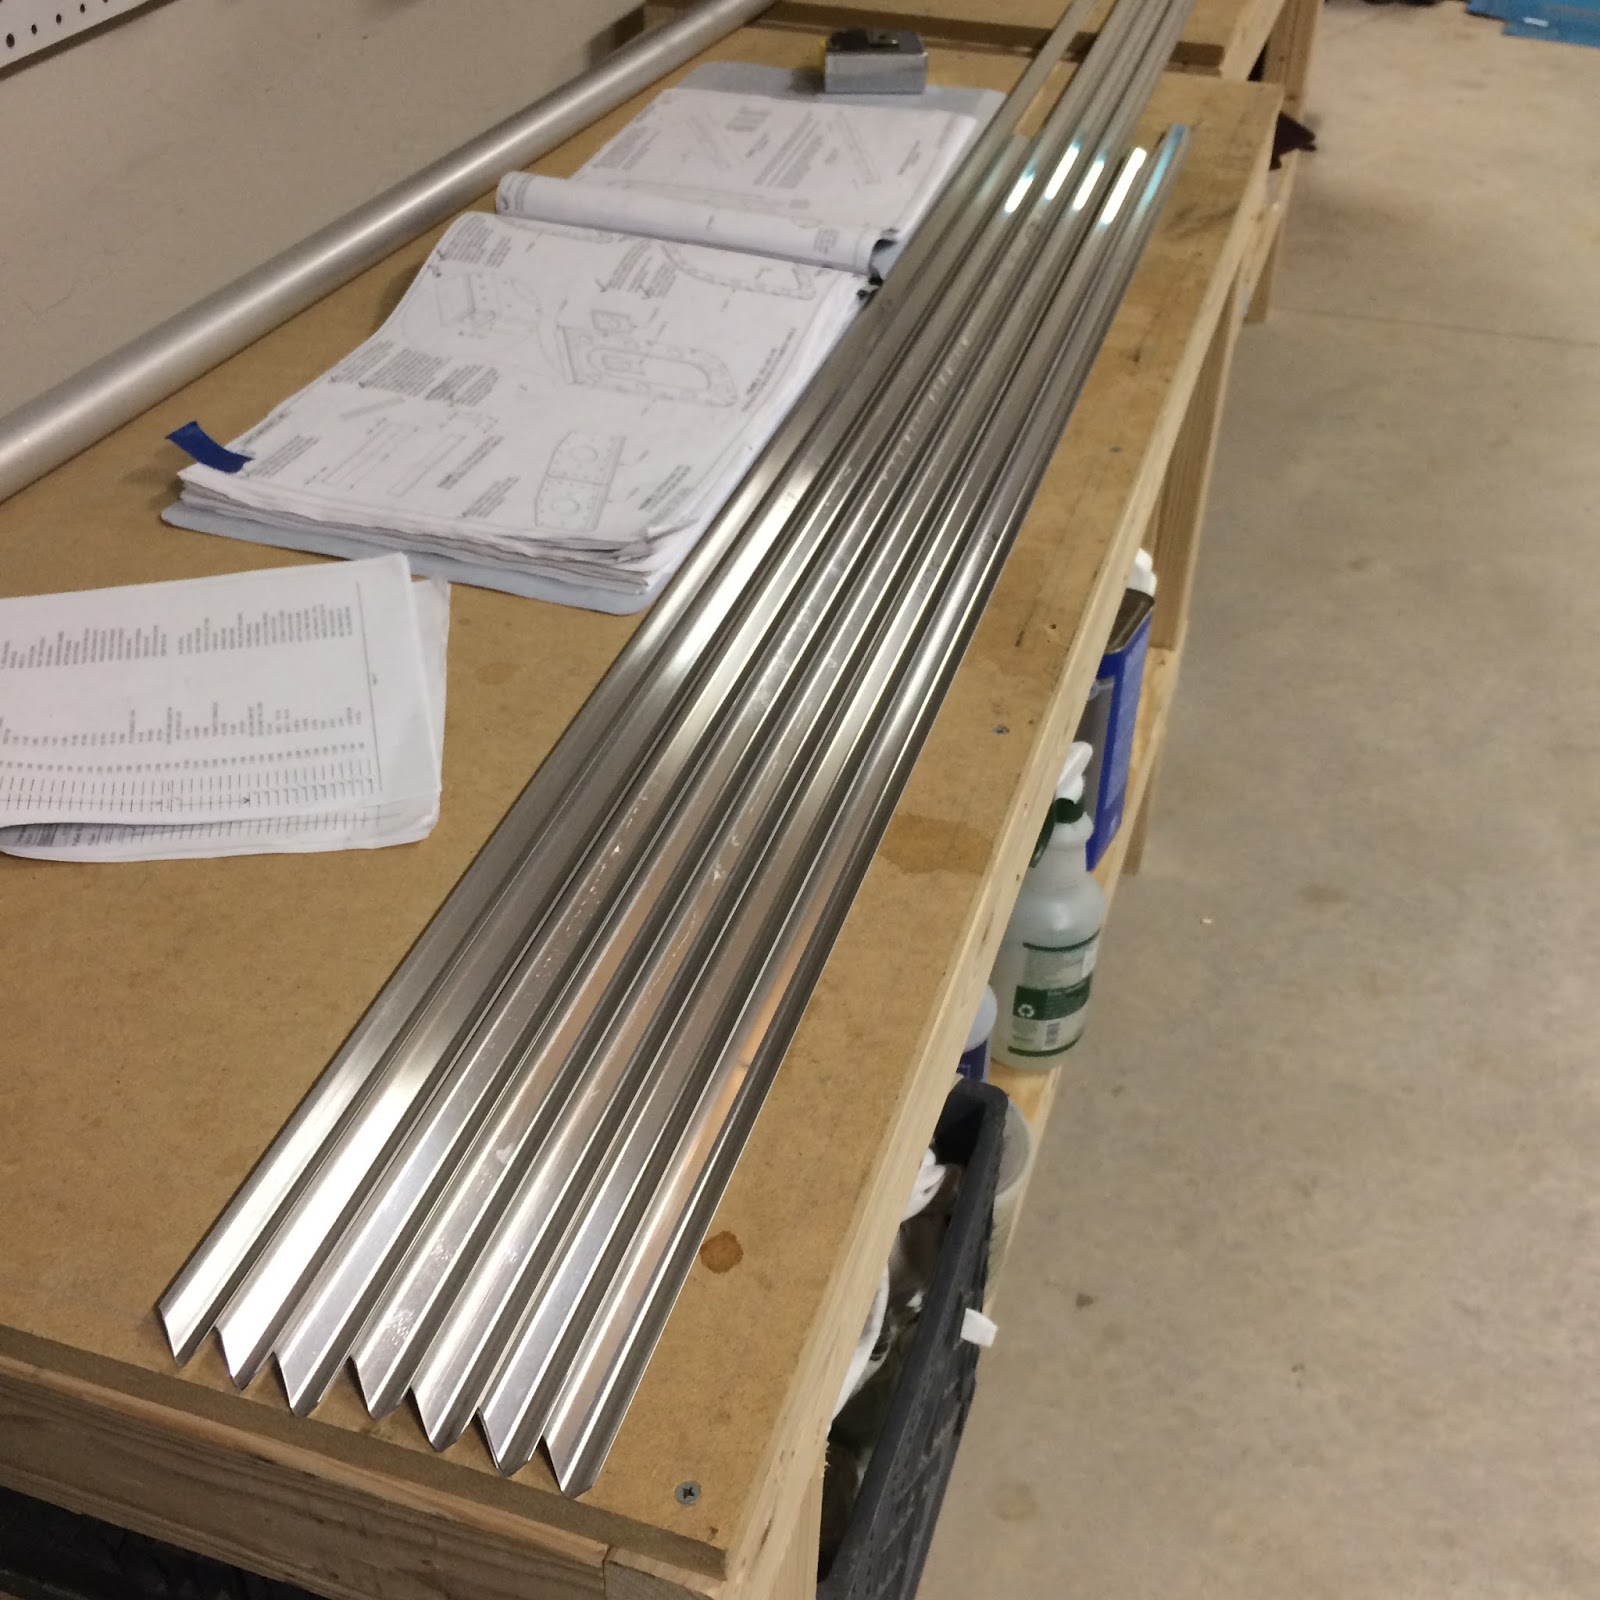
The Jchannel pieces are fairly time consuming.  Each piece has to be cut to length, have each end cut on a 45, deburred and then a series of lines drawn on the back side for positioning later.

12 pieces overall, some are stacked.

Interior Paint Test

Another note of endless debate is what to do with the interior of the plane.  You can keep it aluminum, use one of the many primer choices available or in my case you a shake can(s) of Rust-Oleum all over the place. You might be able to source the paint local but I didn't have any luck.  Prior to committing to a case (6 cans) from one of the big box retailers I wanted to get a single can to test it out.

This came as a suggestion from a plane builder who did similar on his RV-8.  An RV-8 is going to have a lot more metal showing than an RV-10 but I wanted some consistent coloring just for aesthetics. On top of that using a shakey can of spray paint makes for easier touch-ups as things get scratched or you make changes down the line.

One of my mistake pieces had already been primed before I discovered my issue so I used that as a test piece.  Did multiple coats from 1 - 4 light coats along the piece and settled at 3 light coats being the best.  Any less and the primer comes through, any more and it's not noticeable. 

Happy with the color
I'm going to give this a week or two of cure time and then abuse it to see how it deals with scratching, twisting, etc.  If all works out I'll order a few cases and my plan is to paint the entire interior of the tailcone and the fuselage pieces down the line.