Monday, October 5, 2015

First Major Mistake & Elevators

Mistake

I've made a number of mistakes, but I usually catch them and recovery before I ruin a piece or two... or in tonight's case three.  This one requires a very large piece to be reordered and a delay in my horizontal stabilizer construction... but I guess that beats the tail of the plane flying off and spiraling to my death!

Back story is yesterday I did some work on the plane with a buddy, not much but showed him how to match drill, deburr and cleco.  Then I did a bit of a workshop taking some scrap and showing him how to dimple and finally drive a rivet.  Then did some minor things on the project and set it away for the night.

This afternoon I received the new band saw blade so swapped that and finalized fabricating some brackets.  Going off what I cleco'd yesterday I started mounting the brackets and noticed some of the holes weren't matched drilled... Thinking it was because I missed them on the match drilling I went ahead and finished them out... then I started match drilling the bracket and it occurred to me that I had the spar caps on the wrong sides and the doubler upside down... what does this mean?  A lot of of extra holes....

Red circles are 'bonus' holes.

The doubler was untouched, so I thought maybe the structural integrity would be fine but since I'm not an engineer and it's my first plane decided to send Vans the picture and give them a call.  Builder support looked at this picture and was concerned with how close a few of those holes were on the spar web... basically said if it was his plane he would replace that part...  Good enough for me so I reordered the Spar and the spar cap pieces... even though they would probably work and be fine, might as well get it 100% correct. All in all, it's just more time and about $90... peanuts compared to the grand scale of things and hey this is supposed to be an educational endeavor so I'm getting educated.

Elevators

Section 9

Being a bit distraught over my mess up I didn't want to leave the evening on that note... My buddy came over tonight and we started going through the elevator build.  I could of done some more of the HS pieces but at this point didn't want to end up confused again so I will start it over once I get the parts.

Much like the rudder this section starts with separating a few pieces. Cleaning the edges and connecting them with clecos.


Buddy learning how fun deburring is!
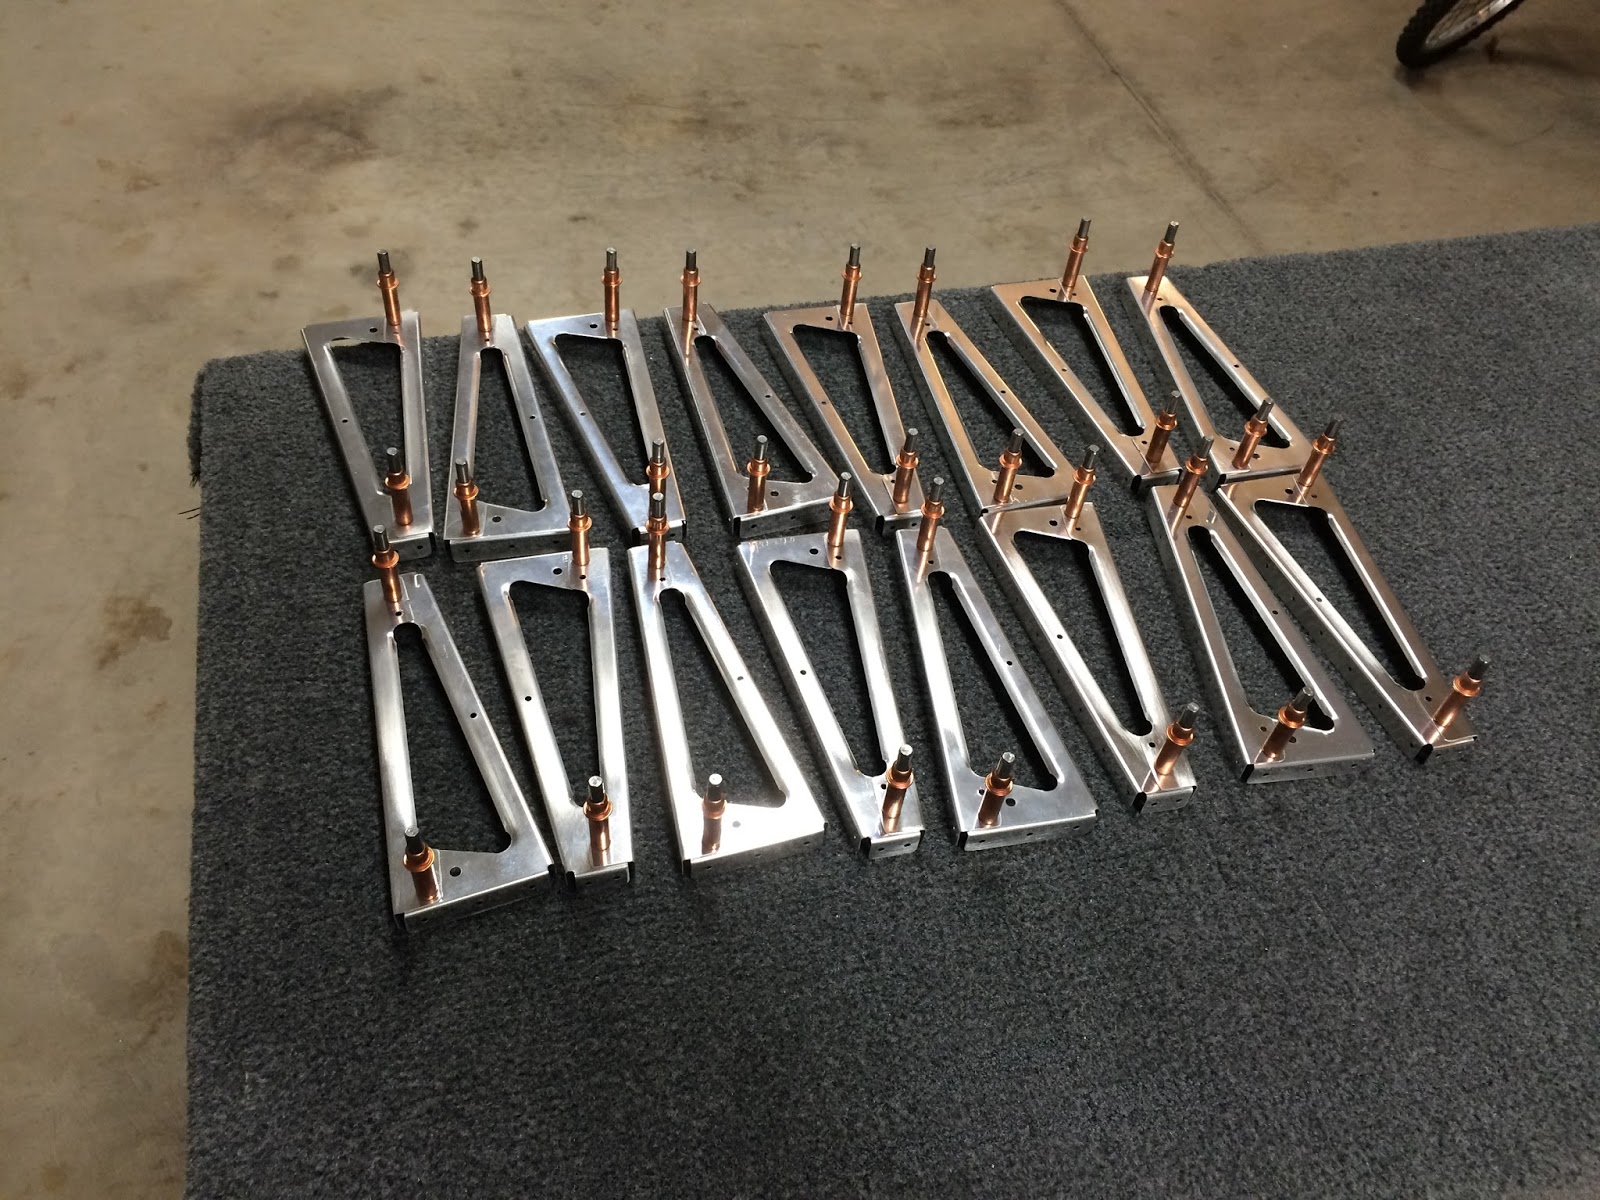
I ended the building session by match drilling the top holes, swamping the clecos and then match drilling those holes. Also ensured I labeled each pair accordingly, so I don't get them mixed up. The end result is below.


This week I'll work slowly through the elevator parts until my replacement pieces come back.  I'll then put this up and jump back to the HS.

Sunday, October 4, 2015

Horizontal Stabilizer


Continued work on the Horizontal stabilizer.  Nothing really unique with this, technique mirrors essentially what was done on the Vertical Stabilizer.  So far, I've removed the plastic and deburred all the parts that will be used.  I find just taking the time to do this now ends up saving some time later, so I don't feel as if I am constantly going back and deburring the same piece.  I do a final inspection prior to prime which works out well.


Instead of the two pieces to trim on step one of the vertical stabilizer there are six pieces to do with on this part.  Takes a bit of time but not overwhelmingly hard.  I need to make a few brackets but needed to get a new blade for my neighbor's band saw that I'm borrowing.  While the 6 tpi wood blade can take a good bit of material off of the thinner parts which can then be cleaned up with a 6" grinder, the thicker part I need to essentially fabricate now requires the better blade.

I installed two of the above into the front spar, did some match drilling and deburring.  While waiting on the new saw blade to be delivered this week I'm going to move ahead and do some of the other steps.  One of those steps was to make a set of four HS holders.  Using some MDF I had, along with some of the crate wood I just threw these together.  These are pretty non-precision but will do what is required.


Tuesday, September 29, 2015

Marathon Monday/Tuesday Rudder Complete

It stands to reason that my favorite activity in building, is the actual building itself.  That is to say, I really enjoy doing the riveting and seeing the parts come together.  I spent the last few evenings working what I would consider a good amount of time to finish the rudder.

After letting the primer cure for 24 hours I jumped in and started following the directions and getting things put together.  Below are some rivets I drove into the horizontal stabilizer and horn piece of the rudder.  Now a mistake that I made was I used the wrong rivets on the horn piece.  I used 470 round head ones instead of 426 recessed driven from the other side.  My fault for not doing my usual double triple checking and I paid for it with an hour of redo work.

Top right piece holding the bracket... wrong rivets
I'll go ahead and talk a few about this mistake.  I didn't notice it until I had cleco'd the rear spar to the two wing halves.  I noticed the bottom piece wasn't setting up flush as it should, and I also noticed to dimples protruding out the web part of the spar.  I looked at my phone and found the above picture and realized my mistake.  I promptly drilled out a good 15 or so cherry rivets so I could pull the spar back to access the horn.  I was then able to drill out my bad rivets and through some small hands engineering get a bucking bar back there and correct the mistake.  Then I proceeded to re-rivet everything back and all was right with the world again.

So lesson learned is I'm not as good of a builder as I thought I was... I need to slow down and read the instructions no less than three times!

Prior to discovering my mistake, a few steps earlier I was working with something somewhat new it seems to RV-10 builds.  Last week while reading ahead I noticed I had to use some type of sealant on the trailing edge and that it took a number of days to cure.  This sealant didn't come with the kit, so I reached out to Vans to see what product I needed.  They gave me two choices... one is a 2 part epoxy type material that stinks and is rather messy... the other is a 3M Tape (3M F9460PC) that isn't messy, requires no cure time and is currently used on the trailing edges of their RV-14 builds.  Knowing this part was coming up I jumped on Amazon and bought a roll (Sorry Vans I needed it fast!).

Right side with roll of adhesive tape
Tape Applied
Close up when peeling brown paper off
Sticky
After getting the adhesive material applied I requested an extra set of hands to help get the left skin laid down and cherry riveted in place.  Took a bit of maneuvering but eventually got them together. Should also note I apparently missed some match drilling on the sheer clips so had to do that, along with deburring prior to assembly.  Again, FOLLOW THE INSTRUCTIONS! Even though it's not required with the tape, I still went ahead and took a break and weighted down the trailing edge of the rudder.


I read no less than three different variations on how to double rivet the trailing edge.  They all had one thing in common and that was to take your time and ensure it wasn't buckling one way or another.  I used the Vans method of taping all the rivets in on one side.  I then partially the non-shop end with some back riveting.  The entire time I was doing this I used the weight system in the above picture and kept pressure on the edge, so it stayed flat.

After the first side I flipped it over and did the same, but this time swapped the back rivet head for a mushroom head. I used this on a very low setting to hammer them down some more, using the back-rivet plate on the other end to help out.  After this I flipped it once more and gave the other side a quick go.  Tried to take a picture to show the straight trailing edge but you can't really see anything. If it gets a bit warped between now and flying time I'll take a couple 2x4s with some hinges and make a type of break to smash it all back in place, like this.

Almost complete
I took the above picture early in the evening.  Didn't take any of me rolling the back or putting counterweights in etc.  I ended the night without finishing, got ready to hit the sack and then was bothered that it wasn't done so went back out to finish it up.  I wasn't happy with my first attempt at bending the two forward edges together, I drilled them out and gave it another go... slightly better, but not sure if it needs to sit perfectly flat with the lapping edges or if it's going to have a slight buckle to it.  One solution which I read in another guys build was to add some extra rivets, they seem to space out a bit when you get to the bottom part.  I may do this or may leave it as it is.  When I wrangle an EAA Tech Counselor over here I'll get his thoughts.  Good news is this piece is easy to get to, even after the plane is 100% put together.

The other thing that slightly bothers me are the scratches on the aluminum.  That just a bit of my perfectionism coming out, however I watched an EAA Video on building an RV and the guy basically said before they paint the outside they are going to scratch it all to hell, so don't worry about it.

Here are my two pieces.  While I have the HS down I'm going to go ahead and fix those remaining 10 countersunk rivets.. oh, and order some more cherry rivets cause I used about 3x the amount I was supposed to on my mess ups.

Proper home-build safety attire

Sunday, September 27, 2015

Rudder / Horizontal Stabilizer & Priming

Rudder

Section 7

This section was a tad different than the last.  The steps are a bit misleading because you would shoot through three of them in 30 mins and then one would take 5 hours.  I'm still reading each step several times as well as looking at other build logs.  I'm learning a lot of the techniques and am more comfortable in execution. There was a lot of part cutting and fabrication type activities in this section.

substructure, ignore backwards rib..
Lots O' Clecos
I changed up some of my process, when working through a substructure I deburr the parts as soon as I pull the blue film off.  Then while putting together and match drilling, I don't deburr a single hole until it's put together.  Then when I dismantle everything I go through the arduous process of deburring holes, sides and any other pieces I missed before doing dimples.  So, for example on the rudder I spent a good 4 hours doing nothing but final deburring of all parts and skin.  I had to charge my deburring electric screwdriver several times, while waiting I used my new C-Frame table to dimple the skins.  Well I used a combination of the pneumatic squeezer and C-frame to do the dimples. This table made the process go smooth.


Horizontal Stabilizer

Section 8

It occurred to me that I don't necessarily have to do the parts in a specific order.  There are some times during the build it makes sense to work a few parts concurrently and this is one of those times. Reading ahead to the horizontal stabilizer I noticed that after four steps you can prime a rather large spar and doubler piece. I decided to go ahead and spend the hour or two getting these prepped to prime with the rudder parts.  Here's the finished stab to show the size of it.


Priming

Interesting that this was one of the activities I dreaded.  My first go around I felt a bit rushed because I had imposed a timeline to the process before really understanding the process in the first place. This go around I had maybe two or three times as many parts so obviously it took a while but it went off without much of a hitch.  I had help doing the final clean and Prekote process which saved me about 2 hours. I functioned more as a supervisor and handled some of the larger parts such as the skins and spars.  But given the Prekote product is non-toxic, doesn't irritate your skins ect. it's fairly safe for anyone to do.

As each piece go cleaned and etched I put them out on some cardboard to dry, after about 20 mins I would move them to some cardboard in the garage so when it was time to paint the parts wouldn't be too hot.  Once all the pieces were ready to be primed I did my equal mix of AKZO Base, Cure and Thinner.  Still learning how much to mix, I went through about 48 ounces or more of paint.  First batch did 24 ounces, second did 16 and third did about 8, each time I do a new mix I have to wait about 30 mins before I can spray it.  When I do spray it, I hit it with about two or three light coats, then inspect the parts and make sure I didn't miss anything.  If I did I spray those parts a bit extra.  In the end I moved them all inside onto some more cardboard and these will dry at least 24 hours before I mess with them.

I've even become a bit proficient at cleaning my spray gun only using about 5 ounces of mineral spirits.  I actually reuse it as well getting a few cleanings.  I guess I'll have another spray or two left in this gun and then I'll throw down another $10 and get a shiny new one.  Moving forward I won't post anymore pics or write-ups on priming unless there's something different about what I do.  It will just get incorporated into the build as I move forward.

Lots O' small parts


Monday, September 21, 2015

Vertical Stabilizer Completed & 'Do over'

Vertical Stabilizer

Finished up the Vertical Stabilizer this evening.  Got to again work with some of the various riveting techniques, by far my favorite is using the squeezer but had to do back riveting as well as use the bucking bar.  Had some help doing the skin riveting which speed things up a bit. Before you knew it, I was done.  Gave it a quick wipe down with some Acetone and will be putting the completed part away for later use. One note: it's very important to follow the directions when riveting on the skin, otherwise you're likely to have to drill out some rivets to get to the middle sections.  They're very clear, did find one mistake where diagrams called out two different rivet types. However, it's a non-issue because by that time you have an idea of when to use what rivets.

Substructure complete, minus the bottom pieces.
Cleco'd up to sit for awhile and ensure good fit.
Part complete
Now onto the rudder.....

'Do Over'

Any project you know you're going to have some issues arise that require some extra work.  I guess on my first 'Do Over' there's some good and bad news... Bad news I made the mistake of not countersinking a set of holes deep enough, the good news is I have become adept at rivet removal. Back story is when I previously countersunk the holes a bit early in the build I was more or less blindly working through the steps.  I could have looked ahead and seen which rivets went in but I didn't.  So when I used a size 3 rivet to test the depth it was flush, however the holes needed to be machine countersunk for a size 4 rivet. So, basically it was too shallow and I really didn't notice it until I had slammed through them all. I guess a bit of a downside to using the pneumatic squeezer.

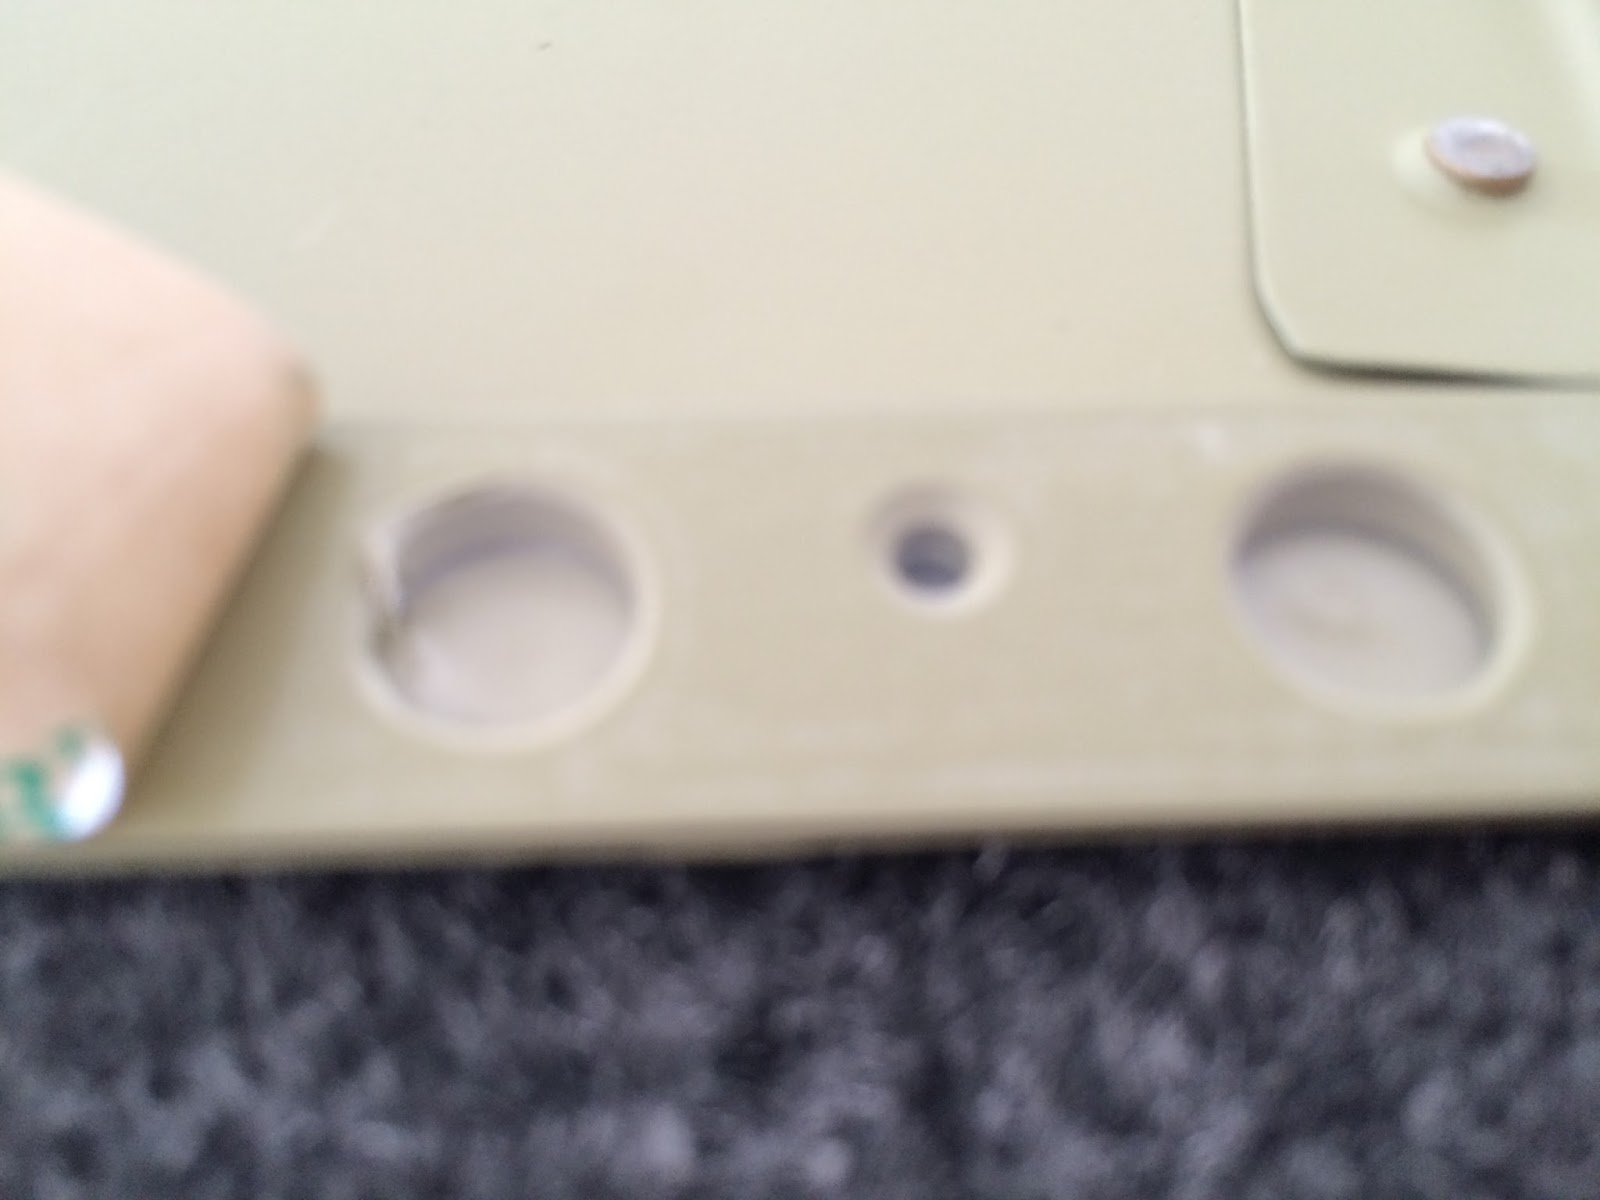
The image below shows a few of the holes I fixed.  The middle shows the proper countersink and the right is not deep enough.


It's not a 'huge' mistake as it will only cost me a few hours of time and about $2 for some additional rivets. I have already complete half the rivet do overs and it took about an hour to drill out, re-countersink, deburr and re-rivet 10 of them.  I'll wait till I receive to extra rivets to do the rest, and in the end I've changed my process a bit to mitigate the chances of something like this happening again.

Saturday, September 19, 2015

Priming

Page 6-4 Step: States in part: Double check that all parts are properly deburred and prime the parts, if desired, in preparation for riveting.

Used my roller workbench to hold the parts prior to cleaning
It was decided before I even started the build that I was going to prime.  The debate is if you don't prime the plane will last 50 years, if you do prime it will last 150 years... I'm not sure how scientific that is, and I should note that I cruise around in a 40-year-old plane that has no internal priming and I have yet to fall out of the sky. So, needed or not it's something I'm going to do for peace of mind.

That gets to the how to in terms of products and process to use.  Can be as simple as a self-etching rattle can, or some 6-step process which includes numerous caustic chemicals to clean and etch with prior to priming.  I picked something in between that yield good results.  I started out using a Scotch Brite pad and a spray bottle filled with Prekote and following these directions, cleaned and etched up each part.   Using a hose, I rinsed off piece thoroughly to make sure all the sudsy Prekote was off and then set the pieces on my paint station rack to dry.  Skin being to large I just set it up right to dry.

Post paint
The primer I decided to use was a 2-part Epoxy primer called AKZO. People seem to have solid results with this so that was the deciding factor.  Now I haven't used a pneumatic spray gun since 9th grade so before spraying I watched a few videos, practiced with water and tried to hedge the chances of fouling something up.  My first mix I went with a 1:1 ratio of the AKZO base and curing catalyst.  Per recommendation let that sit in a cup for about 30 mins stirring every 10 or so.  I loaded the spray gun up and got to painting.  It was surprisingly a lot easier than anticipated.  Since I did a small batch of mix I got one side of the parts painted before running out.  It looked to be a bit 'thick' which was either technique or product... blaming the product I decided my next batch was going to be equal parts base, curing and some TR-19 thinner.  The next round of spraying seemed to look about the same color wise, maybe dried faster... not sure but since I have a gallon of it, will be using the TR-19 thinner moving forward.
After things dried a bit I gave each piece a quality assurance run through.  Having so many parts on the rack I missed several of the flange pieces and didn't coat as well as I would have liked.  Put blue tape on any parts I wanted to go back over and made a small 6-ounce batch of primer and went over all the areas.  Going to give a good 24 hours of curing time before I start putting the parts back together....  Okay I lied, I'm antsy and wanted to rivet something so while that second back of primer was resting, potting or whatever it's called I decided to rivet the rudder stops to one of the hinges.

Riveting that piece took all of 5 minutes using the pneumatic squeezer.  Using the rivet gauge I QA'd my work and everything was great. All in all, it was a lot less painless than I thought it would be, the hardest part being the cleanup.  The good news is I used an inexpensive HVLP Gun from Harbor Freight.  So even if the gun gets gunked up after 4-5 times of use then I can just get another.

Thursday, September 17, 2015

Garage Storage


I mentioned in a previous post that I wasn't comfortable having airplane parts and skins just laying around waiting to be stepped on or worse.  I searched the internet for some above the garage door storage ideas and apparently, it's not an original concept and there's some off the shelve solutions you can buy.  As with most things I did a build vs buy analysis and determined I could make something with more structure and sturdiness for cheaper and would take about the same amount of time to install.  It seems a bit silly to build a plane but shy away from some shelving.


So I drew out an idea on paper, did some measurements and came up with a BOM (Bill of materials). I wanted two 4x8 foot platforms using the existing garage door header on one side and some metal brackets for support on the other side.  Went with 2x3 for the frame and 1x6 boards for the decking.  The idea of going with a decking material over some plywood is that the storage area would be dark.  So dark that you would have to mount a head lamp and grab a ladder just to see what's up there.  The decking spaced by about 2.75" apart allows not only light to get up there but for you to see what's up there before you climb the ladder
Using the garage door header as structure for one side allowed me to mount some brackets for the opposing end.  This part was by far the hardest since each platform weighs maybe 50 lbs. and is a bit bulky.  Had to use several ladders to get the wall side above the garage door and mounted into the header.  I was then able to mount the brackets to the sides and the side to the top piece.  The other challenge was finding the stud to go into.  Even using a stud finder, I put a few too many extra holes in it.

The commercial ones said they could hold 600 lbs.  I'm not sure how much these will hold, I used pretty stout lag screws and the weakness part would be the middle outside of each platform.  I could strengthen that but adding another strut in the middle, but that's not really needed since I don't plan to live up there.  My very scientific method for testing them was to hang my 200 lbs off the side, there was some bowing, but it didn't come crashing down so passes for me!