Wednesday, April 20, 2016

Kit Progress, Stall Warning & Tailcone Attach

Kit Progress

Taking a non-linear approach on continuing the build I worked on the wings and fuselage concurrently.  Also given the list created from the kit inspections I jumped around quite a bit resolving loose ends on steps that either weren't done or left up to the builder to complete.  It's a bit overwhelming having so many things to work on so I just started at the top of my list with the wings and worked through the items until getting to Section 19, likewise I started on the fuselage list and worked through to Section 25.  On items I wasn't ready to complete, I just made a note and moved on, a good example is pro-sealing the fuel senders on the tank, I'm going to wait for my Stainless Steel Heater Bypass Valve so I don't have to make multiple batches of the stuff.

During the progress if I had questions I would email Vans technical support and move on, when they would reply I would jump back to the step.  One such question is how do you remove the forward floor pans with the gear weldments.  Originally Vans had emailed me that they could be removed and should be removed to inspect underneath.  So I sent a picture showing how the weldment stops removal of the pan, they revised their previous statement and said to try and clean under it and move forward.  So that's what I did, painstakingly hand-setting a few hundred cherry rivets.  I'm going to borrow a pneumatic cherry rivet gun for the remaining floor pans when the time comes.

Forward Floor Pans
Something I previously didn't mention is I made some roller assemblies for the fuselage using some of the crate material, left over carpet and wheels.  The fuselage gets shipped bolted into the crate, once you unscrew the outside holders you're left with large wood inserts into the spars. I just made a box to attached it to the existing holders and put some wheels on them.  This screwed into the existing spar piece allows it to be moved around fairly easily.  I then made two platforms, one for the front and one for the back which will keep the piece from rocking back and forth.

Fuselage Wheel
Attached to Fuselage
Tapped Wings

Stall Warning System

Section 19
 I plan on installing an angle of attack system on the plane so in theory I could forgo this section if you want.  But you have all the parts and I'm not comfortable giving up on the basic stall warning system yet.  Plus you get all the parts anyways so why not give it a go and install it!

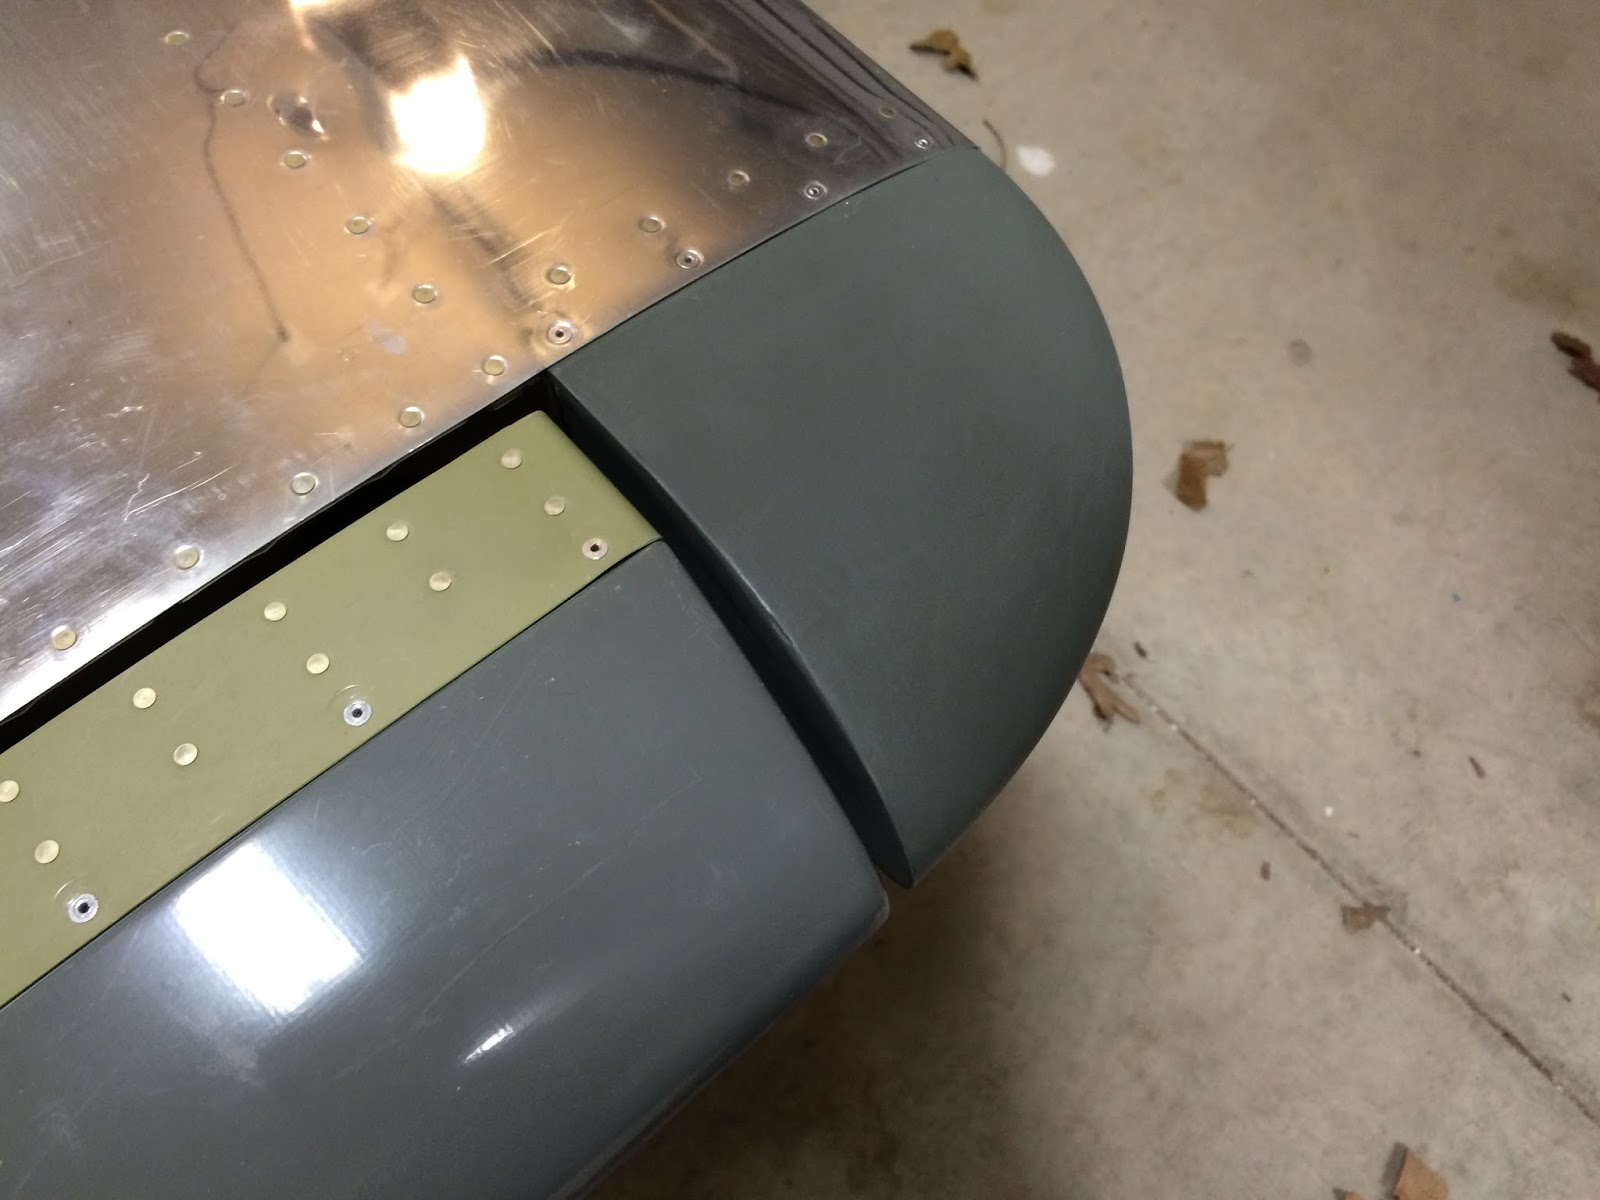
Nothing is more nerve racking than cutting into your wing skin!  Even with a template and some solid instructions I felt a bit ill as I dremeled my way into the side.  The end result I wasn't happy with so used some of my previously made sanding tools to square it up a bit.  Still not CNC quality but it's covered with a plate and on the bottom of the wing so I'll live.


Made another paint booth!  Not really, I'm just using my crate graveyard as a paint booth for now.  As much as I like AKZO since I don't want to spend 30 mins prepping and 30 mins cleaning for every little part I'm still going to use self etching on the remaining parts.  If they're going to be somewhat visible I'll top coat, otherwise will leave them just primed.


Access plate completed
Reminded me of Legos
The rest of section 19 involves wiring up the alarm which will wait until I wire the plane, so for now this section is complete.

The stall tab is hanging out on the bottom left.

Tailcone Attachment

Section 20
This step is pretty exciting because you finally get to turn your empennage and fuselage kit into a single assembly. I didn't take any pictures of the progress but it's fairly straight forward and consists of cleco'ing together, match/final drilling... then separating and deburring and finally dimpling.

One note on the quickbuild is my mid-fuse top longerons didn't have the 4 #30 holes in the end to match drill into the tailcone longerons.  They did send me the template used previously in the plans but I had to cut off the applicable 4 hole section and line it up with the already installed longerons and make the hole.  Given my history of messing up a longeron I'm ultra sensitive to drilling these things so was a bit nervous doing this step.  The end result of consistent with the plans and was happy to move on.

After all the prep work you get to then reattach the tailcone and mid-fuse and secure with rivets.  This is defiantly a two person job because there are a large number of rivets on the bottom which will need to be set.  You may be able to back rivet, but it's not perfectly flat so you might run into issues with that.  In the end you now have a new improved fuselage....

Tuesday, April 12, 2016

The RV-10 Quickbuild Details and Inspection

Interdependencies

I can only speak to my experience but when I started building I was a bit overwhelmed with everything. I chose to remain hyper focused on the task at hand, aiming to build the empennage with above average workmanship.  I would say I successfully met that goal and with the months leading to my QB kit deliveries was able to spend a considerable amount of time researching and understanding what the rest of the build will entail.

Vans provides a handy flowchart which breaks down the plans for each kit needed to complete the majority of the aircraft, showing how the kits tie in with each other.  The choices you have in terms of interior, avionics, engine, prop, ect... aren't outlined in the flowchart but as you're going through this you will have an idea of what you want and when to install them.  The plans don't have to be completed in sequential order but there are true dependencies as well as steps you can do concurrently with others. For example on the empennage you can in theory build all the control surfaces at once, only needing them completed for Step 11 - Emp Attachment.

Now unless you're running a team of builders or have done this before I would advice against started several sections at once, from experience working on multiple sections gets a bit overwhelming. Other steps you can partially do and still call it 'complete', but you really mean 'complete for now' such as the empennage because there are a few steps you won't finish until near the end with final riveting of the top skins, or the attachment of the fairing trim. Just make a note of it and deal with it when you need to.

RV-10 Flowchart
In reference to my build this chart shows which sections are completed for you with a quickbuild. The short story is the QB Wings and Fuselage have a majority of the structural pieces complete but there are still plenty of steps you will be responsible for and you'll have to inspect for both quality and completeness. 

Kit Inspections

I think of the QB kits similarly to if I was buying someone's already started project... hope they did a great job but need to verify it for completeness and quality.  The most logical method for me was to start on Step 13 of the wings and walk through each section and each step and make notes of things not completed or of questionable quality.  There were some steps that required two people to maneuver the pieces (Removing the tanks) but I went through each step and made a laundry list of items I needed to give attention to later. Here's what I found:

Wings
·         13-3 step 9 - Enlarge hole and Bushing (If needed)
·         13-4 step 6 - Tap tiedowns, 3/8x16
·         13-5 step 1 - 1/4 inch hole on brackets
·         15-4 step 4 - Drill out extra rivet
·         16-2 step 3 - Match drill #19 & #8
·         16-3 step 2 - Install Nutplates
·         17-3 step 12 - Fill stall slot holes (Maybe)
·         17-3 step 12 - Pitot tube rivet removed, unless AoA covers
·         18- 5 step 5 – Attach VA-146 Bearing
·         18-7 steps 1-3 – Fuel Sender installation
·         18-8 step 6 – Reattach Tanks to wing leading edge
·         21-10 step 1-2 - Aileron Attach
·         22-5 step 3 - Install attach hardware
·         22-8 step 13-14 - install flap

 Quick Build Fuselage
·         27-2 step 3 – Enlarge Lycoming Engine holes to 5/8
·         27-6 step 3 –Install two snap bushings for rudder pedals
·         27-6 steps 5-6 – Cabin heat install
·         28-10 step 12 – Nutplates and Rivets for FloScan or FT install
·         28-12 step 2 – Rivet Firewall assembly to Floorskins
·         29-5 step 4 – F-1006B cleco skins
·         29-8 step 13 – Baggage door Shims
·         29-16 step 3 – Remove Baggage door, hatched area
·         29-16 step 4 – Enlarge wing wire runs and install bushings both sides
·         29-16 step 9 – Rivet baggage door shims
·         29-19 step 8 – Vent door hardware install
·         29-20 step 1 – Rivet floor pans
·         30-2 steps 2-3 – Debur and install steps
·         30-3 steps 1-6 – Angle steps
·         30-4 steps 1-2 – mount and bolt steps

In the end if you didn't find any issues then I would recheck it again because you missed something. There are built by hand so even in that setting there's bound to be some missed things, I'm sure Vans could up their quality control system but that would greatly affect the price, so it's still an unbelievable time saver.  It took me a total of 11 hours to inspect everything and as a bonus I'm now fairly familiar with how everything went together.  Sure it won't be as intimate as if you spend 100's of hours shooting rivets, but you know enough about the construction to make you comfortable with the build.
Post Inspection

RV-10 Quickbuild Sections

For continuity I wanted to provide all the section drawings for the inspected assemblies.  Based on my inspection I'll have to revist most these sections before I would call them 'complete'.

Wings

Section 13
Section 14
Section 15
Section 16
Section 17
Section 18
Section 21
Section 22
Fuselage
Section 25
Section 26
Section 27
Section 28
Section 29
Section 30
Section 31

Thursday, April 7, 2016

Quickbuild Kit Delivery

Delivery

It's been 5 months and about a week since I ordered my Quickbuilds kits and today they arrived via ABF.  Vans had called me 3 weeks ago and gave me some shipping options. I gave Tony Partain a call but he was booked for the next month and a half so went with the crate and freight method.  Took Vans a bit to get them crated, I think they had some people out for the holiday so it didn't get shipped out till the end of the month and took about a week to get to me.


The three crates combined came in at around 1,600 lbs, with the largest of being 1,300 lbs by itself.  After visually inspecting each crate for any damage they were unloaded and moved into the airplane factory.


ABF got them right next to my garage.  I was a bit impatient took a peak....

Inventory

As with the empennage I'm not tracking my inventory and unpacking time and organization time.  It was completed in less than 4 hours but my neighbor Jason was helping me pop open crates and move parts, while my wife was marking off items on the inventory pick sheets.  Here are some pictures of the unboxing.


Once everything was unpacked and accounted for I tried to determine the best way to organize everything.  There were a lot more parts than I had anticipated, a lot of hardware and plenty of tubing and metal pieces.  I had to spill over into the 3rd car slot but once I can get going on the project I hope to consolidate it a bit.

Ready to get started!

Tuesday, March 15, 2016

Preparing for the Quickbuilds

Quickbuild finalization

This pseudo vacation from the build has given me an opportunity to really spend some time reading, researching and really understanding a bit more about what is required to complete the project.  It's much like building a custom house in that you pick absolutely everything outside of the main structure.  Things like interior, avionics, engine and every little detail is yours to figure out.  Even if you go 100% per the plans using all of Vans suggestions there's a number of decisions that are entirely up to you.

Luckily I'm not the first person to do this and there are a lot of great parts available from a 3rd party vendor.  Some of these choices though forego a given Vans option and in turn you can remove a piece from your kit.  For example I'm going to use some higher quality fuel and brake lines from Tom at TS Flightlines, so there were some bits and pieces I could remove from the Vans pick sheet. If you use something like Aveo Ziptips for your lighting then you can remove the stock Fiberglass tips from the kit.  In the end you get some credit on the parts and that helps absorb some of the inherent extra costs going with a non standard choice.

My Quickbuild Fuselage and Wings are in a shipping crate right now somewhere on their way to Vans factory for inspection, final packing and in turn ultimately shipped to me.  I placed the ordered these kits the first part of November so assuming I receive it sometime early April it fits within the advised 5-6 months lead time Vans puts on their website.

VS/HS Removal

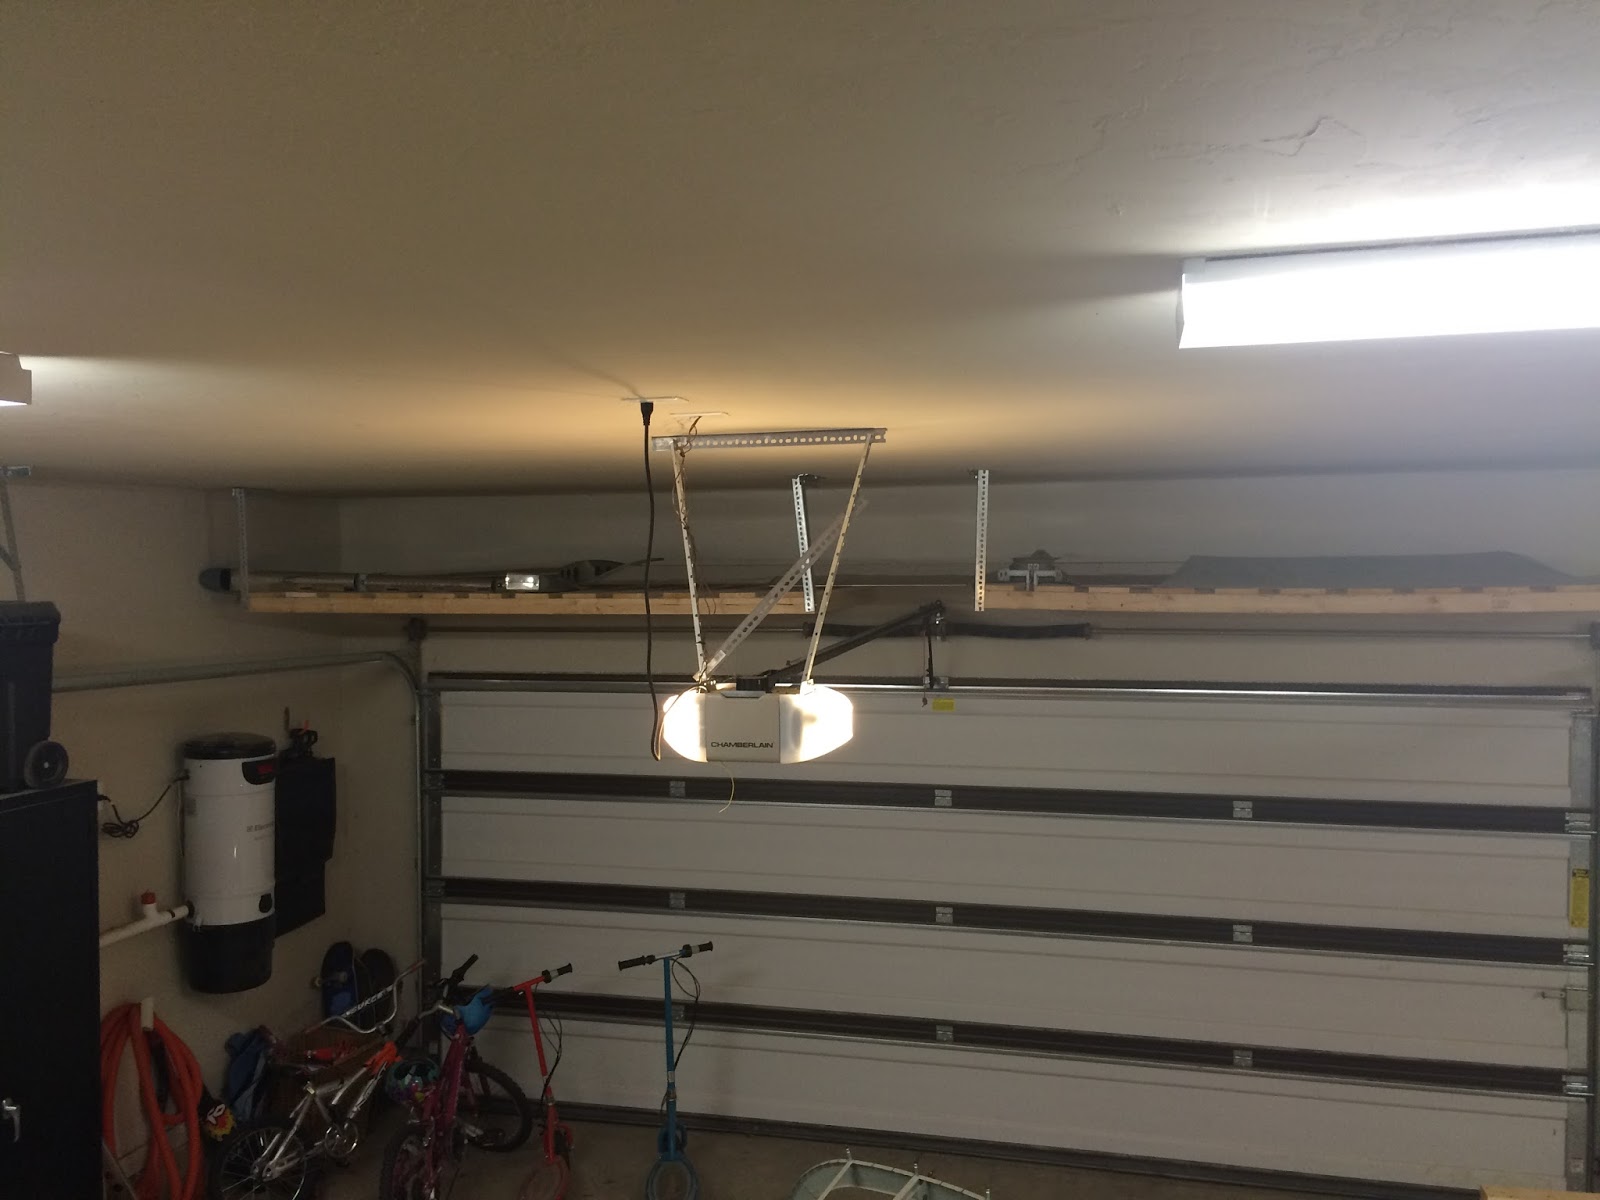
It is my intent to build as much as I possibly can in the garage before moving to the airport.  With that in mind I have to figure out a way to continue building for the next few years without having to take the 3rd car slot or have plane parts hanging out into my driveway.  Simplest solution was to remove the vertical and horizontal stabilizer and do some reorganization. This gives enough room to place the plane at an angle (with the wings off) and enough room to have an entire fuselage with an engine and prop mounted, I'll even be able to push it to the driveway for a wing test fit.

It didn't take much time to accomplish these tasks. The most challenging of which was the part where you have to play Tetris with the pieces to get them to my  garage storage shelves... defiantly a two person job, could of benefited with three.

Safe and Sound
So much room for activities! 

Plans Organization

I really like things organized in a functional manner especially project materials. The paper work for this project was scattered around the garage, clipped to the plans folder, on my computer and in drawers in my office.  I decided to order a large three-ring binder and some dividers and what not to organize my plans better.  Not only will it keep everything in a centralized manner, but give me the capability to remove a sheet, work off that and place it back in the folder when I'm done.


Saturday, February 27, 2016

Static Ports

Static Ports

I decided to deviate from the plans and buy an after market static port kit.  I'm sure the Vans solution works great, however I've heard some of the tubing will leak but then I also heard some aftermarket kits tend to induce calibration errors on the avionics.  For you non-pilots an airplanes static system is utilized for your Airspeed Indicator, Altimeter and Vertical speed indicator... all very important things and especially important for flying in clouds.  Knowing this the RV-10 was designed with two ports for redundancy.

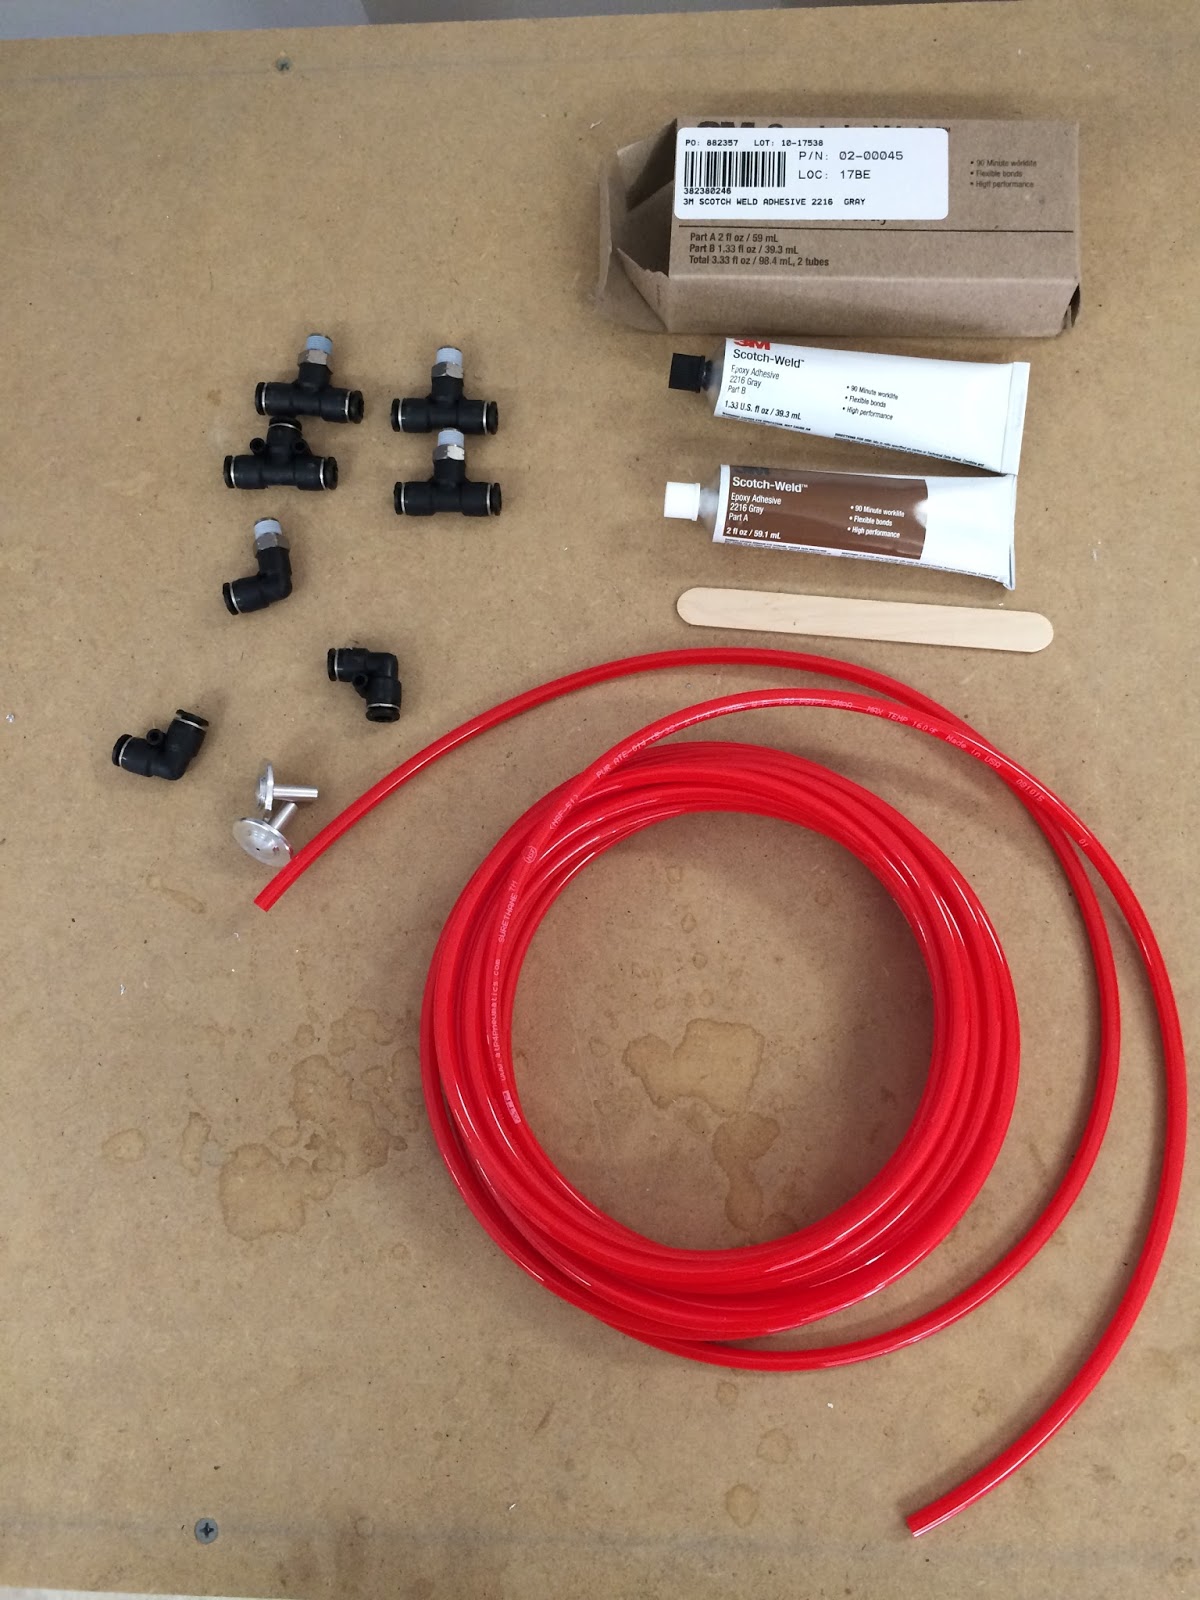
After a good bit of research I went with Cleveland tools Static Port and Plumbing Kit.  It's about twice as much as the $20 Vans solution but I'm sure most of that is tied up in the machined port fittings vs Vans setup of using a cherry rivet.  I had some concern about using pro-seal to attach the port and after talking to Mike at Cleveland and some more research apparently I came across 3M Scotch-weld Epoxy Adhesive 2216. It's expensive so that means it must be good... actually a few guys on the board swear by it so who am I to argue.  In the end it's justifiable considering you don't want these flying off in flight.

Complete Kit with Epoxy
 Prep work is always important when using adhesives, the area has to be cleaned and etched a bit prior to installing.  In this case I had already primed/painted the interior so that had to be sanded down to bare metal.  I worked off of the original static holes and enlarged them with a unibit and finished them up with some deburring.  Then after taping the area used the fitting as a guide and cut the middle portion out.  Sanded the middle part out, pull the tape off and cleaned with acetone.


Not perfect but enough cleared area to work

Then it's a matter of mixing up the epoxy, putting some of the material on the skin and on the fitting.  Pushing the fitting in place and rotating it around to get a clean edge and ensure everything is together.  Clamping is a bit of a pain, I used 6" clamps and duct tape to hold the fitting in and took some time ensuring it was symmetrical as possible.  Used acetone to make sure no material got in any places I didn't want it and left it for a good 24 hours to cure.

Looks much better than a cherry rivet
Good even amount of epoxy

Running the lines is about a 5 min job after thinking about how you want to run it for 25 mins.  I plan on putting in an air conditioner in the plane which means I will have a shelf back there with an evaporator on one side.  With that in mind I decided to route the line on the opposite side of the tail. It's actually a non issue if I decide to move it since I will wait towards the end to tie down the lines and what not.


Monday, February 22, 2016

Wing Cradle

Wing Cradle

With the empennage complete and while waiting for the next set of kits I don't have a whole lot of hands on labor activities that I can do.  I have plenty of paperwork exercises around the planning and a good bit of reading I can do but it was nice out this weekend and I was itching for a project.

Going the quick build route means the wings are going to come 95% assembled.  This is great but I need a place to store them and a convenient way of moving them around.  Luckily someone else thought of this first and even put the plans for public consumption.  One builder whose log I look at periodically has them posted, but in case something happens to the site I'll copy the highlights.

Material wise I spent about $50 total.  If you have some of this stuff laying around you can make it a bit cheaper. This entire thing is made with;


  • 4 4" castering wheels
  • 2 2x6x10'
  • 3 2x4x10'
  • 1 2x4x8'
  • 1 16" x 8' length of carpet
  • 1 box 3" wood screws

Mouser provided a handy chart for the length cuts, as you can see the 2x6's don't get cut.
10'28"28"28"24"9"
10'28"24"24"24"16"
10'24"24"23.75"23.75"16"
8'23.75"10.25"10.25"10.25"10.25

After that you just use 3" screws to put everything together per the picture.  There are probably a number of ways you can construct it but if you're making these chances are you're building an airplane so should be easy to figure out.   In my case I partially built the frames first but then on the carpeted end built from the middle out so everything was snug.  Last part of the framing was to close the 2x4 ends in next to the 2x6s and then finish it up with the wheels and carpet.  I didn't do locking wheels, mainly because I picked them up at Harbor Freight for $4 a pop and didn't see a locking option.  All in all it took me maybe 3 hours total to complete.


Wing Cradle

Tuesday, February 9, 2016

Empennage Completed!

Empennage Completed!

Cutting to the chase after close to 250 hours over the last 6 months I completed the first kit of my RV-10.  Now I use the term completed lightly because there will be other steps later where I return back to this section.  There's a cowling that comes with the finishing kit (I think), I will have to mount antennas, lights and probably various other things as well as rivet the top two sections which will remain cleco'd for now.


Empennage Completed!

Proof I was there!

Fiberglass Work

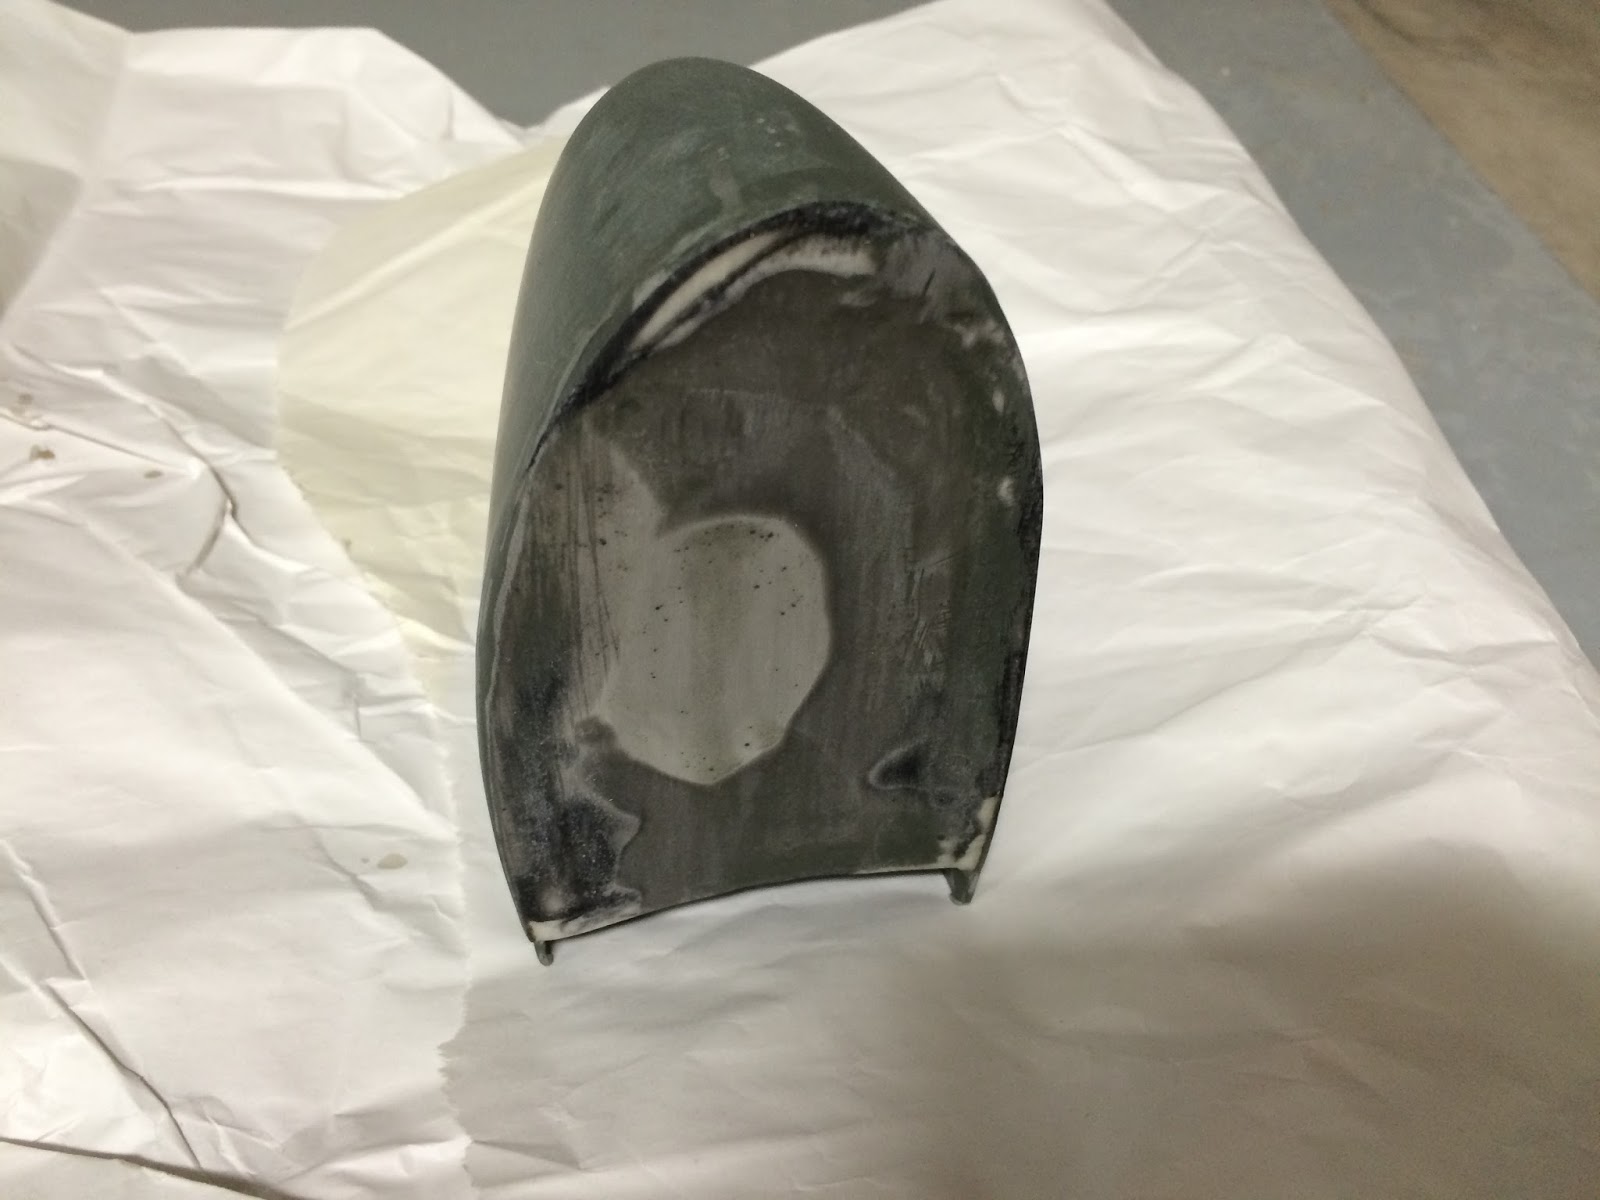
Prior to the above picture I had continued to do fiberglass work.  It's been a bit of a slow process but wanted to use it as a learning tool, really get my feet wet on various fiber glass techniques.  There's some great resources out there on how to work with fiberglass and I'll include some pictures but I was a bit all over the place so it's not documented very well.  Here are some highlights of some of the techniques I used.
  • Basics of cutting cloth and doing layup, both with colored pigment and clear.
  • Used Flox (Resin, hardener, microballoons) to contour some edges on the inside of pieces as practice.
  • Used Flox to get a flat smooth finish on the outside of pieces
  • Made a custom curved wood sanding block to get a consistent curve on the HS leading pieces
  • Skimcoating to fill scratches and pinholes.
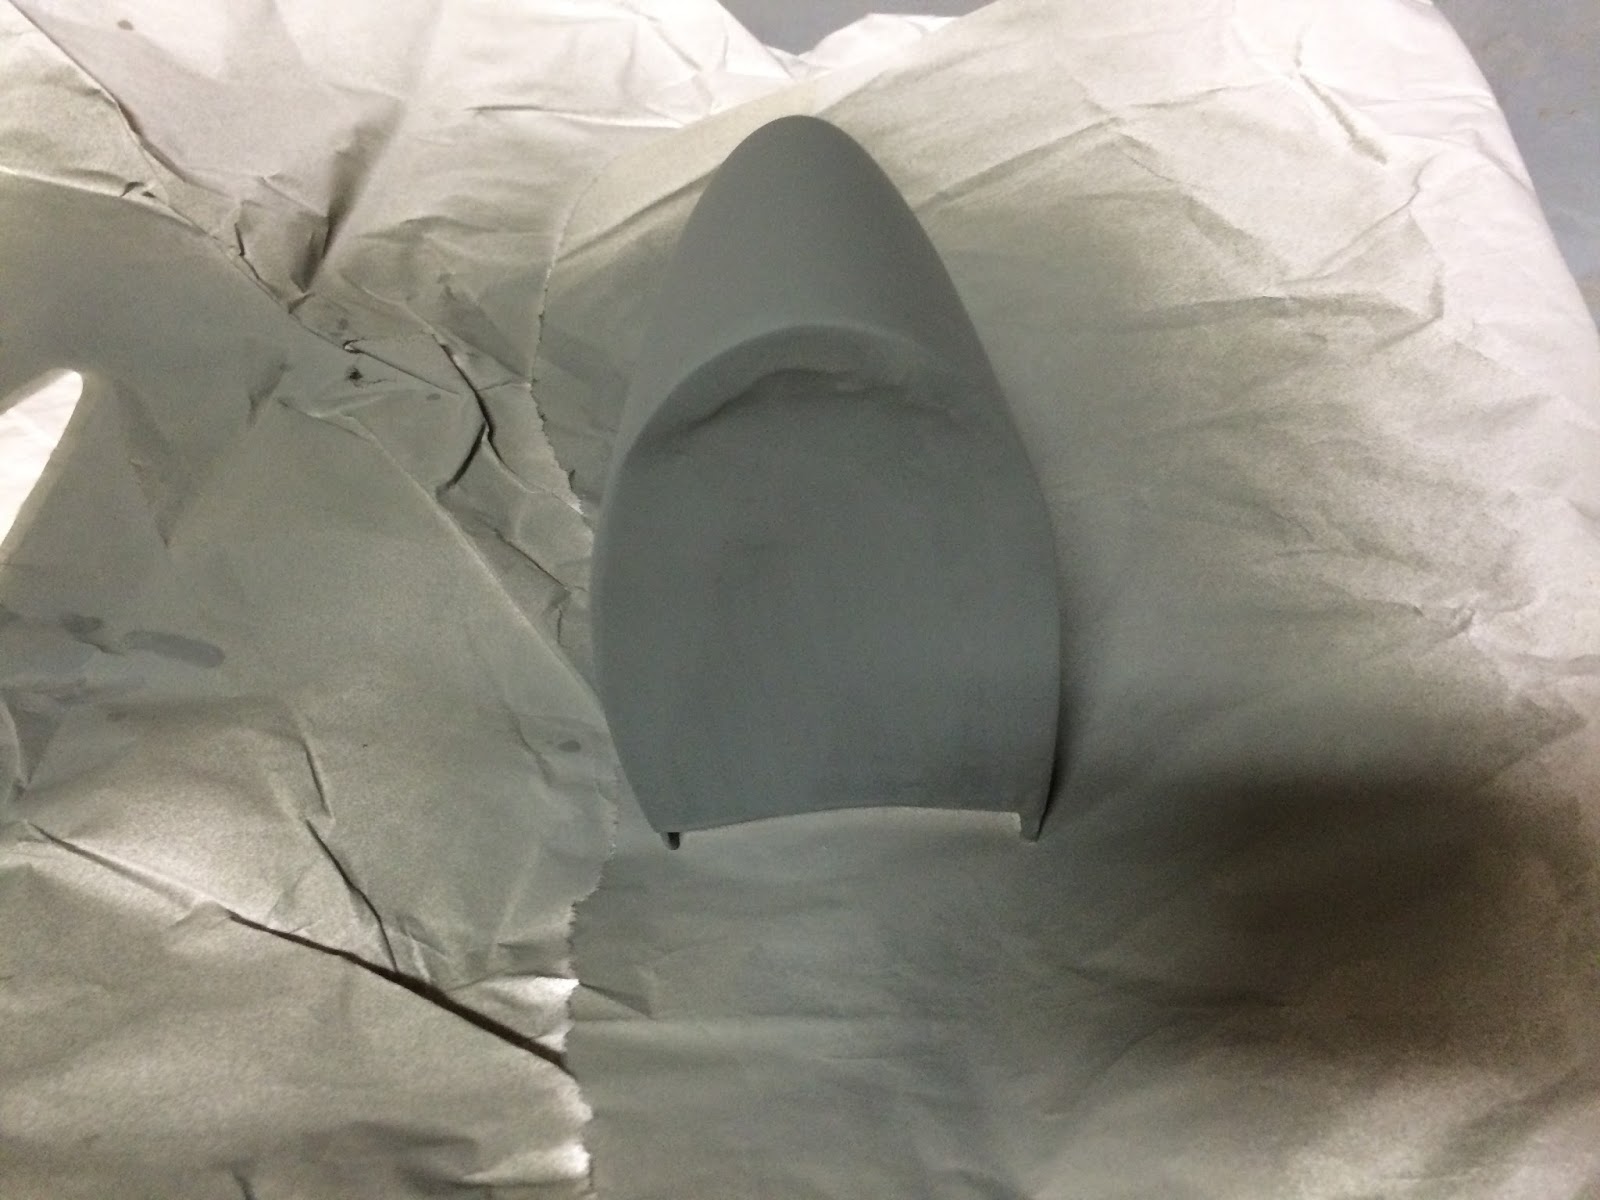
  • Primed fiberglass pieces did some sanding ect for cosmetic purposes.
Now here are a few of the in progress images... some things I did twice, for example after first application of primer to the pieces I decided I didn't like it and learned how to do skim coats.  Turned out much better...

Post fiberglass and major sanding.

Using Epoxy and Micro balloons 
Hard to see but this had a lot of pinholes
Custom inside radius sanding block
 After sanding I ended up with a marbled piece showing the various techniques I used.  This is after I sanded to contour and applied two skim coats to fill any pinholes.  Makes it a bit interesting looking.
  • Black - Cloth and epoxy with pigment
  • White - Epoxy and microballons (Flox)
  • Light gray - really thick Flox, more balloons the lighter it gets
  • Dark Gray - Thin Flox used as filler
  • Clear - Can't see it but there's resin over the top.
Primed
Sanded primer with 1000 grit and installed
Final fitting
HS piece not primed or screwed in.

Next Steps

The QB Wings and Fuselage are due to be here March/April but that could easily become April/May or May/June... who knows.  To keep the building mentality going there are a number of things I plan on getting done before these major structures arrive.  I won't be clock ours towards the project unless I'm physically touching the plane but some of these are going to take a substantial amount of time.  Here's what I'm looking at done prior to getting the QB parts.
  • Read through the Wing and Fuselage plans preparing to my own QA when I get my parts.
  • Construct a rolling wing cradle per these plans.
  • Update project plan baseline to include things I plan on adding/removing/changing.
  • Update Paint scheme with some other ideas I've had... maybe silver and black, maybe all black... maybe pink with baby unicorns.
  • Read through AC 43.13.. more of an educational item for me.