I started my work with the Cabin top back in July, so about 6 months ago. Wasn't consistent work and you can read about the initial fitting
here. Since then I've been going back and forth doing little things here and there with it. I originally thought securing the cabin top was something you finalize and accomplish later. Some people put it off longer than others but decided to follow the plans and throw it on now. Seems once you have the basic fuselage done you can start on the canopy, just don't do the windows and doors until permanently attached and your doors are hung. I had a lot of confusion but the good folks at
VAF straightened me out and suggested the order of things-
- Install the big conduits that run under the rear seats and baggage compartment floor.
- If using remote ADHARS modules make the shelf for them now.
- When done with the canopy, paint the plane interior.
- Paint the inside top of the canopy.
- Mount the rudder pedals, run the brake and fuel lines, and do all the wire runs you can leaving the ends long for final wire. Panel, avionics and all that other stuff waits until the end.
- Now, permanently attached the canopy top and move on to glass and doors.
Conduit has been run, my ADHARS will mount in the front behind the panel and I painted the plane interior parts that will be visible post interior install. That's not completely true, I did follow up later and painted some additional area's inside once the cabin top was mounted... but that's post attachment work.
Preparing and painting the cabin top is a lot harder and time consuming than I had originally anticipated. A lot of my awkwardness is just the learning curve of working with fiberglass, having very little previous experience outside of the empennage parts. I previous learned a good bit doing that but learned so much more while working on the cabin top. I wouldn't call myself adept at this point but I'm at least an experienced novice. Your comfort level will increase the more hands on time you spend doing it.
You have a lot of choices on this part as well. If you're really concerned with time and don't care how it looks you can just clean it up a bit, maybe put some paint on it and get to installing it. Your plane would have a top but it wouldn't be very nice inside. What I went with was the Aerosport overhead console and I plan on using their headliner kit. So I didn't have to be overly concerned with the back area of the cabin top but I did want a nice finish on the front visible area and that was were the time sink came in. Most my time was spent on a cycle of sanding, filling, priming and painting aiming for a particular finished look.
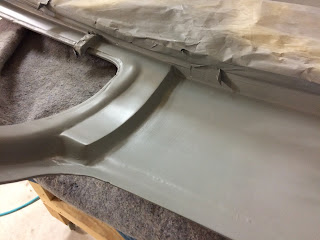
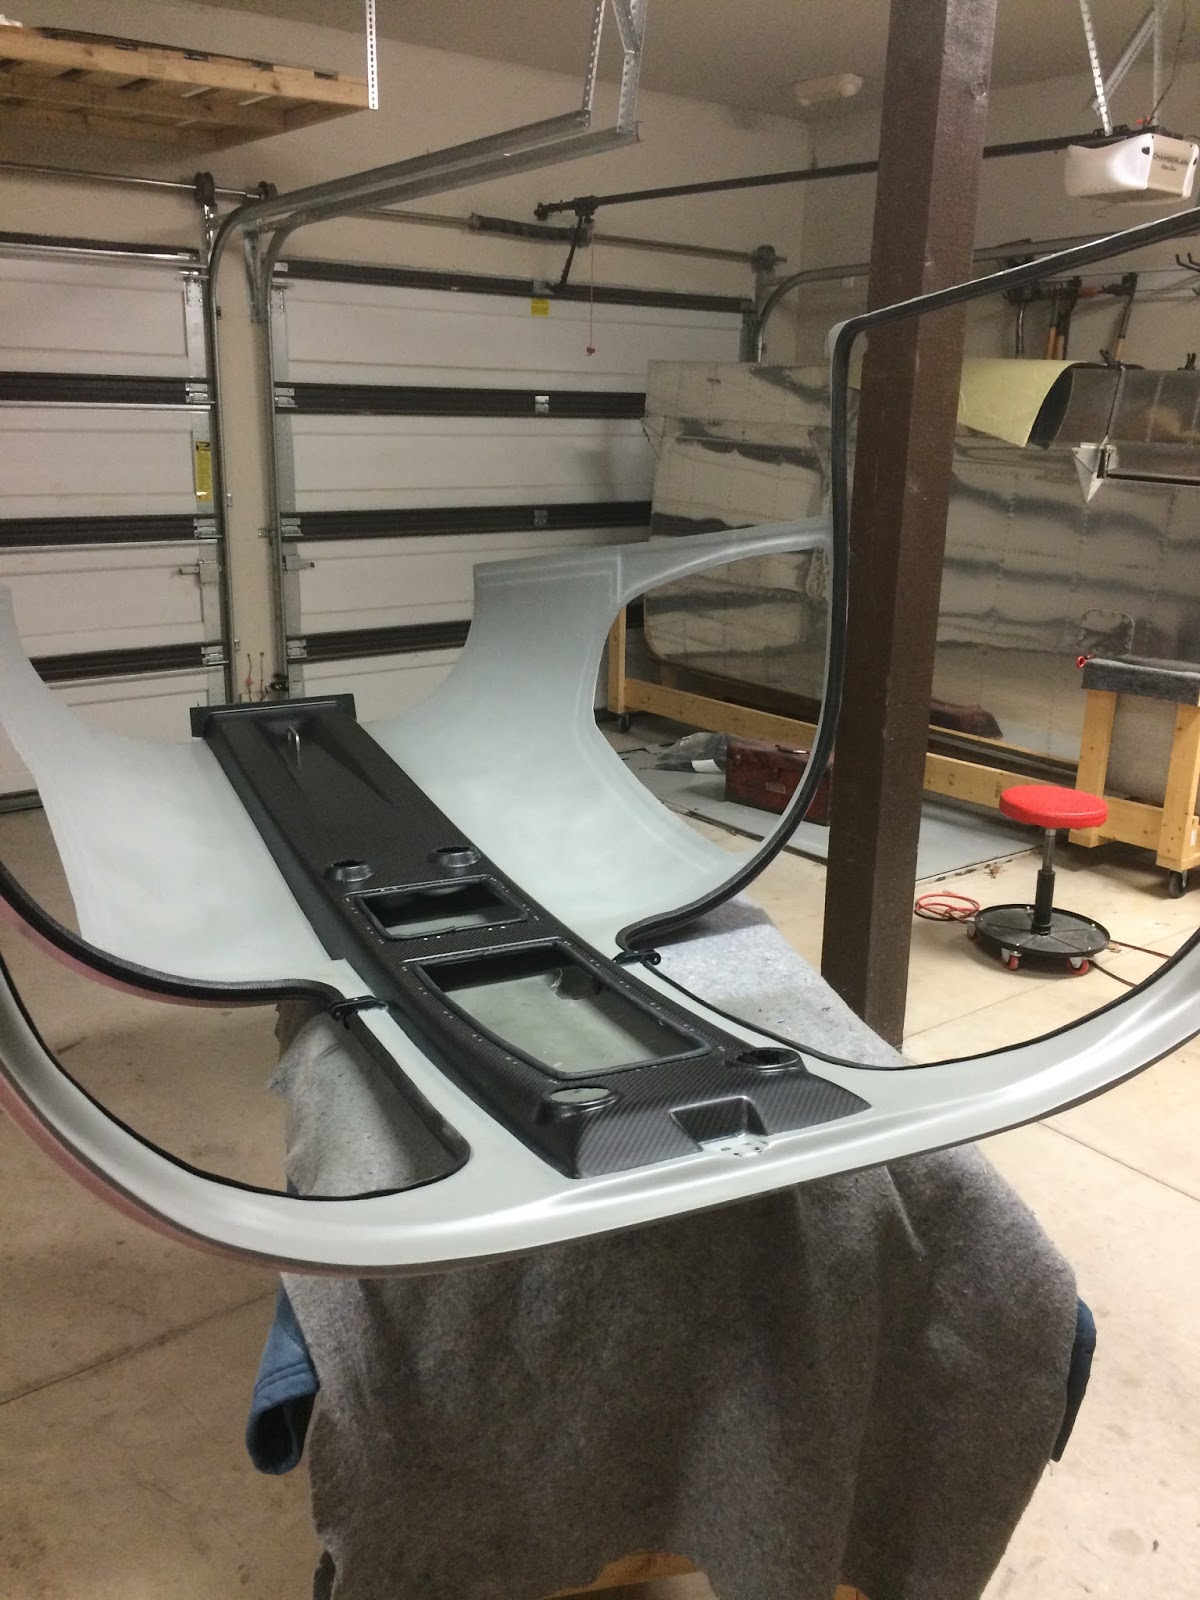
First part that I tackled was attaching the Overhead Console. This is a very light and sturdy piece that comes with very little directions. It's up to you to sort of work the installation through and figure out how you want it all installed. You'll need to source and install things like nut plates and lights, decide if you want to paint it or keep it carbon fiber, ect. For me I'm keeping it carbon fiber so I had to place it while at the same time trying not to mess up the flange pieces.
 |
| Glassed in the Gap |
 |
| Used some primer to see what I was sanding (Don't really need to do this) |
Now before I get into the pictures of later steps I want to say up front that my level of efficiency with working on fiberglass is horrible. I'm sure I wasted plenty of epoxy, filler, paint, sandpaper ect in this little adventure but I'll chalk that up to the cost of learning. There were several times I felt I was done, until I shot some primer over it and realized how just bad it looked. What helped me the most outside of just doing it was watching a ton of videos (The late Mike Arnold's videos can be found
here). I also spent countless hours reading other build logs and even talked to a car guy about body work. Posting on the forum always help and I did that with some questions on primer
here. Some tips and guidelines I picked up along the way are-
- Do all shaping with low grit 60-120 sandpaper
- If you need to add filler use epoxy resin and Microballons, thick enough to be applied in a single layer if possible.
- Again sand with 60-120 until you are happy and don't see any low or high spots.
- Skim coat with resin and sand off with some 320 or higher just to get it smoothed out.
Now the above is reiterative and I went through that process at least twice before I decided to do some heavy sanding removing some previous work and essentially starting back over. That in itself took me three hours using a mess of 60 grit sandpaper, scotch brite and some acetone (Had to remove old primer). Then I built up from there to get to where I could paint the product. Some of what I did was completely unnecessary, for example hand contouring micro filler in certain areas. That's really a challenge to get it looking symmetrical unless you're good with sculpturing which I'm not.
I also had no real idea on how to use high build primer contributing to the 4 cans I wasted. I went with aerosol for the ease and picked SEM products because I've had good luck with their paints. I learned the painting process goes a bit like this.
- Are you happy with the contour and quality of the part you're about to paint? If not go back to the steps above because no amount of paint is going to magically fill in any flaws.
- Spray a coat of dark colored primer, in my case I used cheap Rustoluem stuff that I have been using on the metal parts. Then while still wet spray on a few coats of your high build. The idea is when you start block sanding you'll see the dark color and know how close you are to the raw fiberglass.
- Once cured block sand with 400 just to find any high or low spots. Now some parts on the cabin top inside you can't really block. But do your best to make sure there's no high or low spots and everything is still contoured how you like it. If you hand sand use very little pressure to not make dips. Now on mine there were some low spots that I didn't feel justified resanding and starting over so I just mixed a little filler and used that.
- Top coat and once that's cured do a few coats of clear... I sanded with 1000 in between those.
Now the above sounds easy but it's far from that. You really have to take your time and have some patience, I think my earlier issues were from a lack of knowledge and patience both. I really kept thinking later steps like high build primer were going to fix my low spots and imperfections and it didn't. But as with all parts of this project you have to work through it and rework if you need to and get it done correctly.
As I said it took me about three times to get it to a place I was happy with it. Here is a picture of my first attempt, it was obvious after I sprayed with Primer that I had not done this correctly.
 |
| First go at it... gross |
The second time around I sanded off some of the primer and tried to 'patch' some of the spots. Again went ahead with spraying on the primer and again wasn't happy with the results.
 |
| Better but still junk |
The third go around I decided to take advice from the forum and this is where I spent the 3 hours removing all the previous layers. With the cabin top cleaned up I was ready to start again and over the course of a week or so put time into sanding, filling, sanding and filling to get the shaping completed while limiting highs and low spots. After skim coating I found more areas I wasn't happy with and fixed those and reskim coated. To prime I used some Rustoluem dark primer put a coat of that on and immediately sprayed the high build primer over that. This gives a bit of a guide on subsequent sanding where if I break through to the dark gray I know to stop. If I have to sand below that then I'll have to reseal before restarting the priming in that area. I did this a number of times which again slowed down the process.
 |
| Third time much better |
After I removed the masked off area's I wasn't happy with my lines between the top and the carbon fiber piece. I went ahead and sanded out the area with some 60, then 120 to recreate the lines. Taped it back off and sprayed again. Now there were actually some other area's I didn't like so I just worked those, cleaning them off and going through all the same steps I mentioned above. I also resanded the carbon fiber with some 320 to get any paint overspray off.
Then started the cycle of redoing small spots all over the place. I actually may have been a bit too picky and even though I could see the vast improvement, there were still a few imperfections that I wanted to correct. In reality they weren't overly noticeable but nonetheless it was bothering me. I spent a good amount of extra time doing patch fixes all over the place. Then it occurred to me that I'm not building a show plane, there will be imperfections and I need not obsess over it. I decided that if I couldn't see the issue from a few feet away then I would move on. Given all the work put into it I think it turned out well.
 |
| Final |
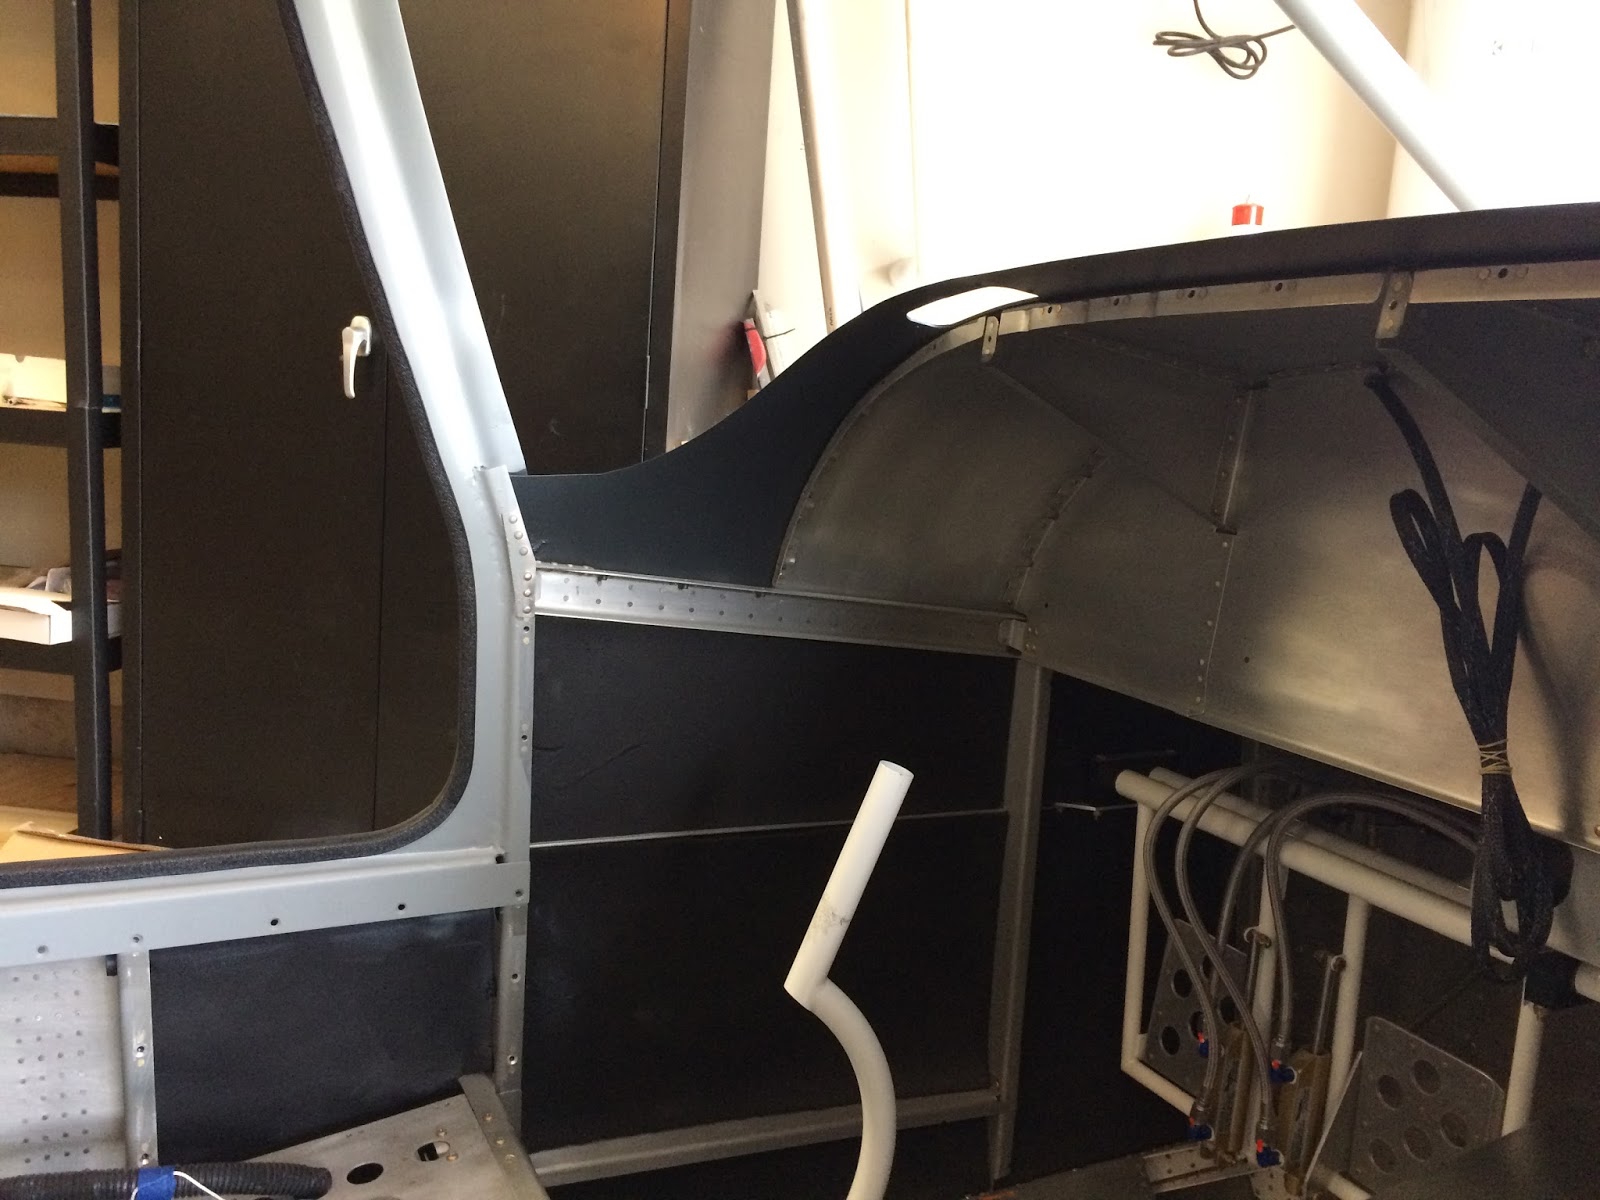
Something I didn't really cover was the door seal which I worked on concurrently with all the other stuff. I decided to go with a McMaster Carr product that attaches to the door opening vs per plans which puts a seal on the door. For me a cleaner look on the edge and I had seen a number of builds which used these. Had to do some research to really figure out what was needed and how to do it. In short depending on the seal you order you have to cut and sand the opening to accomodate this connecting on the inside. Best resource I found to explain it can be found
here, here is a picture of my end result, really won't know how well it works until I get the doors hung.
 |
| Door Seal |
Finally past the cosmetic details of the inside of the cabin top it was time to move on with the plans. Fairly straight forward it consisted of some dimpling the skins, countersinking and match drilling some parts. This was all per the plans and while a bit awkward at times to work with it was a fresh breath from my sanding/filing/priming/painting saga. I was surprised that CS4-4 pull rivets were used to secure the cabin piece to the skins. I'm guessing that Vans didn't want bucked or squeezed rivets damaging the fiber glass. With that in mind I used the manual pull rivet tool vs the pneumatic.
There are some things you need to think about if you plan on putting any wiring in the overhead console. I am putting lights and what not up there and will probably need a pair or two of 20-22 gauge wire. Decided to route that down the front and through the cabin top brace. To prepare I used rubber and plastic grommets along with some expandable sleeve material to act as a conduit. It's hard to see in the picture below but the black sleeve material comes out the overhead and down the brace.
 |
|
With the cabin top riveted to the side skins it was time to get some flox put on per the plans and tighten up all the hardware. I'm not 100% sure if you're supposed to torque these to spec. I'm guessing you're not since the attaching is being assisted with the flox. The process went really well although a bit messy. When I tightened everything down I was happy to see the flox squeeze through meaning there shouldn't be any air gaps anywhere. After that I cleaned up the fillet on the inside to leave it symmetrical all the way down. Here's an early picture of wet flox.

Once this cured the shaping was essentially there so I just used 320 to smooth it out some more and to clean up any stray flox material. Then as I did on the rest of the top I put some micro on to even it out some more, sanded and then skim coated followed by application of a few coats of high build primer. My goal here was to paint any of the visible areas post interior install so sprayed more than the cabin top work I had done. This included under the glare shield but used a graphite top coat vs warm gray. This was all followed by some light sanding clear. My fiberglass skills have gone up at least one level or so during this process and the end result was solid.

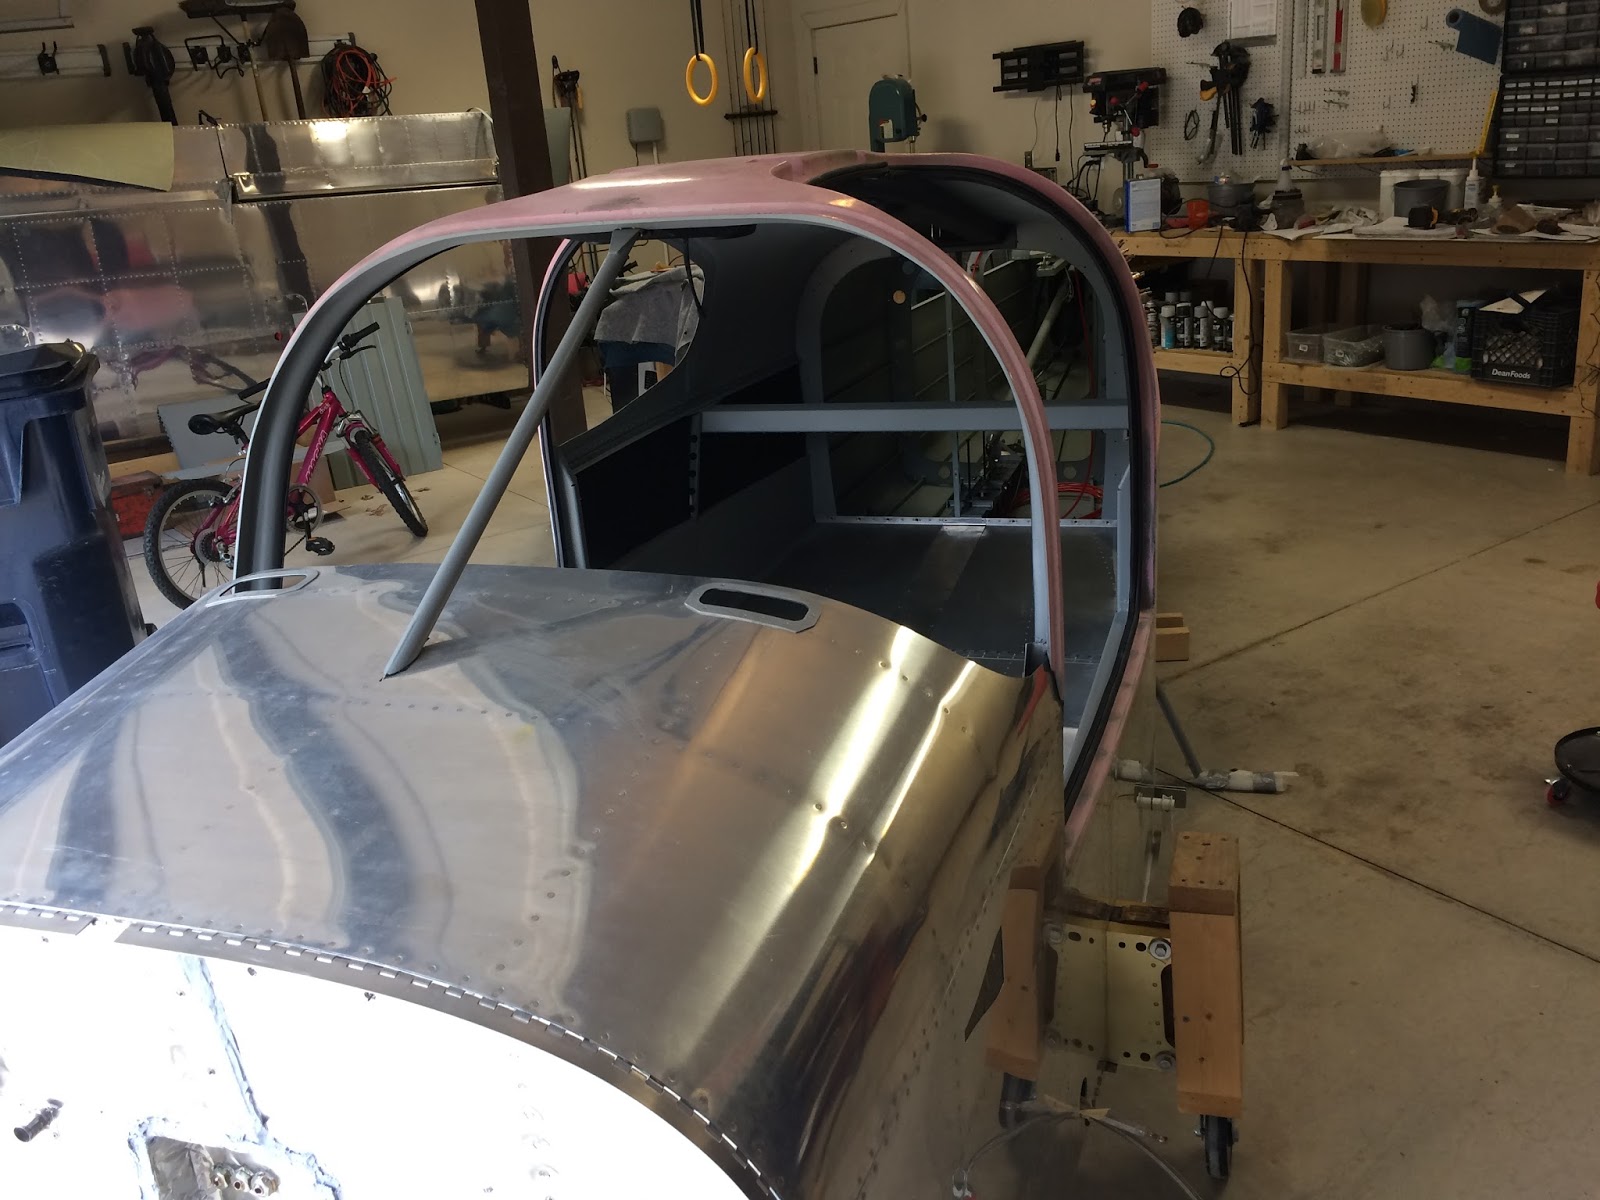
This section also lays out the initial fitting of both the windshield and the rear windows. These don't get permanently attached until the doors are installed so I decided to go ahead and trim the rear windows but not mess with the windshield until the doors are on. My logic is if I mess up on the rear windows they're easily replaced, while the windshield is a bit more challenging.
Installing the rear windows just took some time and patience. You cut to the lines drawn on by Vans and then slowly remove more material until it sits nicely in the cabin top recesses. It went fairly smooth but probably placed them on and off the plane a good 10 times each. Take your time so you don't remove too much material. I believe these lines get glassed in later on so it doesn't have to be perfect, but at the same time shouldn't be overly gouged up.
 |
| Untrimmed and just set on |
 |
| Right side fitting |
With all the fun stuff completed and the top now permanently attach section 43 is essentially wrapped up. Because Section 44 is the wing attachment I'm done with the Fuselage for now until final assembly. I say done but there are several side projects that I'm going to work on while waiting on the finishing kit to arrive. Should also note that I'm going to hold off on the forward tail skin until I'm finishing up the avionics. I don't want to have to crawl through the tailcone until it's necessary and leaving it open makes some prewiring and air conditioning items easier to work through.
 |
| Painted exposed area including under the glare shield |
 |
| Put the windows and windshield up for safe keeping |