
After letting the primer cure for 24 hours I jumped in and started following the directions and getting things put together. Below are some rivets I drove into the horizontal stabilizer and horn piece of the rudder. Now a mistake that I made was I used the wrong rivets on the horn piece. I used 470 round head ones instead of 426 recessed driven from the other side. My fault for not doing my usual double triple checking and I paid for it with an hour of redo work.
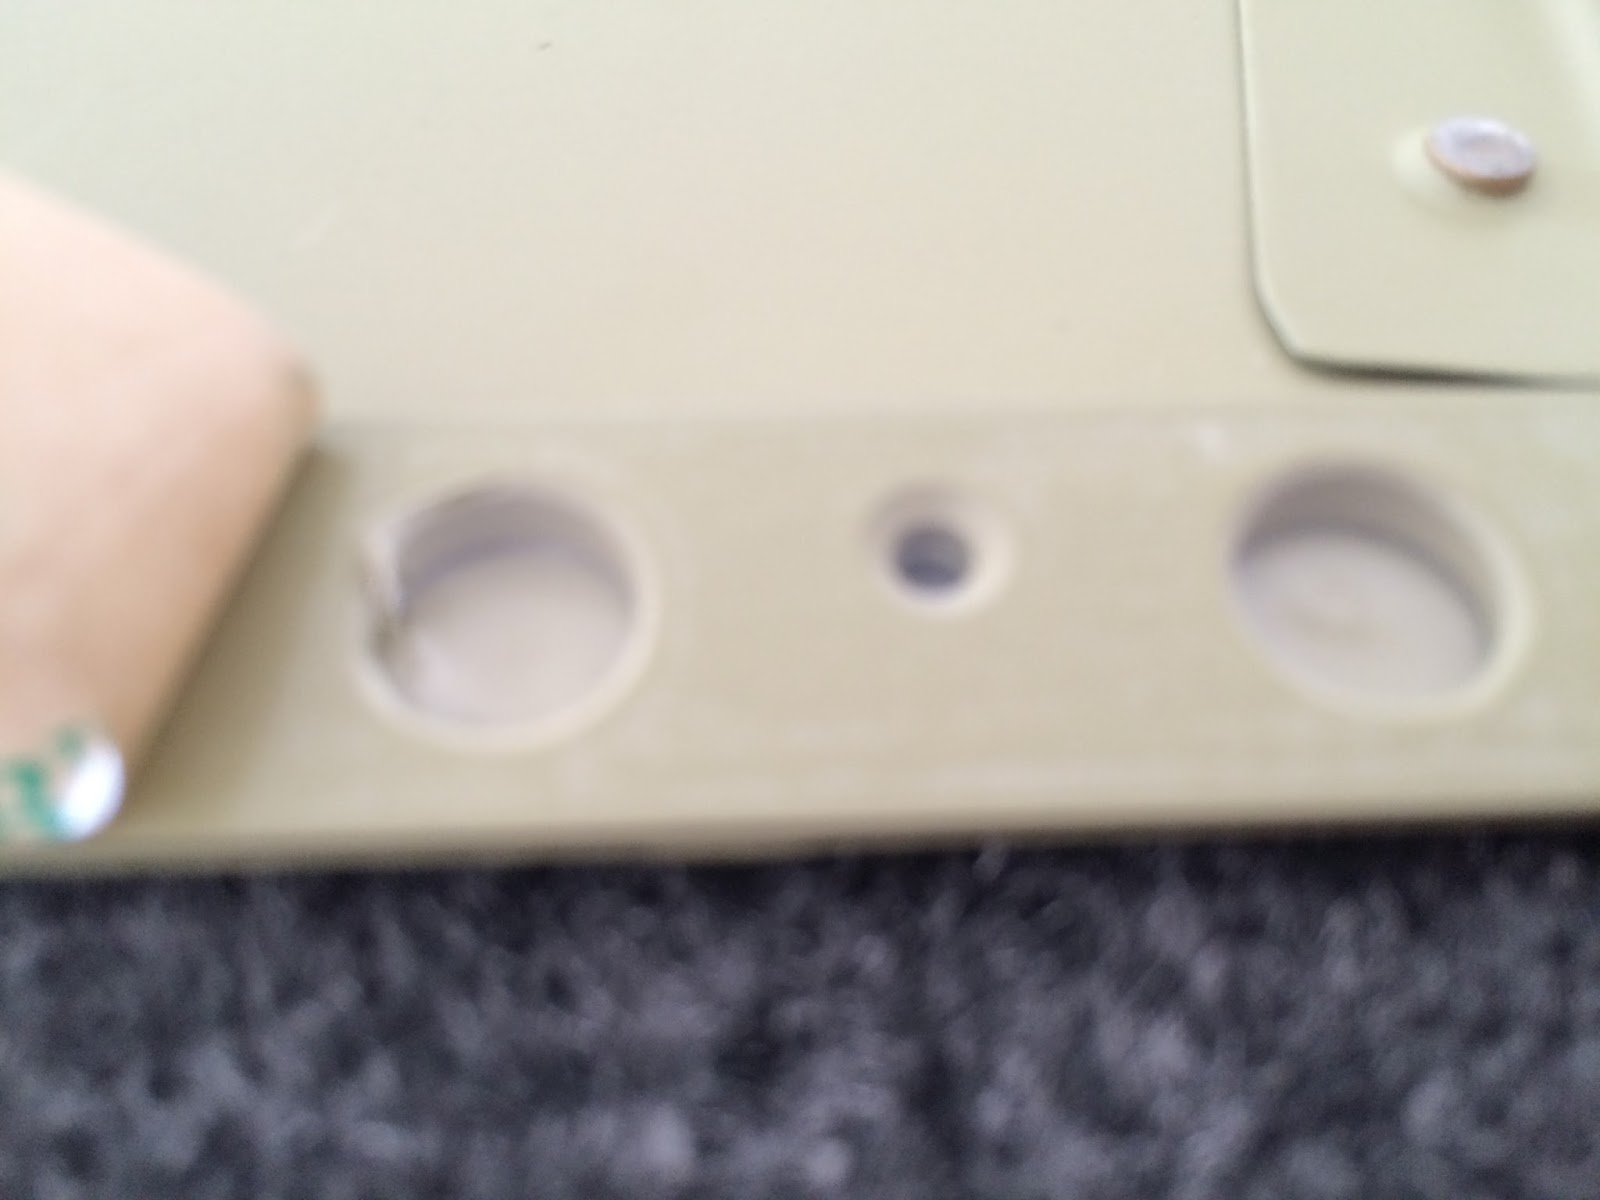
 |
| Top right piece holding the bracket... wrong rivets |
I'll go ahead and talk a few about this mistake. I didn't notice it until I had cleco'd the rear spar to the two wing halves. I noticed the bottom piece wasn't setting up flush as it should, and I also noticed to dimples protruding out the web part of the spar. I looked at my phone and found the above picture and realized my mistake. I promptly drilled out a good 15 or so cherry rivets so I could pull the spar back to access the horn. I was then able to drill out my bad rivets and through some small hands engineering get a bucking bar back there and correct the mistake. Then I proceeded to re-rivet everything back and all was right with the world again.
So lesson learned is I'm not as good of a builder as I thought I was... I need to slow down and read the instructions no less than three times!
Prior to discovering my mistake, a few steps earlier I was working with something somewhat new it seems to RV-10 builds. Last week while reading ahead I noticed I had to use some type of sealant on the trailing edge and that it took a number of days to cure. This sealant didn't come with the kit, so I reached out to Vans to see what product I needed. They gave me two choices... one is a 2 part epoxy type material that stinks and is rather messy... the other is a 3M Tape (3M F9460PC) that isn't messy, requires no cure time and is currently used on the trailing edges of their RV-14 builds. Knowing this part was coming up I jumped on Amazon and bought a roll (Sorry Vans I needed it fast!).
 |
| Right side with roll of adhesive tape |
 |
| Tape Applied |
 |
| Close up when peeling brown paper off |
 |
| Sticky |

I read no less than three different variations on how to double rivet the trailing edge. They all had one thing in common and that was to take your time and ensure it wasn't buckling one way or another. I used the Vans method of taping all the rivets in on one side. I then partially the non-shop end with some back riveting. The entire time I was doing this I used the weight system in the above picture and kept pressure on the edge, so it stayed flat.
After the first side I flipped it over and did the same, but this time swapped the back rivet head for a mushroom head. I used this on a very low setting to hammer them down some more, using the back-rivet plate on the other end to help out. After this I flipped it once more and gave the other side a quick go. Tried to take a picture to show the straight trailing edge but you can't really see anything. If it gets a bit warped between now and flying time I'll take a couple 2x4s with some hinges and make a type of break to smash it all back in place, like this.
 |
| Almost complete |
The other thing that slightly bothers me are the scratches on the aluminum. That just a bit of my perfectionism coming out, however I watched an EAA Video on building an RV and the guy basically said before they paint the outside they are going to scratch it all to hell, so don't worry about it.
Here are my two pieces. While I have the HS down I'm going to go ahead and fix those remaining 10 countersunk rivets.. oh, and order some more cherry rivets cause I used about 3x the amount I was supposed to on my mess ups.
 |
| Proper home-build safety attire |
No comments:
Post a Comment
Note: Only a member of this blog may post a comment.