Process Change
 |
| Pictures |
Since I can't continue with the horizontal stabilizer I've moved onto the elevators which are similar to the rudder. Always searching for continuous improvements and mitigating execution risks (work speak) I've made some changes to my process and work space use.
The picture shows a typical illustration found in the plans. My first process change is I now orientate the pieces to match the picture instead of using spatial awareness to assume I'm connecting the pieces correctly. Seems easy enough, not sure why I wasn't do it that way in the first place. If I would have done this on the HS I wouldn't of had that
'accident'.
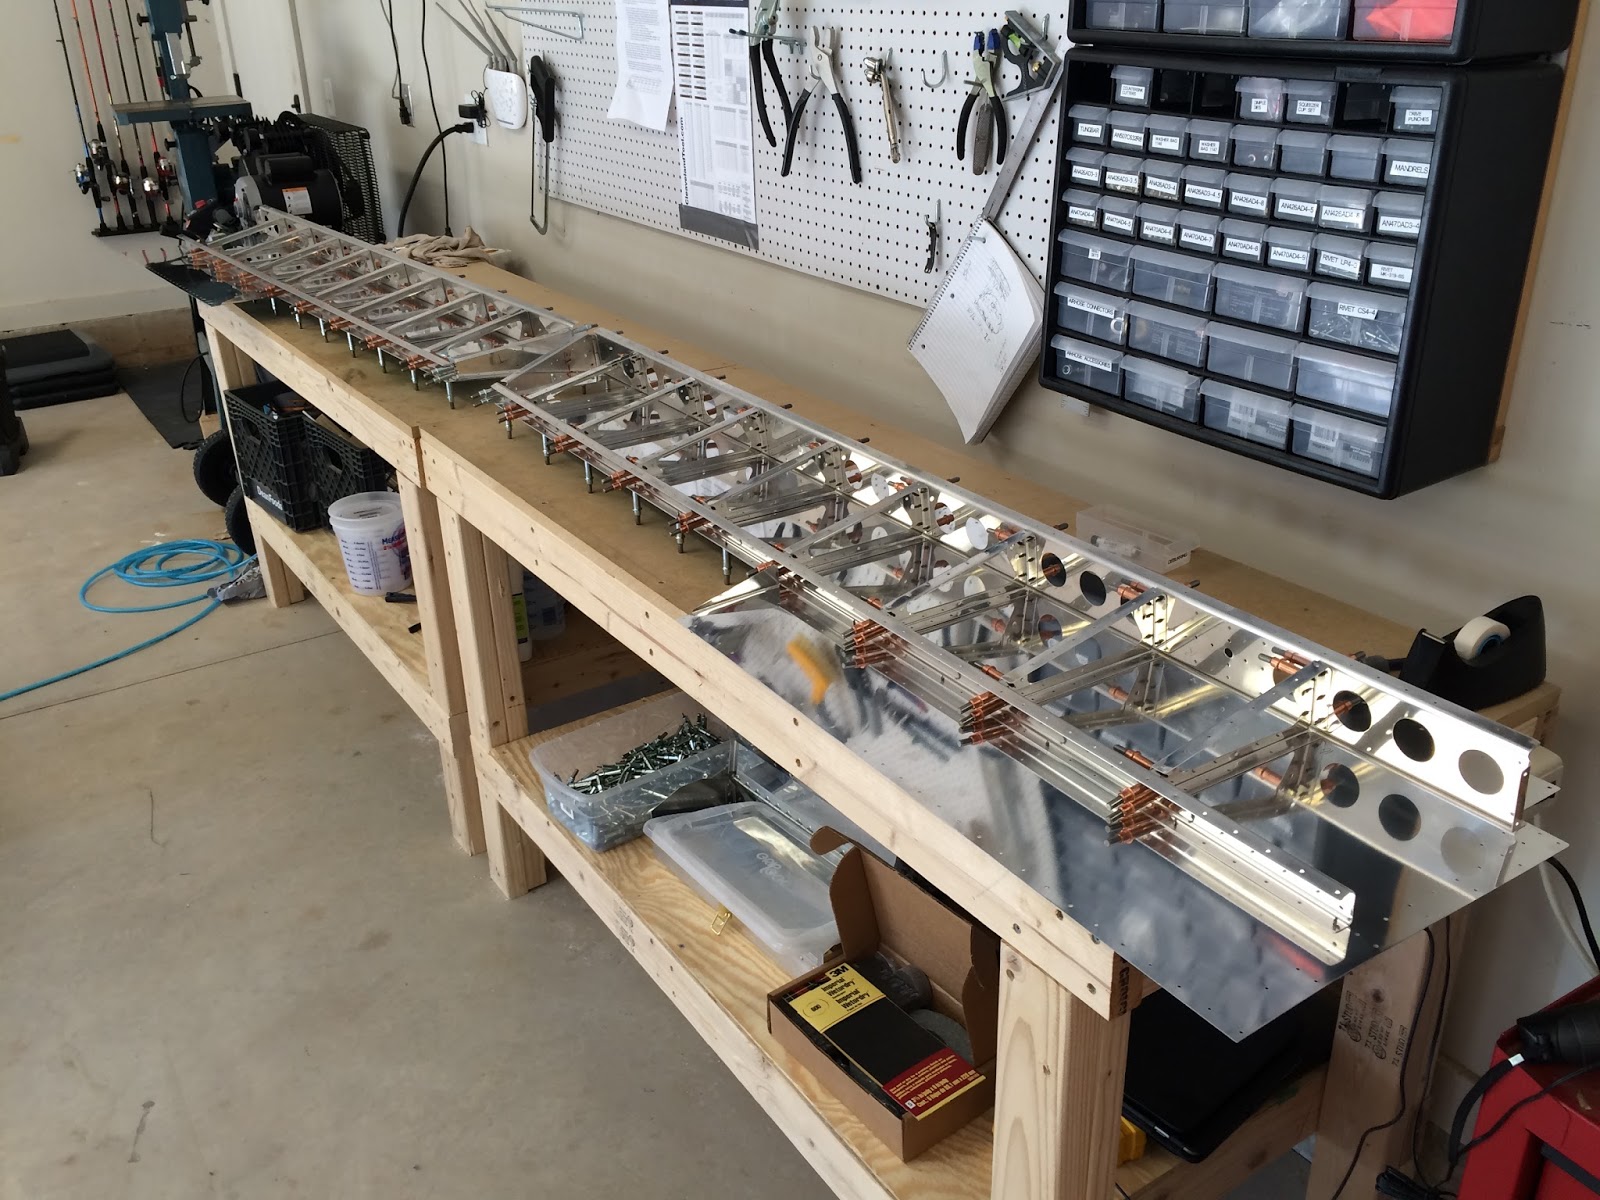
Next is the use of the worktables. As these pieces get larger I will use the EAA tables I built as the main work space. I'll use both as well as move them around as needed. I will use my mobile workstation for tools and messing with small pieces.
On the previous parts you could get away with labeling and marking on a piece or two. These larger pieces have a lot of parts that are exactly the same and once you match drill them they need to go in that exact place. So, I'm very methodically writing on each part and how it connects. That challenge will be when prepping for primer and relabeling ensuring I keep it accurate.
This is where additional pictures come in. Moving forward, I'll have a lot more random pictures of random parts. I'll put a number of them out here for people to look at, maybe it will be beneficial to another builder. I know when I have a question I typically look at other people's build logs. Onto the build....
Elevators
I don't know if I was just in the 'zone' last night or if I was enjoying the build process just that much, but for whatever reason I worked a long night last night on getting these pieces (mirrored parts) together. I could have been over compensating for my failure as an amateur plane builder the previous day but in reality I didn't feel pushed but before I knew it I was up way past my bedtime.
Okay so less commentary and more pictures is my plan moving forward.
 |
| First time 'fluting' |
 |
| Tips cleco'd, proper use of workstation |
 |
| Trimmed and deburred |
 |
| Process to bend the tab on the skins |
 |
| Worked well, finished with hand seamer |
 |
| Kids love to Cleco! |
 |
| Proper use of EAA tables |
 |
| Fun game of where to put the Clecos |
 |
| Completed for the evening |


No comments:
Post a Comment
Note: Only a member of this blog may post a comment.