Friday, October 23, 2015

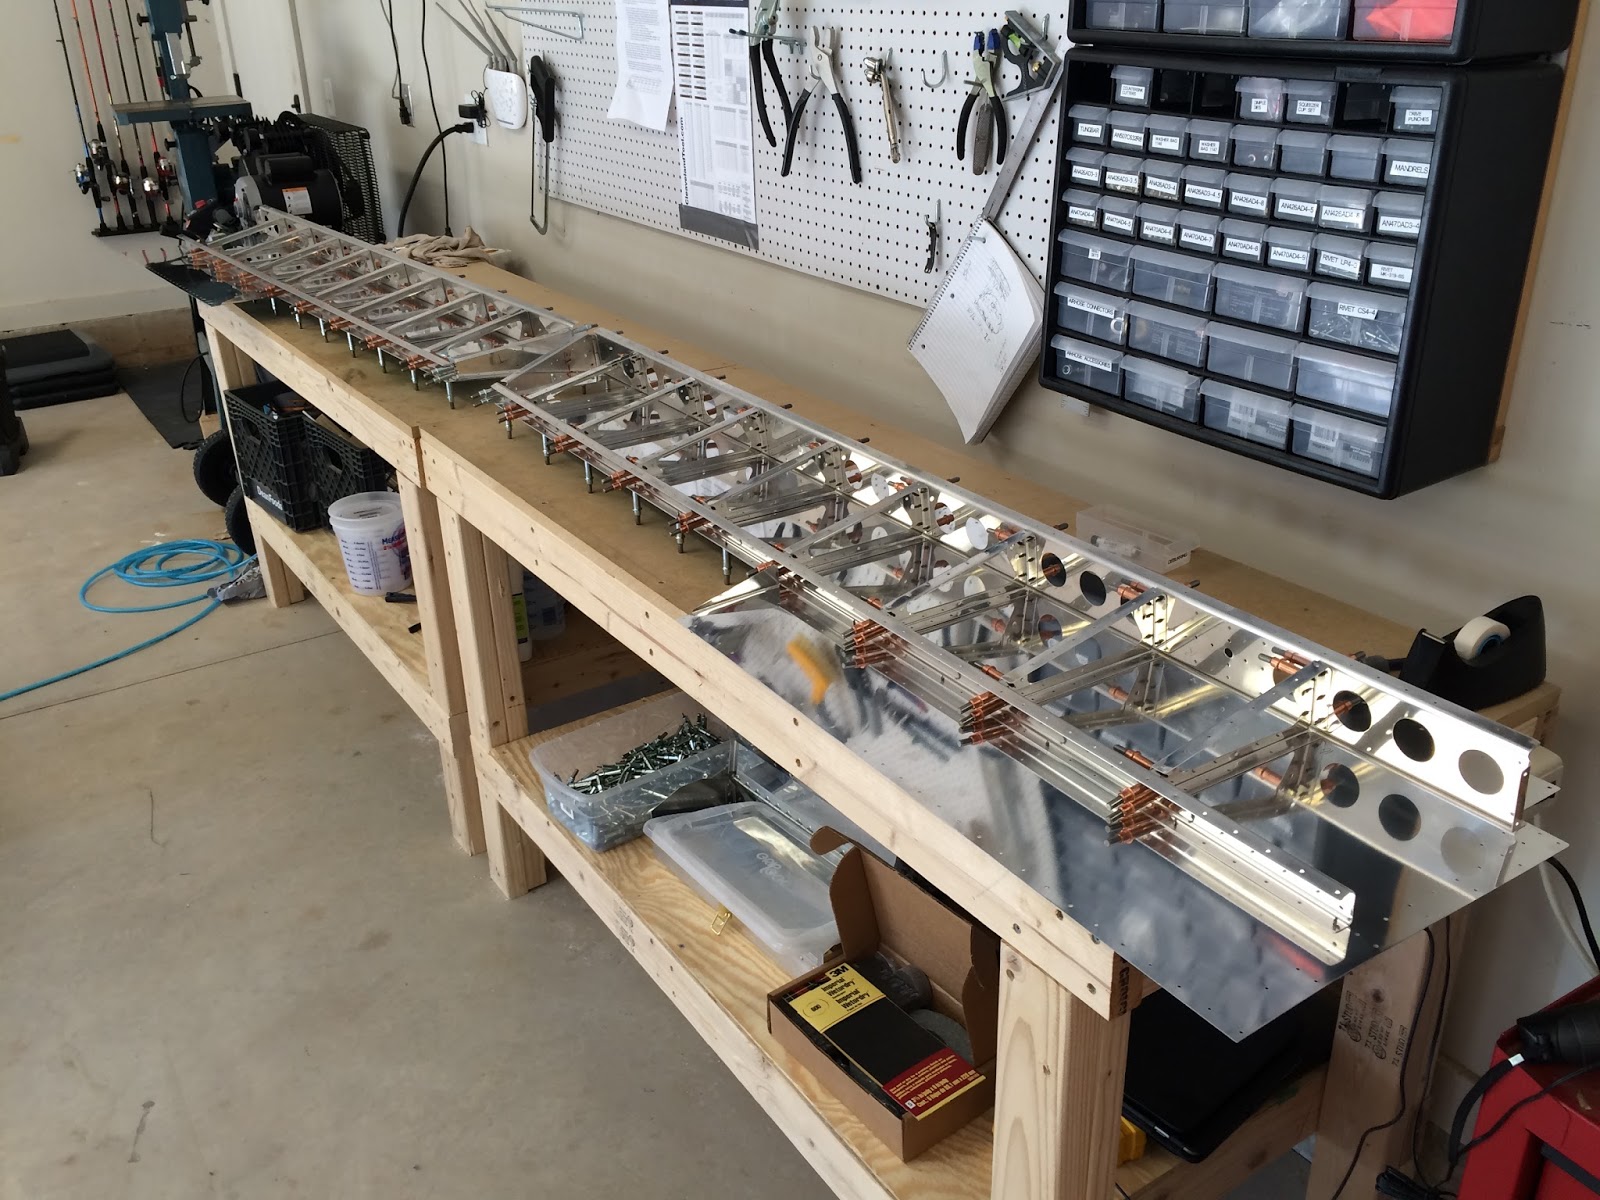
Horizontal Stabilizer continued

Feels good to be back on track with the HS.  In other news I did receive my replacement elevator spar so will prep that at some point to prime in my next batch.  That said, pushing on with the HS assembly I was able to rivet the spar, inspar caps, doubler and fabricated brackets together.  This took a little while mainly because of the variety of rivets used and each set requires some dialing in of the squeezer to get a 'perfect' rivet.  Getting to a point where I can eyeball some of these and I'll know how it will line up with the rivet gauge when I check them.


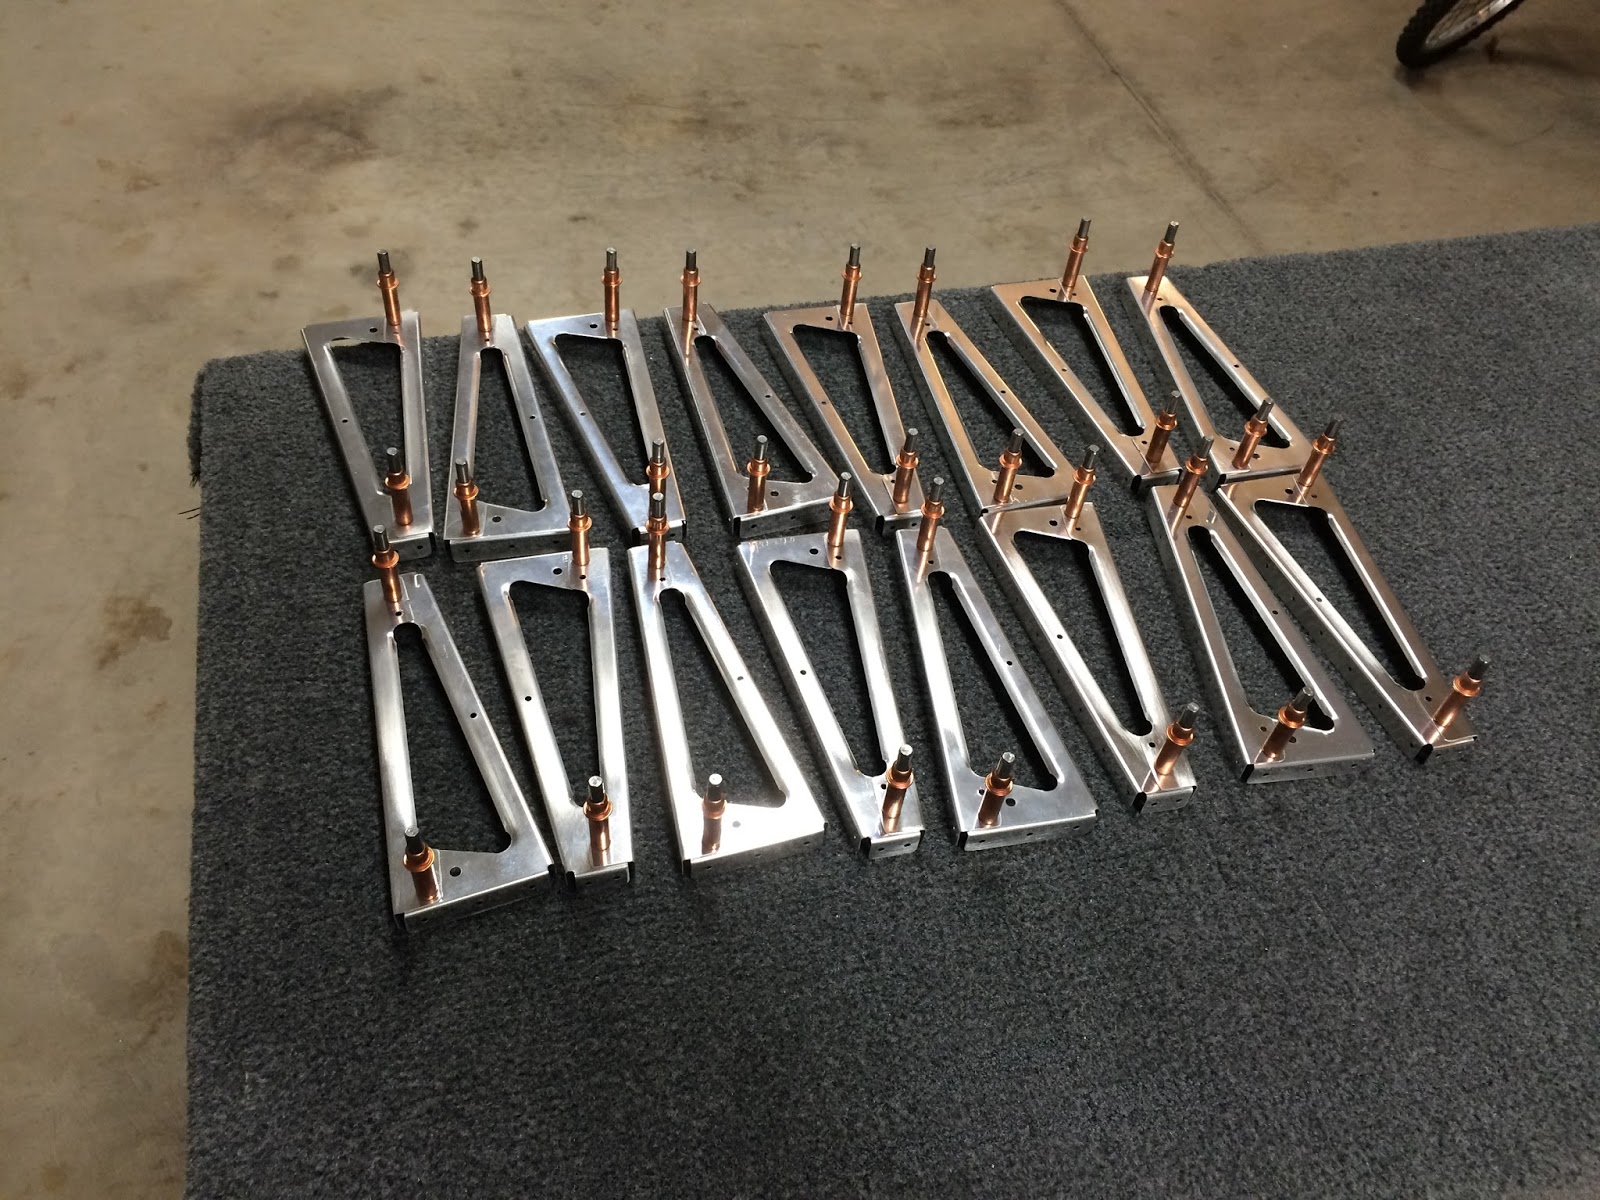
Next step involves preparing all the ribs used on the sub-assembly.  There's some trimming involved which was pretty straight forward and easy to do with some sheers. You trim two flanges off two and four flanges off another set.


Typically, I deburr each piece as I remove the blue coating.  Wasn't sure how much of that I did on all the various rib pieces, so I went through and double checked everything, running over the Scotch Brite pad as well as some manual cleaning with a file.

The plans also called for some fluting... now I've had to watch several videos, such as this and this to grasp the concept of what I'm doing.  In action though it takes a little bit to really get a feel for it.  I didn't want to over flute these pieces so I just put some gentle flutes so the piece lays flat.

Some ribs also required a bit of bending given where they are at in the substructure.  Following the plans, I guestimated the 9 degree angle asked for.  Since the skins are prepunched I can line them up in a more precise manner when I cleco'd to the skins.


There seemed to be a discrepancy in the plan's vs the parts.  It appears Vans changed their nose ribs at some point and now they have some large lightening holes prepunched into the piece.  This step called to drill a large oval hole in the rib to run trim cables through later.  A bit confused I searched around, and it seems others noticed this and now this step isn't needed.  Rather than take their word for it I measured where the hole would have been and its smack dab in the center of the prepunched hole so I moved on.


Got to the point where I can use my homemade cradles and start assembly of the substructure to the skins.  Ensuring everything was numbered (ribs and spar) so I can ensure I get it reassembled correctly (since I match drilled) I started piecing it all in place and attaching with clecos.


Instead of calling it a night I decided to keep going and button this baby up.  Worked on the stringer, attaching those together and then placing in their respected spots on the subassembly.  Then comes putting the other spar on with clecos.  Got to a step that requires me to put a stringer web in between the stringers and attached to the inner spar ribs.  Problem is I don't have a drill small enough to allow me to match drill these #30 holes... so decided that's a good time to call it a night.


Horizontal Stabilizer ready for match drilling.


Wednesday, October 21, 2015

Horizontal Stabilizer Part Duex

Replacement Spar
With my "dimple vs countersink" mistake on one of the elevator spars that leaves me at a standstill for that section.  I suppose I could go ahead with the trim tab but having three separate pieces in progress might be a bit confusing.  With that in mind and my replacement HS spar arriving I decided to jump back to that section for my 'do over'.

The part had to arrive by freight and was nicely shipped complete with wood that will be utilized in the future for other things. It didn't take me long to re-fabricate the parts required and get to the long process of clamp, match drill, cleco, decleco, deburr, recleco, repeat...  I spend maybe just under a few hours doing all this.  To ensure I had no mistakes this time I wrote all over the parts, triple and in some cases, quadruple checked things.


After that it was back to priming which continues to take a bit but I assume will be worth it in the end.


Friday, October 16, 2015

Elevators continued....


Continued to make progress on the elevators.  After allowing the primer to dry for 24 hours I was able to start attaching parts.  I really enjoy this aspect of seeing it all come together.

Access Plate
Set if rib halves
Essentially what it will look like completed.


A future step requires some foam ribs you made to be attacked inside the training edge.  I went around this process a bit different than the plans, but the result is the same.  I waited until after priming to sand the areas where the ribs will attach.  The reasoning was because I wasn't sure if I could use the 3M tape or if I had to use the tank sealant material. The wise people at Vans said this is a bit different than just holding the trailing edge and the ribs require the stronger adhesive.  Since there was a delay on emailing and getting the response I had to do the roughing up of the areas post primer.

Was a non-issue and was able to rough it up with a Dremel and sanding wheel.  Then removed the tape and cleaned with some Acetone. Now it's ready for the tank sealant and ribs... whenever I get to that part.
Taped it out and sanded

One last note is I seem to make some mistakes on some very basic steps.  I had to reorder another elevator rear spar because I made two right hand one's vs a left and a right.  I should have caught this since I specifically remember thinking the marks I made on the spar were incorrect, but then I was second guessing my second guessing so went ahead with the countersinking on the wrong flange locking it into a right side piece forever.  Education is never free and seems in structural aviation construction the cost is time and replacement parts.

Saturday, October 10, 2015

Elevators

Made steady progress on the elevators up to the first batch of priming.  Labeling the parts is very important on the elevators.  There are 16 ribs each with 2 pieces that have to match each other as well as their corresponding places on the skins.  Careful attention had to be made when cleaning the parts to ensure I relabeled them appropriately.

Matching parts to pictures

Dimpling parts

Elevators disassembled
I also changed the way I deburr the skins.  I was concerned my method was removing material and do more harm than good on these thin pieces.  On a suggestion I used a soft cloth on the outside of the skins, running it over each hole and then used a Scotch Brite pad on the inside to do the same.  This in conjunction with using a reamer bit to match drill seemed to do the trick.  I visually inspected each hole just to be sure.

No burrs inside

No burrs outside.

Just for reference you dimple all the holes in these.


Minor mistake with squeezer, can fix it with filler later.

All parts ready to prime

6 hours later all parts primed

Wednesday, October 7, 2015

Process Change & Elevators

Process Change

Pictures
Since I can't continue with the horizontal stabilizer I've moved onto the elevators which are similar to the rudder.  Always searching for continuous improvements and mitigating execution risks (work speak) I've made some changes to my process and work space use.

The picture shows a typical illustration found in the plans. My first process change is I now orientate the pieces to match the picture instead of using spatial awareness to assume I'm connecting the pieces correctly.  Seems easy enough, not sure why I wasn't do it that way in the first place. If I would have done this on the HS I wouldn't of had that 'accident'.

Next is the use of the worktables.  As these pieces get larger I will use the EAA tables I built as the main work space.  I'll use both as well as move them around as needed.  I will use my mobile workstation for tools and messing with small pieces.

On the previous parts you could get away with labeling and marking on a piece or two.  These larger pieces have a lot of parts that are exactly the same and once you match drill them they need to go in that exact place.  So, I'm very methodically writing on each part and how it connects.  That challenge will be when prepping for primer and relabeling ensuring I keep it accurate.

This is where additional pictures come in.  Moving forward, I'll have a lot more random pictures of random parts.  I'll put a number of them out here for people to look at, maybe it will be beneficial to another builder. I know when I have a question I typically look at other people's build logs.  Onto the build....

Elevators

I don't know if I was just in the 'zone' last night or if I was enjoying the build process just that much, but for whatever reason I worked a long night last night on getting these pieces (mirrored parts) together.  I could have been over compensating for my failure as an amateur plane builder the previous day but in reality I didn't feel pushed but before I knew it I was up way past my bedtime.

Okay so less commentary and more pictures is my plan moving forward.

First time 'fluting'
Tips cleco'd, proper use of workstation
Trimmed and deburred
Process to bend the tab on the skins
Worked well, finished with hand seamer
Kids love to Cleco!
Proper use of EAA tables
Fun game of where to put the Clecos
Completed for the evening

Monday, October 5, 2015

First Major Mistake & Elevators

Mistake

I've made a number of mistakes, but I usually catch them and recovery before I ruin a piece or two... or in tonight's case three.  This one requires a very large piece to be reordered and a delay in my horizontal stabilizer construction... but I guess that beats the tail of the plane flying off and spiraling to my death!

Back story is yesterday I did some work on the plane with a buddy, not much but showed him how to match drill, deburr and cleco.  Then I did a bit of a workshop taking some scrap and showing him how to dimple and finally drive a rivet.  Then did some minor things on the project and set it away for the night.

This afternoon I received the new band saw blade so swapped that and finalized fabricating some brackets.  Going off what I cleco'd yesterday I started mounting the brackets and noticed some of the holes weren't matched drilled... Thinking it was because I missed them on the match drilling I went ahead and finished them out... then I started match drilling the bracket and it occurred to me that I had the spar caps on the wrong sides and the doubler upside down... what does this mean?  A lot of of extra holes....

Red circles are 'bonus' holes.

The doubler was untouched, so I thought maybe the structural integrity would be fine but since I'm not an engineer and it's my first plane decided to send Vans the picture and give them a call.  Builder support looked at this picture and was concerned with how close a few of those holes were on the spar web... basically said if it was his plane he would replace that part...  Good enough for me so I reordered the Spar and the spar cap pieces... even though they would probably work and be fine, might as well get it 100% correct. All in all, it's just more time and about $90... peanuts compared to the grand scale of things and hey this is supposed to be an educational endeavor so I'm getting educated.

Elevators

Section 9

Being a bit distraught over my mess up I didn't want to leave the evening on that note... My buddy came over tonight and we started going through the elevator build.  I could of done some more of the HS pieces but at this point didn't want to end up confused again so I will start it over once I get the parts.

Much like the rudder this section starts with separating a few pieces. Cleaning the edges and connecting them with clecos.


Buddy learning how fun deburring is!
I ended the building session by match drilling the top holes, swamping the clecos and then match drilling those holes. Also ensured I labeled each pair accordingly, so I don't get them mixed up. The end result is below.


This week I'll work slowly through the elevator parts until my replacement pieces come back.  I'll then put this up and jump back to the HS.

Sunday, October 4, 2015

Horizontal Stabilizer


Continued work on the Horizontal stabilizer.  Nothing really unique with this, technique mirrors essentially what was done on the Vertical Stabilizer.  So far, I've removed the plastic and deburred all the parts that will be used.  I find just taking the time to do this now ends up saving some time later, so I don't feel as if I am constantly going back and deburring the same piece.  I do a final inspection prior to prime which works out well.


Instead of the two pieces to trim on step one of the vertical stabilizer there are six pieces to do with on this part.  Takes a bit of time but not overwhelmingly hard.  I need to make a few brackets but needed to get a new blade for my neighbor's band saw that I'm borrowing.  While the 6 tpi wood blade can take a good bit of material off of the thinner parts which can then be cleaned up with a 6" grinder, the thicker part I need to essentially fabricate now requires the better blade.

I installed two of the above into the front spar, did some match drilling and deburring.  While waiting on the new saw blade to be delivered this week I'm going to move ahead and do some of the other steps.  One of those steps was to make a set of four HS holders.  Using some MDF I had, along with some of the crate wood I just threw these together.  These are pretty non-precision but will do what is required.