
 |
| Section 12 |
Fiberglass Tools
The plans specifically state that using tools on fiberglass will cause them to rapidly dull. They state you should use a specific set of tools only for fiberglass. Well I don't have any fiberglass specific tools, nor did I really know what I would need so I started doing some research. Perma-Grit tools are an option for an off the shelve product. They came recommended in at least one EAA Video and found them mentioned on a few car websites. I might end up getting them at some point, but being that I'm completely new to working with fiberglass I wanted to go a different route.This route was to build my own tools! The concept is to have various shapes and sizes of tools to learn which work well, which don't and have the ability to attach various grits of sand paper to them. It's really no different than making your own sanding blocks when working with wood. The key is to have pieces that are straight and rigid and it just so happens I have a mess of material I can use for this purpose.
So I dove into my parts graveyard (Where the mistakes go) and started pulling out some scraps that I could cut into various shapes. The idea was to have pieces of various lengths and widths, the shortest piece is about 2" and the longest about 30". After cutting to size I smoothed out all the edges to ensure decrease the risk of scratching any of the fiberglass work.
 |
| Various Fiberglass 'Tools' |
For the first batch of tools I just picked a handful of shapes that I thought I would use first. I learned about halfway through the process it works best if you attach the piece to the paper before trimming to size. A few of them I tried to use the tool as a template, cut it out and then attach it and there's some over hang.
 |
| Starter Set |
Above is what I started with and over time I will find out which shapes work well, which don't... might have to use some PVC to get different radius sizes, or make a few new shapes. In the end if this doesn't work well then I'll really respect the Perma-Grit tools if I buy them.
Section 12
I had a bit of analysis to paralysis on this section and spent a few weeks just preparing for the fiberglass work. I don't know if it's intentional but it seems you start off small in this section and then ramp up to some major fiberglass work when dealing with the canopy, doors, ect. I suppose it's just another evolution in the building process where you encounter something new and have to work through the learning curve and in the end become somewhat competent in the process.
So after reading, watching videos and talking to some EAA members about Fiberglass work, the concept isn't overly complicated- you take resin, mix in some hardener... put it over some glass clothe and then magic happens. After this research I was able to put in my initial material order and get started on mentally working through the steps and staring at the parts I needed to work with. I had some concerns about what to trim and what not to trim... really just to get an overall idea of what I was supposed to be doing.
The first steps though in this section though deal only with trimming of some pieces. They lay out an exact specification on flange measurements and using a band saw and newly made tools I was able to get them to fit rather well.

After getting them placed in you match drill everything first with #40, then with a #30... clecoing as you go to ensure it stays in place. You do this for the HS ends as well as rudder top and bottom.
 |
| Rudder top |
 |
| 1/8th or so gap now |
 |
| Nutplate modification |
 |
| Top horizontal Stabilizer |
 |
| Untrimmed |
 |
| Trimmed |

 |
| Evolution of the molds |
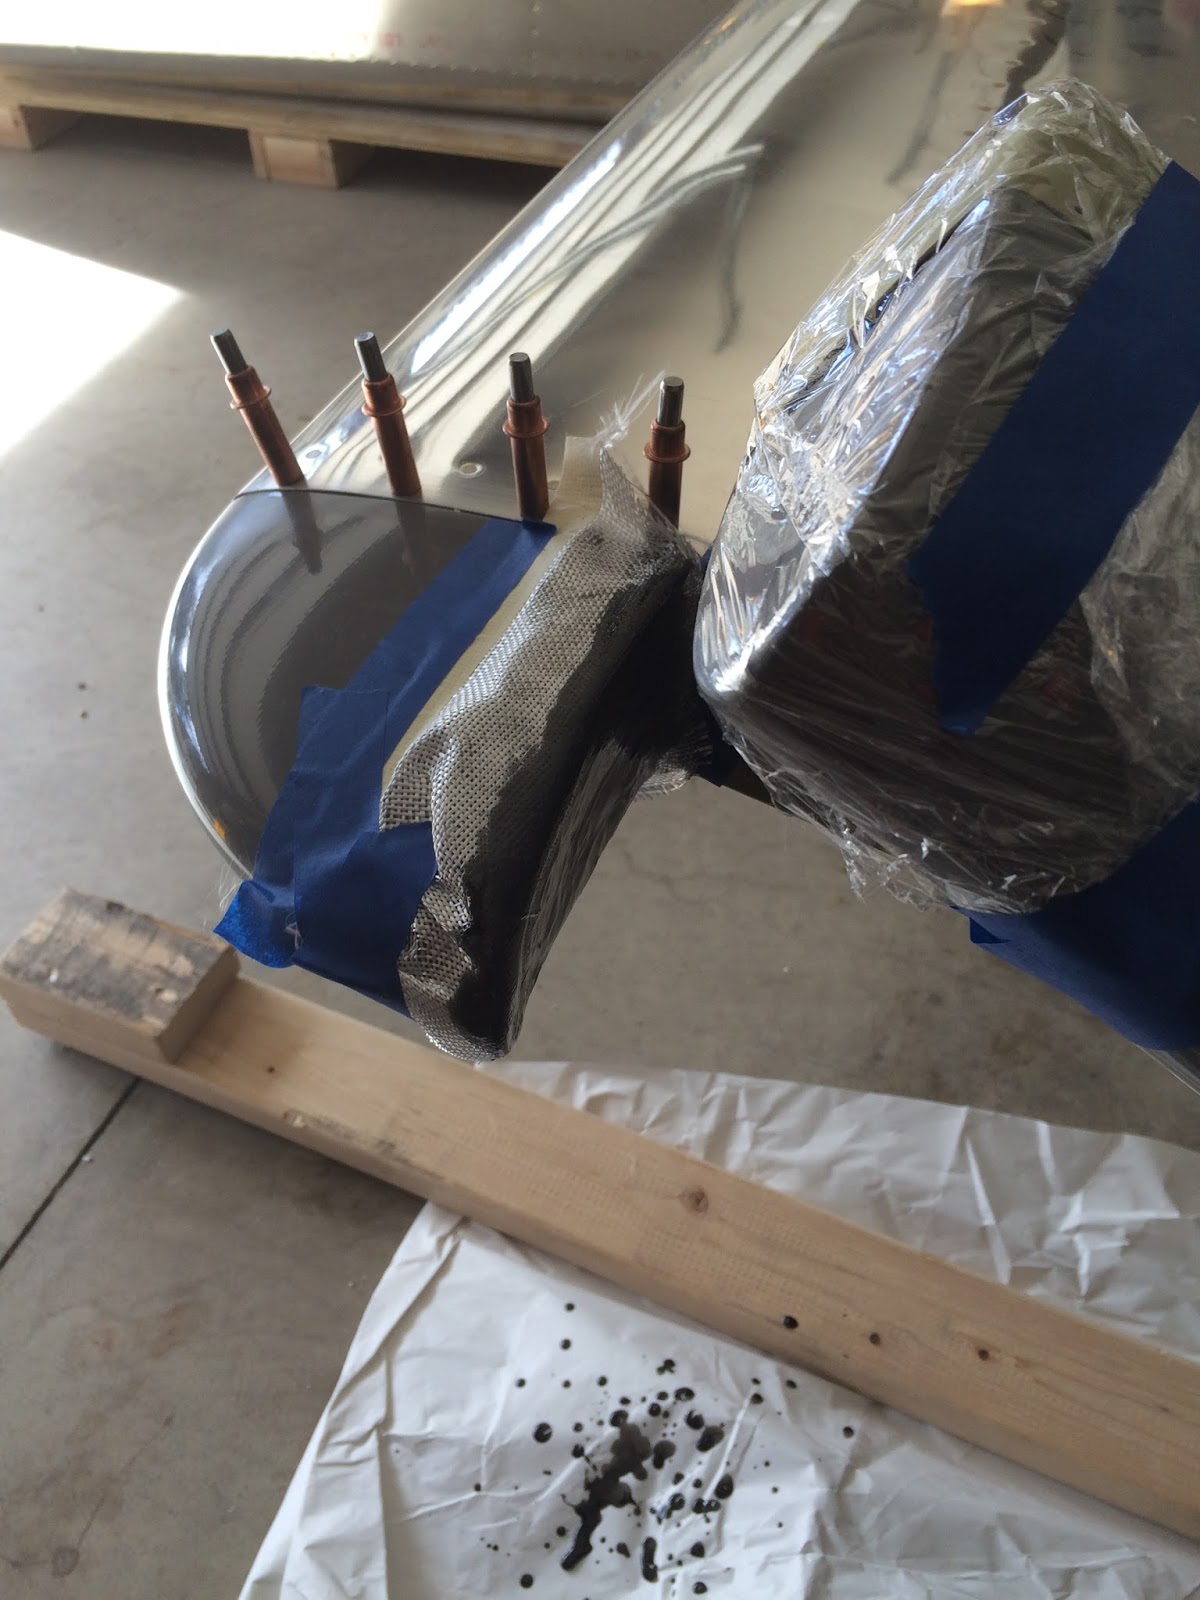
Finally it was time to tackle the fiberglass process. One thing great about fiberglass if you mess something up, you can cut it out or otherwise remove it and do it over. I actually had done this at least once while I was learning the process of how resin cures, or over pulling the cloth or in some way shape or form mess it up. I also experimented with some dark pigment in the resin to give it some color. Did a number of things but in the end ended up with a decent start on the pieces.
No comments:
Post a Comment
Note: Only a member of this blog may post a comment.