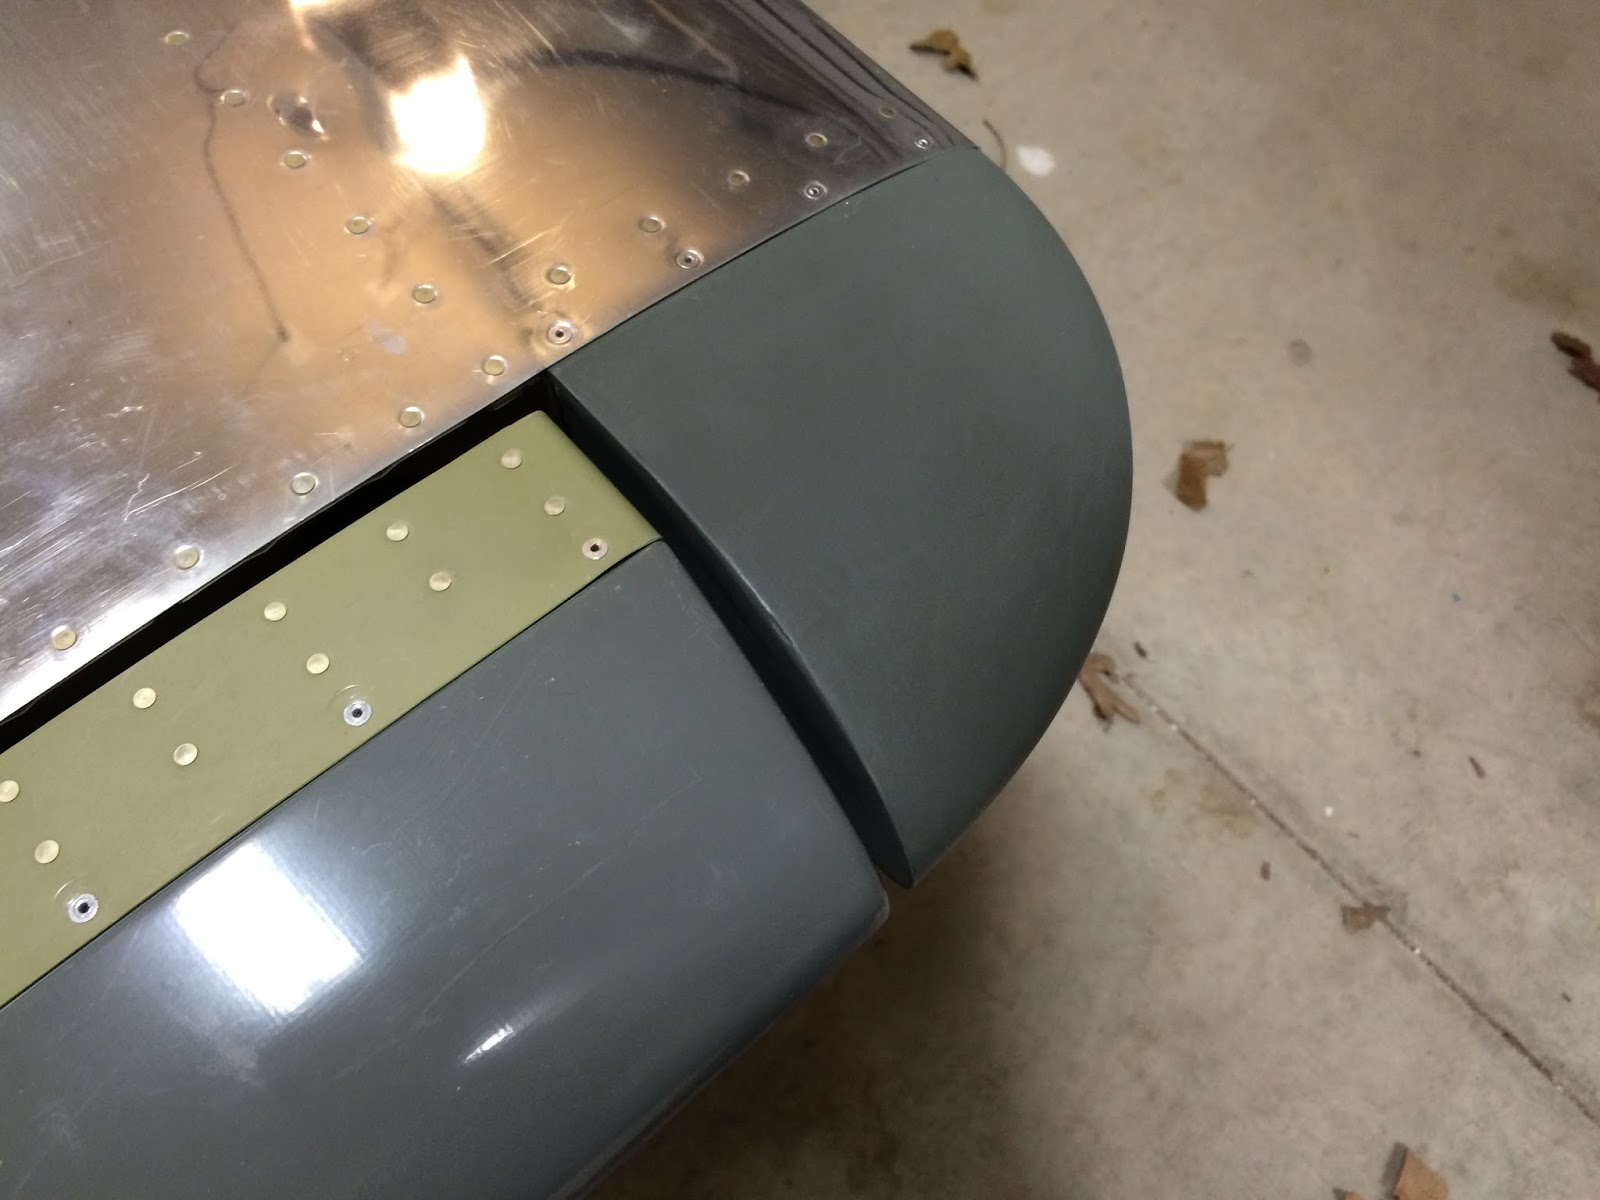
Empennage Completed!
Cutting to the chase after close to 250 hours over the last 6 months I completed the first kit of my RV-10. Now I use the term completed lightly because there will be other steps later where I return back to this section. There's a cowling that comes with the finishing kit (I think), I will have to mount antennas, lights and probably various other things as well as rivet the top two sections which will remain cleco'd for now.
 |
| Empennage Completed! |
 |
| Proof I was there! |
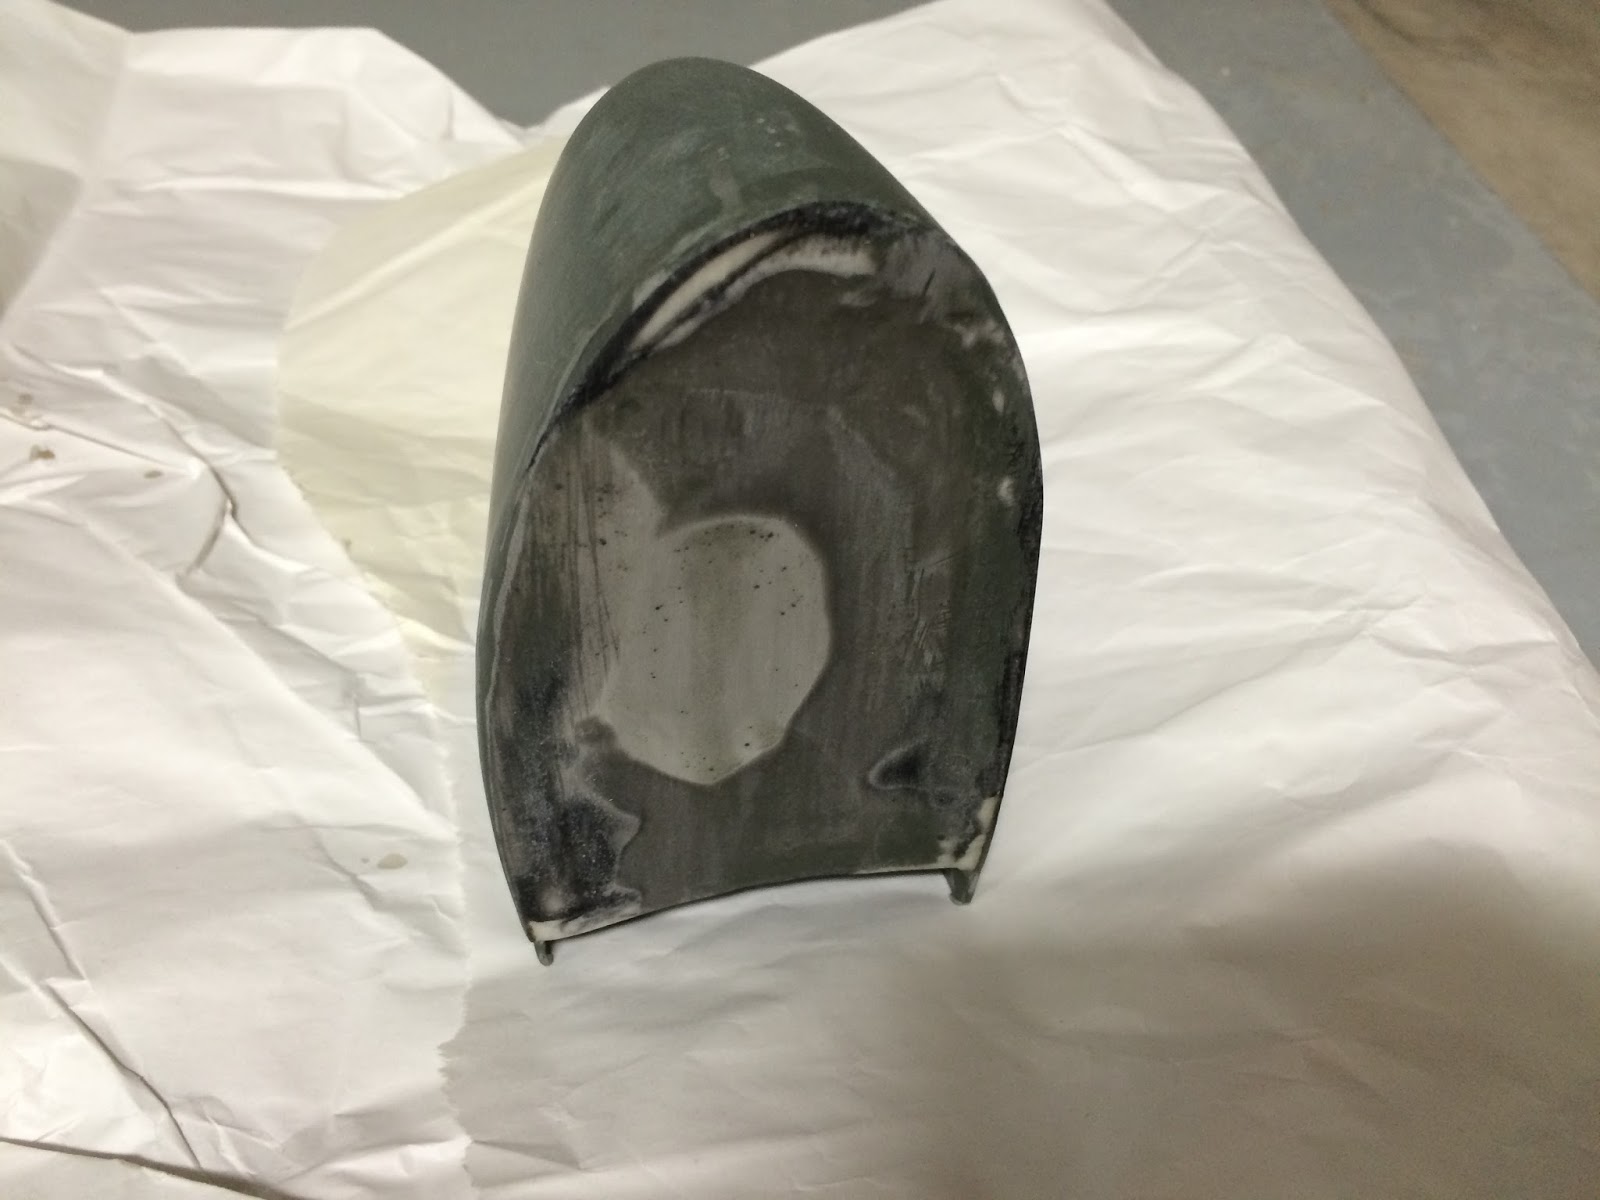
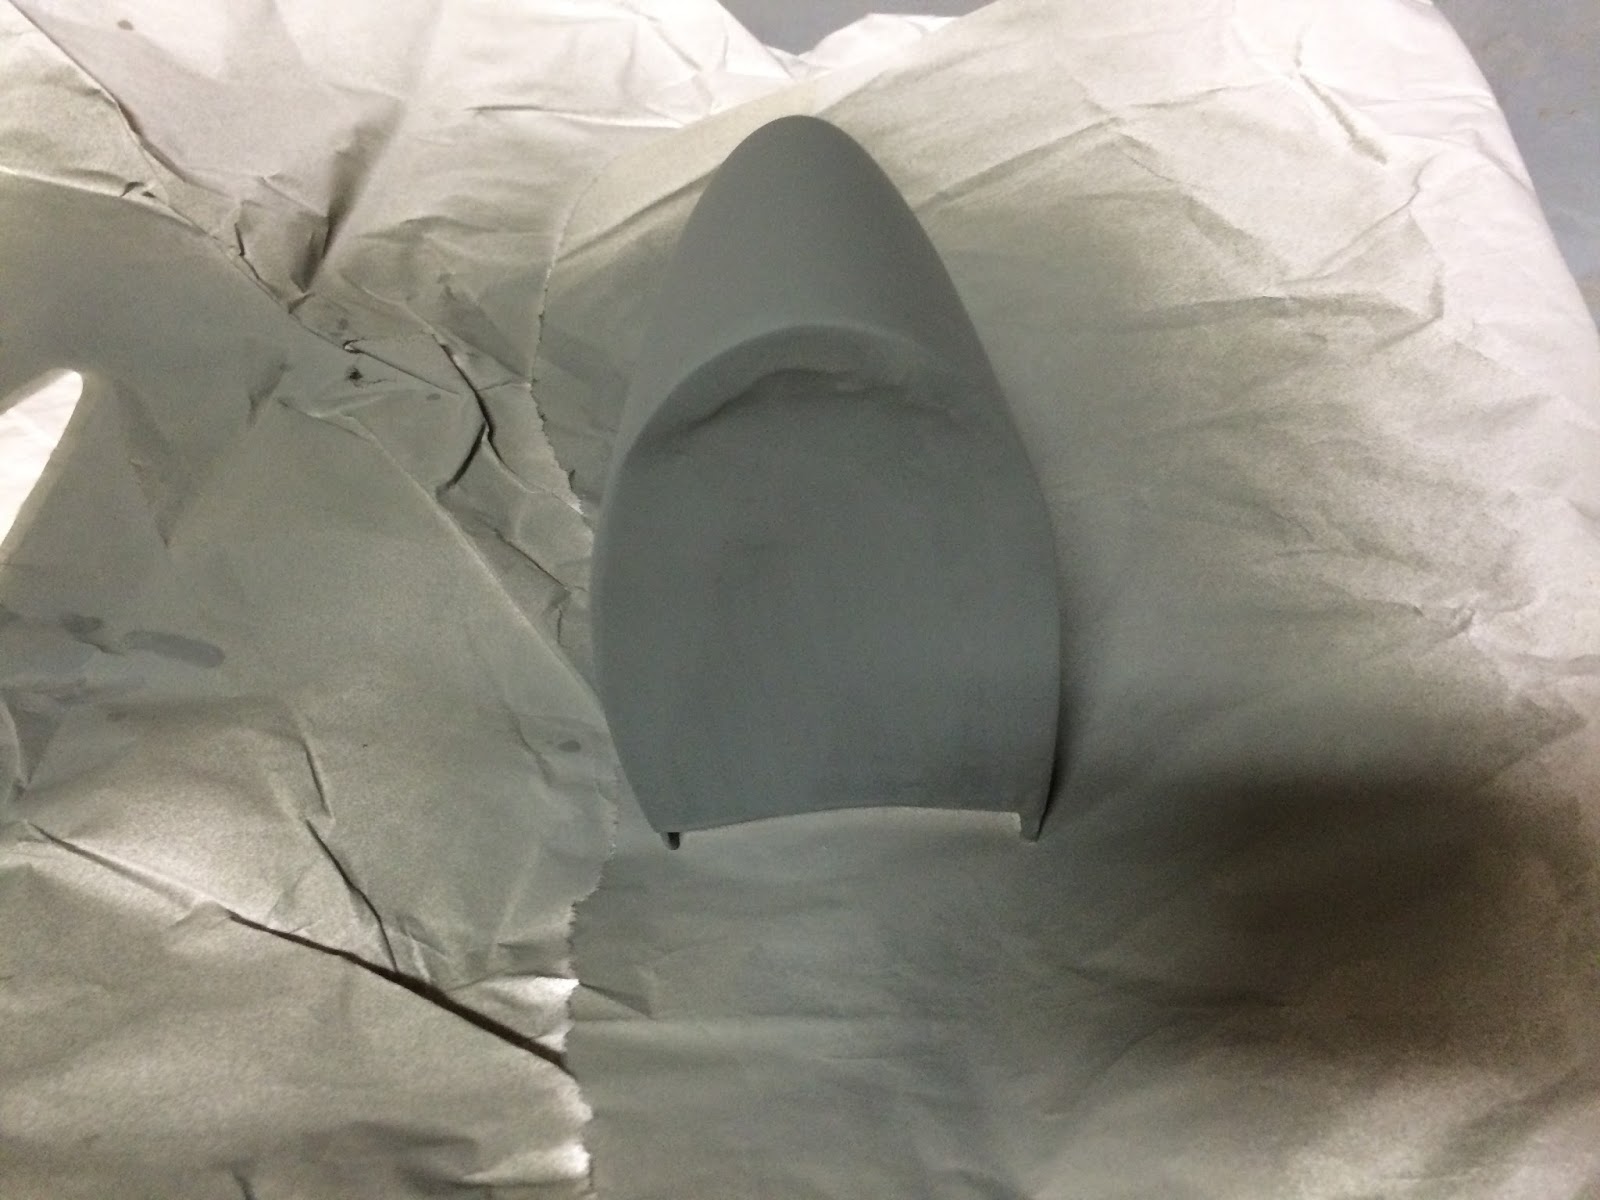
Fiberglass Work
Prior to the above picture I had continued to do fiberglass work. It's been a bit of a slow process but wanted to use it as a learning tool, really get my feet wet on various fiber glass techniques. There's some great resources out there on how to work with fiberglass and I'll include some pictures but I was a bit all over the place so it's not documented very well. Here are some highlights of some of the techniques I used.
Next Steps
The QB Wings and Fuselage are due to be here March/April but that could easily become April/May or May/June... who knows. To keep the building mentality going there are a number of things I plan on getting done before these major structures arrive. I won't be clock ours towards the project unless I'm physically touching the plane but some of these are going to take a substantial amount of time. Here's what I'm looking at done prior to getting the QB parts.
- Read through the Wing and Fuselage plans preparing to my own QA when I get my parts.
- Construct a rolling wing cradle per these plans.
- Update project plan baseline to include things I plan on adding/removing/changing.
- Update Paint scheme with some other ideas I've had... maybe silver and black, maybe all black... maybe pink with baby unicorns.
- Read through AC 43.13.. more of an educational item for me.


No comments:
Post a Comment
Note: Only a member of this blog may post a comment.