Static Ports
I decided to deviate from the plans and buy an after market static port kit. I'm sure the Vans solution works great, however I've heard some of the tubing will leak but then I also heard some aftermarket kits tend to induce calibration errors on the avionics. For you non-pilots an airplanes static system is utilized for your Airspeed Indicator, Altimeter and Vertical speed indicator... all very important things and especially important for flying in clouds. Knowing this the RV-10 was designed with two ports for redundancy.
After a good bit of research I went with Cleveland tools
Static Port and Plumbing Kit. It's about twice as much as the $20 Vans solution but I'm sure most of that is tied up in the machined port fittings vs Vans setup of using a cherry rivet. I had some concern about using pro-seal to attach the port and after talking to Mike at Cleveland and some more research apparently I came across
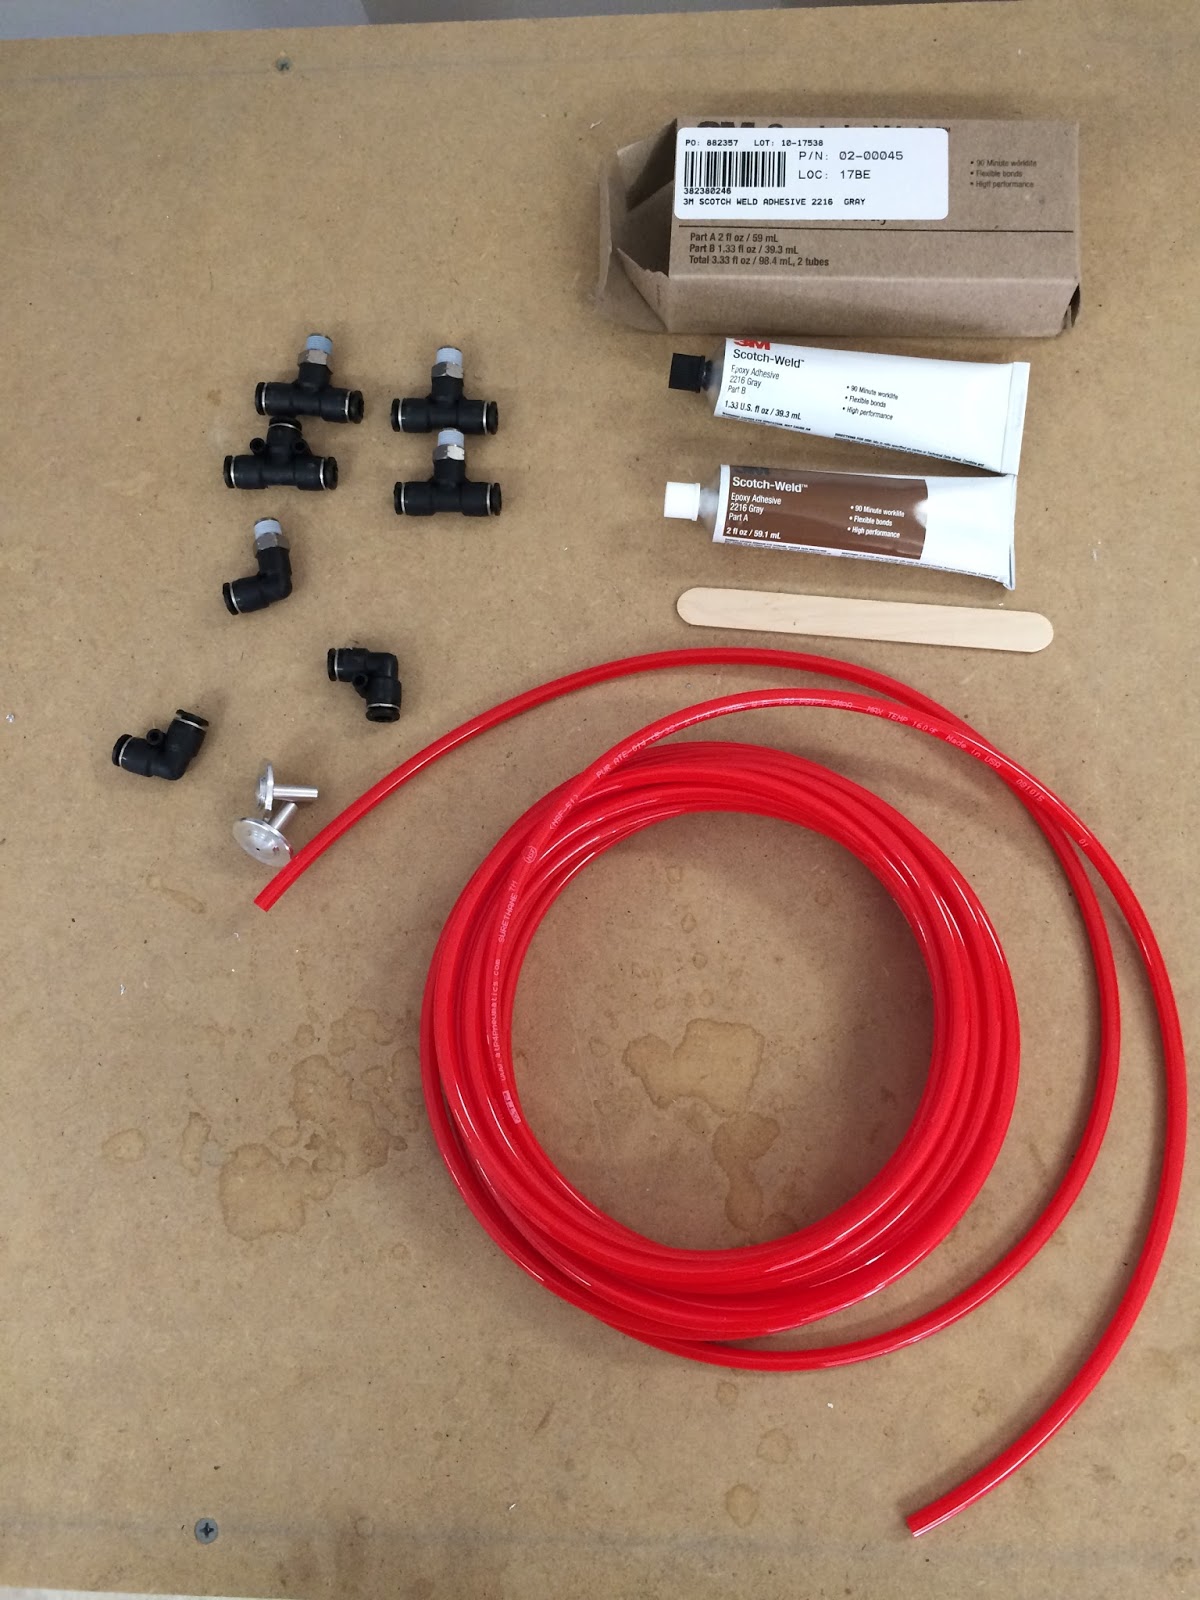
3M Scotch-weld Epoxy Adhesive 2216. It's expensive so that means it must be good... actually a few guys on the board swear by it so who am I to argue. In the end it's justifiable considering you don't want these flying off in flight.
 |
| Complete Kit with Epoxy |
Prep work is always important when using adhesives, the area has to be cleaned and etched a bit prior to installing. In this case I had already primed/painted the interior so that had to be sanded down to bare metal. I worked off of the original static holes and enlarged them with a unibit and finished them up with some deburring. Then after taping the area used the fitting as a guide and cut the middle portion out. Sanded the middle part out, pull the tape off and cleaned with acetone.
 |
| Not perfect but enough cleared area to work |
Then it's a matter of mixing up the epoxy, putting some of the material on the skin and on the fitting. Pushing the fitting in place and rotating it around to get a clean edge and ensure everything is together. Clamping is a bit of a pain, I used 6" clamps and duct tape to hold the fitting in and took some time ensuring it was symmetrical as possible. Used acetone to make sure no material got in any places I didn't want it and left it for a good 24 hours to cure.
 |
| Looks much better than a cherry rivet |
 |
| Good even amount of epoxy |
Running the lines is about a 5 min job after thinking about how you want to run it for 25 mins. I plan on putting in an air conditioner in the plane which means I will have a shelf back there with an evaporator on one side. With that in mind I decided to route the line on the opposite side of the tail. It's actually a non issue if I decide to move it since I will wait towards the end to tie down the lines and what not.


Why the use of the $50 for 2oz epoxy here? Wondering what info you got that would make you think proseal wasn't good enough?
ReplyDeleteIf I remember right there was some concern over the adhesion strength of proseal. The problem with other epoxy types is they cure extremely hard and will end up just cracking. So that pricey stuff is both strong and flexible. I’m also using it to ‘glue’ on cable tie basis so it’s getting used.
Delete