Trim Tab
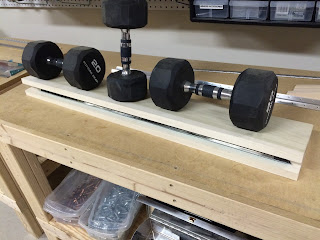
The trim tab is a bit deceiving. It consists of 5 aluminum pieces and 3 foam ribs each. This was something I thought would take a few hours, maybe 5 at the most when including priming. That was not the case, took close to 15+ hours when all was said and done. Some of the additional time sink items are making a couple wood forms to help hold the pieces together. Also, the home made metal brake that I mentioned before.
The first part really just deals with taping out the area to sand on the inside of the skins to ensure proper rib adhesion. Then you get to use the brake to bend the skin more and then it's the typical deburring and cleco'ing routine. While a bit time consuming and at first somewhat confusing, there's really only one way to get it put together.
Still thinking this was going to be fairly quick I got to the point where you need to bend the side taps of the skin. I tried following the directions in the plan and after struggling for close to an hour I seriously botched up one of the skins. It looked as if I had just hammered it randomly with the rivet gun going for some type of aged look. I picked up more phone right away and ordered a replacement... another $20 lesson learned.
I did some research on the boards and seemed there were some others that had issues with this step. Some made some jigs, others reverted to the same method used on the elevators. I decided that's what I would do but first I went to my neighbor's house now referred to as 'Hood' Depot, to score some hard wood scrap. I took 3 oak pressed 1/4 boards and glued them together overnight. Then I cut a bit of an angle on them, cleaned them up and used these as the backing for the bend.
Took me a while to do the first bend but once I got the placement and the method down I was able to complete all of them quite easily. I started with a piece of wood to get the bend going, then finished up with the rivet gun on a very very very low speed. This helped just secure the bend and not give it that aged hammer look. I put each in the brake and weighted it down for about 12 hours just to help keep the bend in place. Probably didn't do anything but I was done for the night and knew I wouldn't get to working on it for another day or so.
This trim tab contains some metal bracket pieces you have to cut a bit off before you can use. Curious again why theses come like this, are they from another kit? Anyhow I've developed a certain level of skill at using the bandsaw and grinder to get the proper form. After I completed them did the test fitting to the skin. Then you match drill everything up and go through the dimpling process. All the pieces looked great.
On to priming, Prekote the pieces over lunch allowing me to set them out to air dry for about 5 hours. After work I got right outside, mixed the primer and did my spraying, coming inside between coats so I didn't feel rushed to keep spraying. Priming at a minimum takes about 2 hours no matter how small the batch is. A lot of that is just waiting for the priming to 'pot' for 30 mins or the 10 mins between coats. I do about 2 coats per side, then check for any missed spaces usually requiring another 2 coats on those spots. So all in all that's about an hour of spraying... then you have the Precoat process on the front end and cleaning on the back end... so about 2 hours.
After letting the primer dry for about a day it's time to start getting these parts put back together. You're able to rivet the horns and the spar piece to the skins but only the bottom rivets. You also rivet the side tabs, the instructions were a bit confusing on this in that I didn't know if those holes should be dimpled or not. It talks about dimpling all the #40 holes which I did before I primed but didn't dimple the tabs because they are #30... Second guessing this I looked at some other builder logs and pictures and some looks dimpled but I couldn't tell. Decided it only made sense to do the same as the elevator tabs and go ahead and dimple these.
You end up with a bit of a sandwich piece where you can test fit the ribs before you secure them in place. To secure them you use the same sealant mixture you used on the elevator ribs. It can be very messy but using gloves and being careful you can do it without too getting it all over the place.
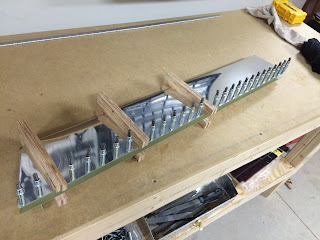
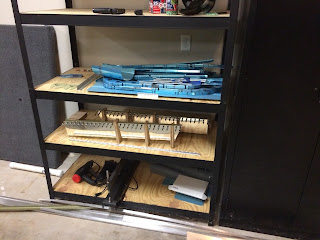
After that you cleco the top skin on and use the wood forms you made to secure everything in place. Then place it on a shelve for the 3-4 day curing time.
After over 3 days I decided to go out and do some work, my intent being to only put about an hour in. This hour turned into longer and I was able to finish the trim tab.
Nothing mind blowing here, just worked through the last page of the plans starting with splitting a long hinge piece into two pieces and then cutting those down to size. Then you need to drill some #40 holes in the ends which will be used to help line the piece up for match drilling. After securing that piece to the elevator you get it positioned and drill the other end.... then the middle... then work your way from the middle out to the ends, match drilling and cleco'ing as you go along.
You do the same thing with each trim tab. I didn't take any pictures apparently, but the process is the same. Cleco it to the starting hole, position it to drill and cleco on the other end... then one in the middle and work your way down. Then you mark the outboard ends because you'll need to trim them.
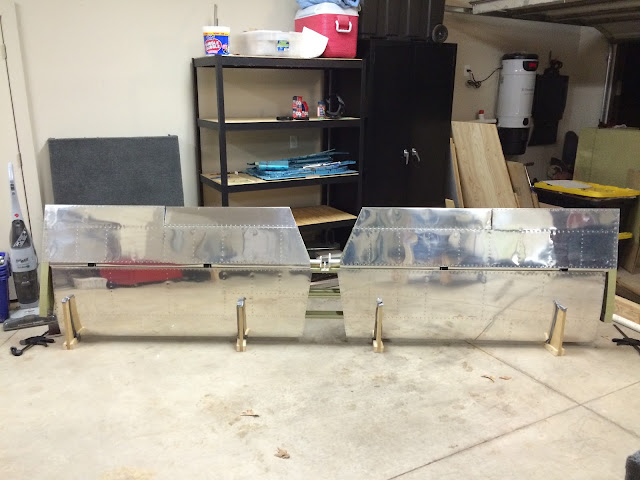
You literally pull the hinge pins out separating the trim tab from the elevator but keeping the hinge piece on. I took these hinge pins and put them in the freezer... why you ask? Well the idea is by getting the pin cold it will shrink just enough to make reinsertion easier. I've done this with bolts and what not, so I assumed it would work for this.
With the pieces separated I worked one piece at a time but removing the hinge. I then cut the hinge to size, deburred each piece from my match drilling, ran a scotch bright underneath both the elevator hinge and trim hinge placement area. Sprayed each piece with the air hose to ensure no metal was loose anywhere and got to riveting. I was able to use the pneumatic squeezer for all these rivets. I found the best way to do it was to cleco every other hole, start in the middle by riveting a single rivet. Then working outboard take a cleco out, secure two rivets, rinse, repeat until each piece is done.
Once all the hinges were riveted together I took a frozen pin out and was able to attach both pieces fairly easily. I just used my hands to push it about 80%, then used a hammer to tap the end until I had about 1/8 of an inch coming out on the inboard side. The final part is drilling a small 1/16" hole and bending the remaining hinge pin in the below manner and safety wire to the hole. I'll do this later, I've safety wired several things but not sure if aviation safety wiring is different so will do some research and then go do it at some point.


looks like you did not prime the hinge. Why or why not should one prime the hinge?
ReplyDeleteIt ended up primed and painted in the end.
Delete