
Tailcone |
| Section 10 |

Onto the tailcone... well the first step requires you to take a bracket and tap it for a 3/8th machine thread... problem is I don't have a tap set, my neighbor doesn't have a tap set and a buddy of mine has one but not sure he has one that large. So I got online to fine one and it in my search I found that I could spend $25 for a quality tap and handle or I could pay $8 and just order the part already threaded from Cleavelandtool. Since I'm doing the Quick Build wings I only need one of these tie-downs but I did go ahead and get 3 powder coated tie down rings from them as well.

The next several pages of the plans deal with shaping some pieces and starting to form up the substructure parts. I had some foul ups on match drilling some parts. Was able to just make another piece and move on. When dealing with the Jchannel material you'll have some excess that allows you to do this so if you mess up on it go ahead and cut another piece from the end of one of the shorter pieces.


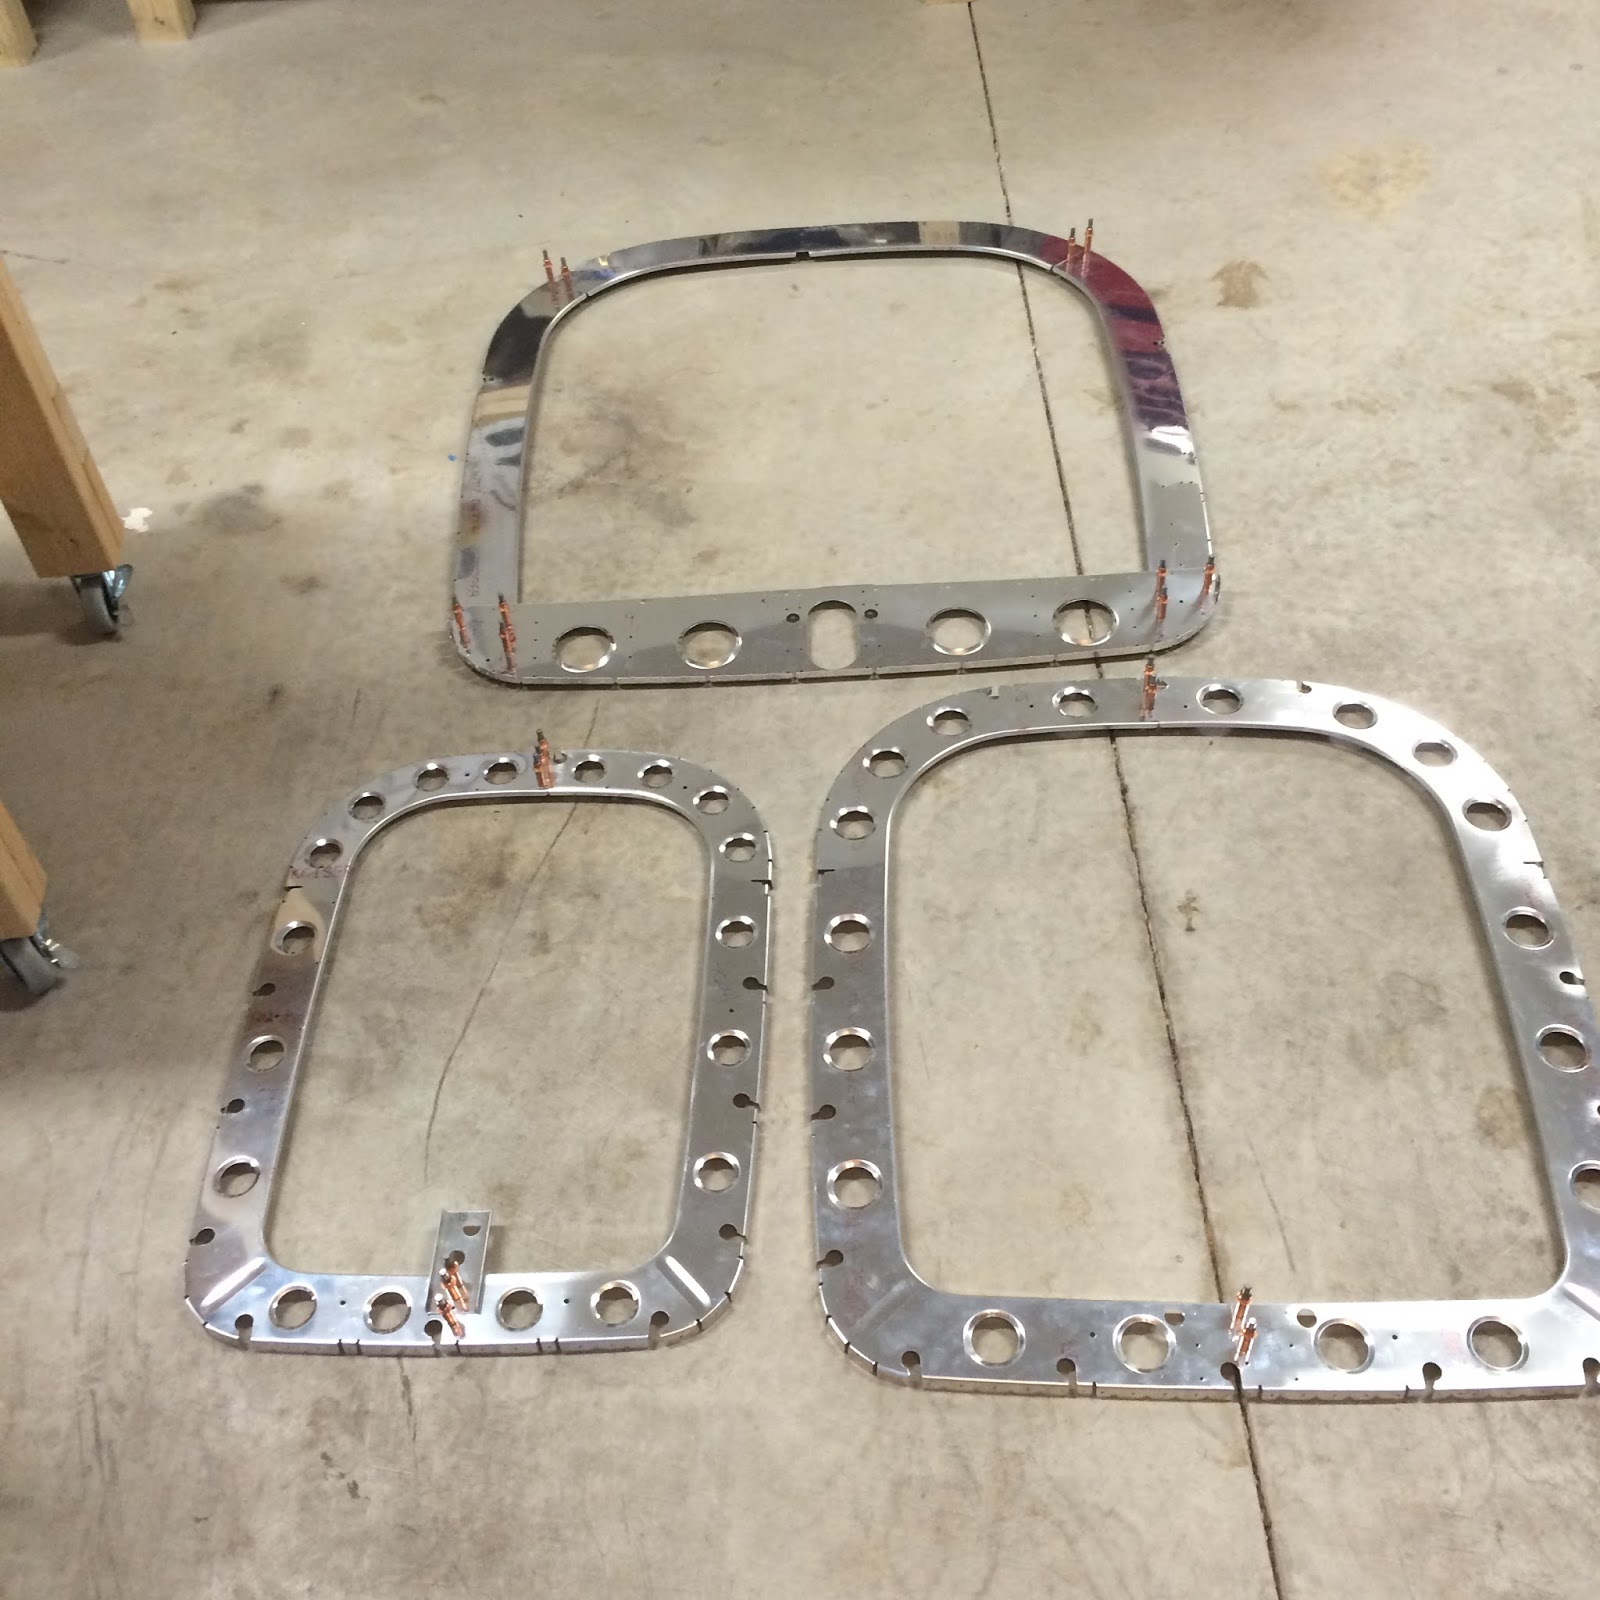
I set the above pieces aside and then got working on the ribs and jchannel pieces. The ribs require a substantial amount of deburring. I also went ahead and put some flutes in just to help keep the pieces flat. After that just position and match drill the pieces... interesting note is apparently there were some steps removed because on one of these the plans jump straight to Step 3.
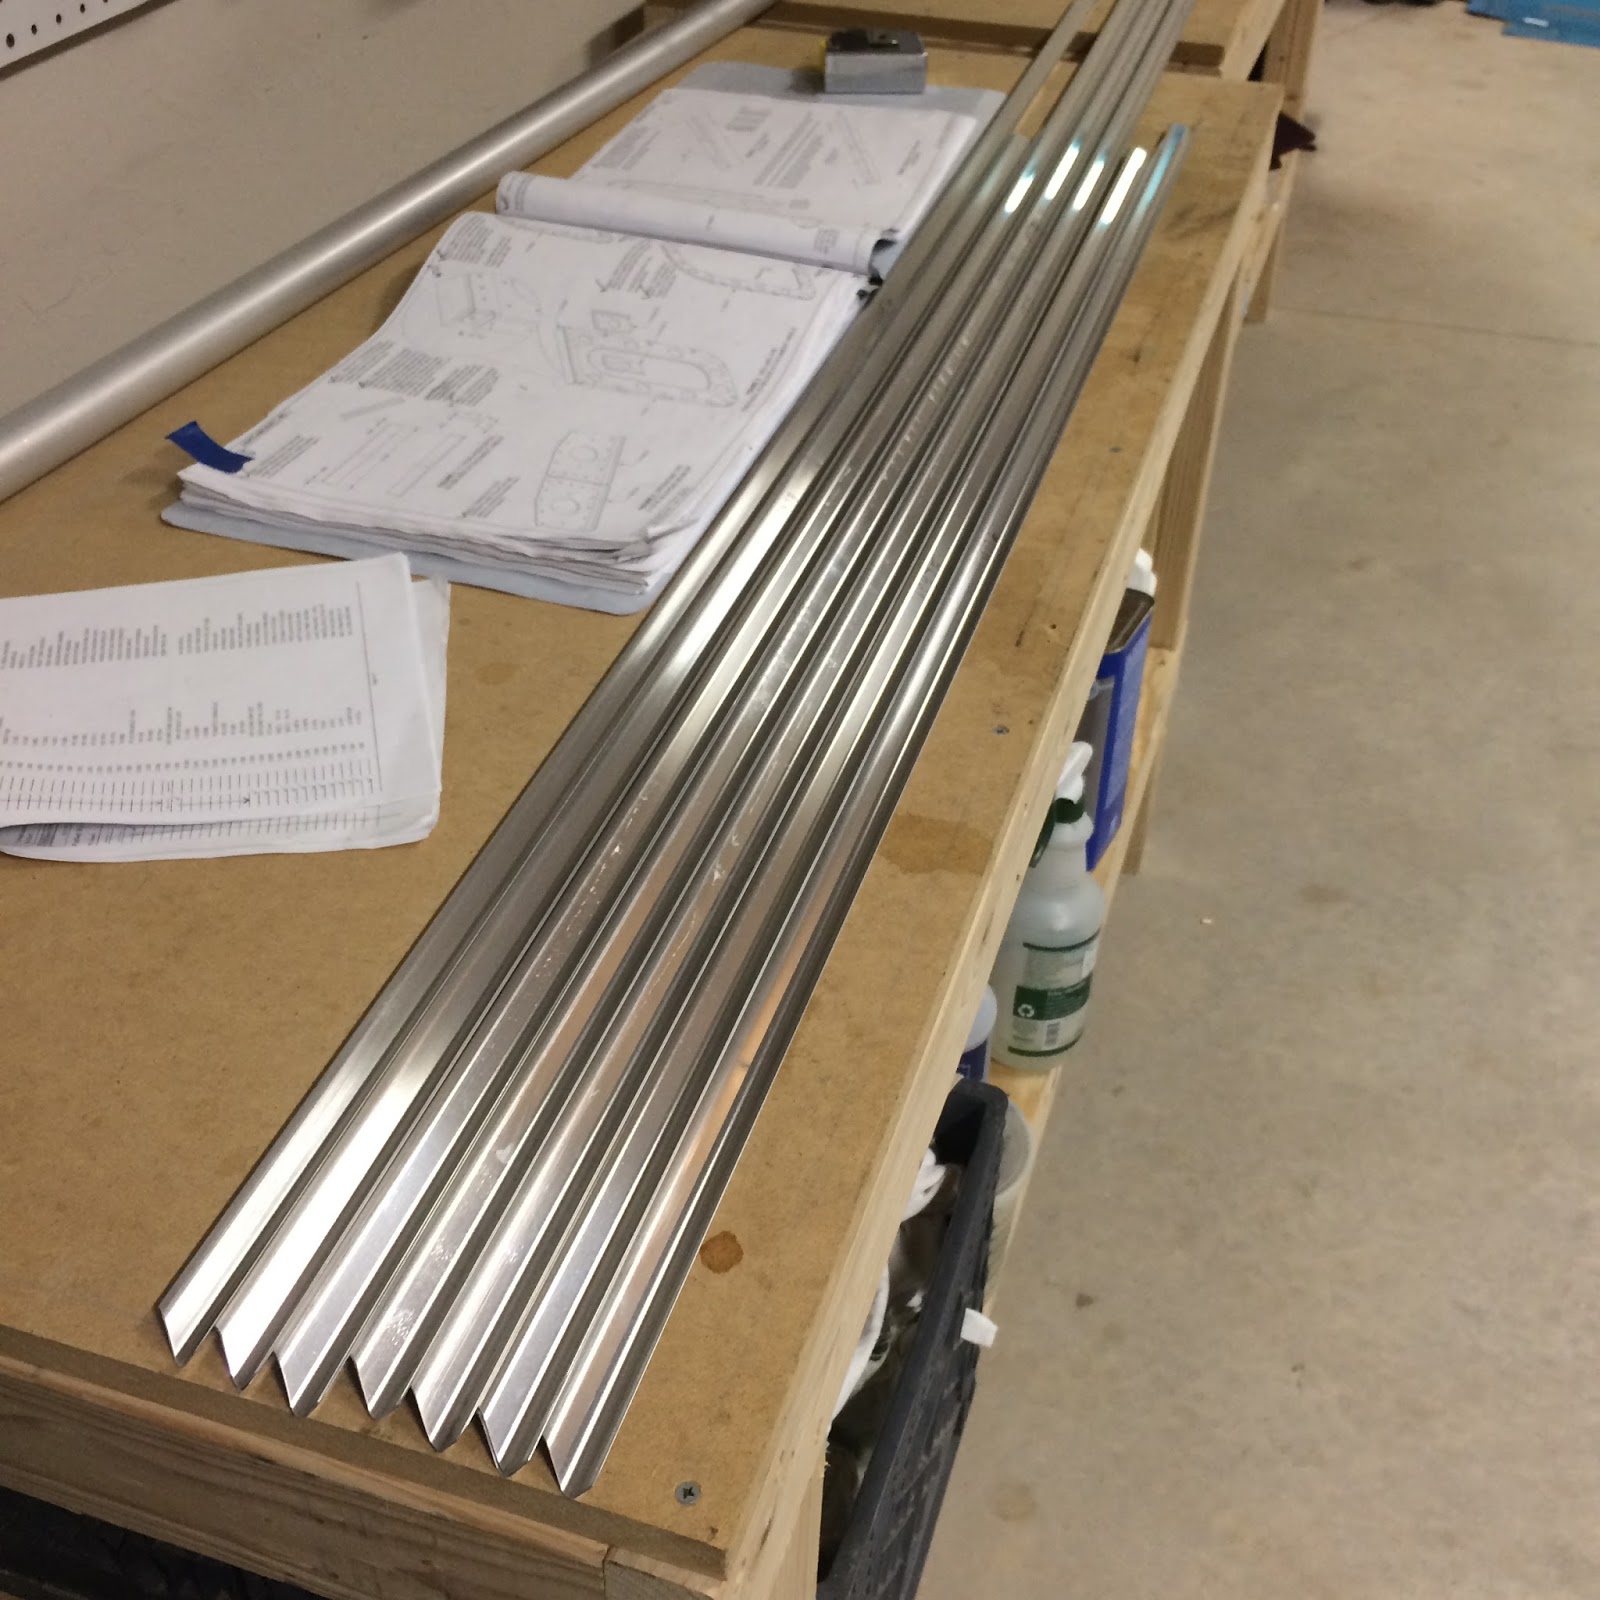
The Jchannel pieces are fairly time consuming. Each piece has to be cut to length, have each end cut on a 45, deburred and then a series of lines drawn on the back side for positioning later.
 |
| 12 pieces overall, some are stacked. |
Interior Paint Test
Another note of endless debate is what to do with the interior of the plane. You can keep it aluminum, use one of the many primer choices available or in my case you a shake can(s) of Rust-Oleum all over the place. You might be able to source the paint local but I didn't have any luck. Prior to committing to a case (6 cans) from one of the big box retailers I wanted to get a single can to test it out.
This came as a suggestion from a plane builder who did similar on his RV-8. An RV-8 is going to have a lot more metal showing than an RV-10 but I wanted some consistent coloring just for aesthetics. On top of that using a shakey can of spray paint makes for easier touch-ups as things get scratched or you make changes down the line.
One of my mistake pieces had already been primed before I discovered my issue so I used that as a test piece. Did multiple coats from 1 - 4 light coats along the piece and settled at 3 light coats being the best. Any less and the primer comes through, any more and it's not noticeable.
 |
| Happy with the color |
No comments:
Post a Comment
Note: Only a member of this blog may post a comment.