
Cessna Repair
A tad bit off the subject of the RV-10, however it's relevant to the education process of building a plane in general. December means its time for the annual inspection on my second favorite project plane, a 1977 Cessna 172N 180 HP conversion... for reference here's a before and after picture.... |
| Before |
 |
| After |
I've remained fairly involved in the maintenance of the plane over the last year so no surprise to the A&P that I wanted to be involved this year on the annual. A lot of my contribution consists of doing small tasks, ordering parts, helping hold various tools or doing the grunt work. I find similar with the plane build I'm continually learning which is always a good thing. In fact, as an owner/pilot it's incredibly important to be involved with your aircraft. Especially when it's something that carries your family and friends around in the sky.
On this year's annual there are some minor repairs, some new parts that were ordered and some items to keep an eye on. On the lower cowl there were a number of rivets that have worked their way loose and in several spots fell completely out. One thing about having a fresh paint job is the loose or failing rivets are easily noticed. I decided to use my new-found knowledge, tools and Vans rivets to see if I could fix it. I had meant to take some action pictures showing the process, but it literally took me all of 10 mins.
- Cleco'd the empty holes
- Drill out loose rivets
- Clean holes with #40 reamer bit, ScotchBrite, Acetone and compressed air
- Rivet with gun and bucking bar... proper sized rivet is determined using gauge.
- A&P inspects and is amazed at your structural mechanic skills!
 |
| Sorry for the dirty cowl.... |
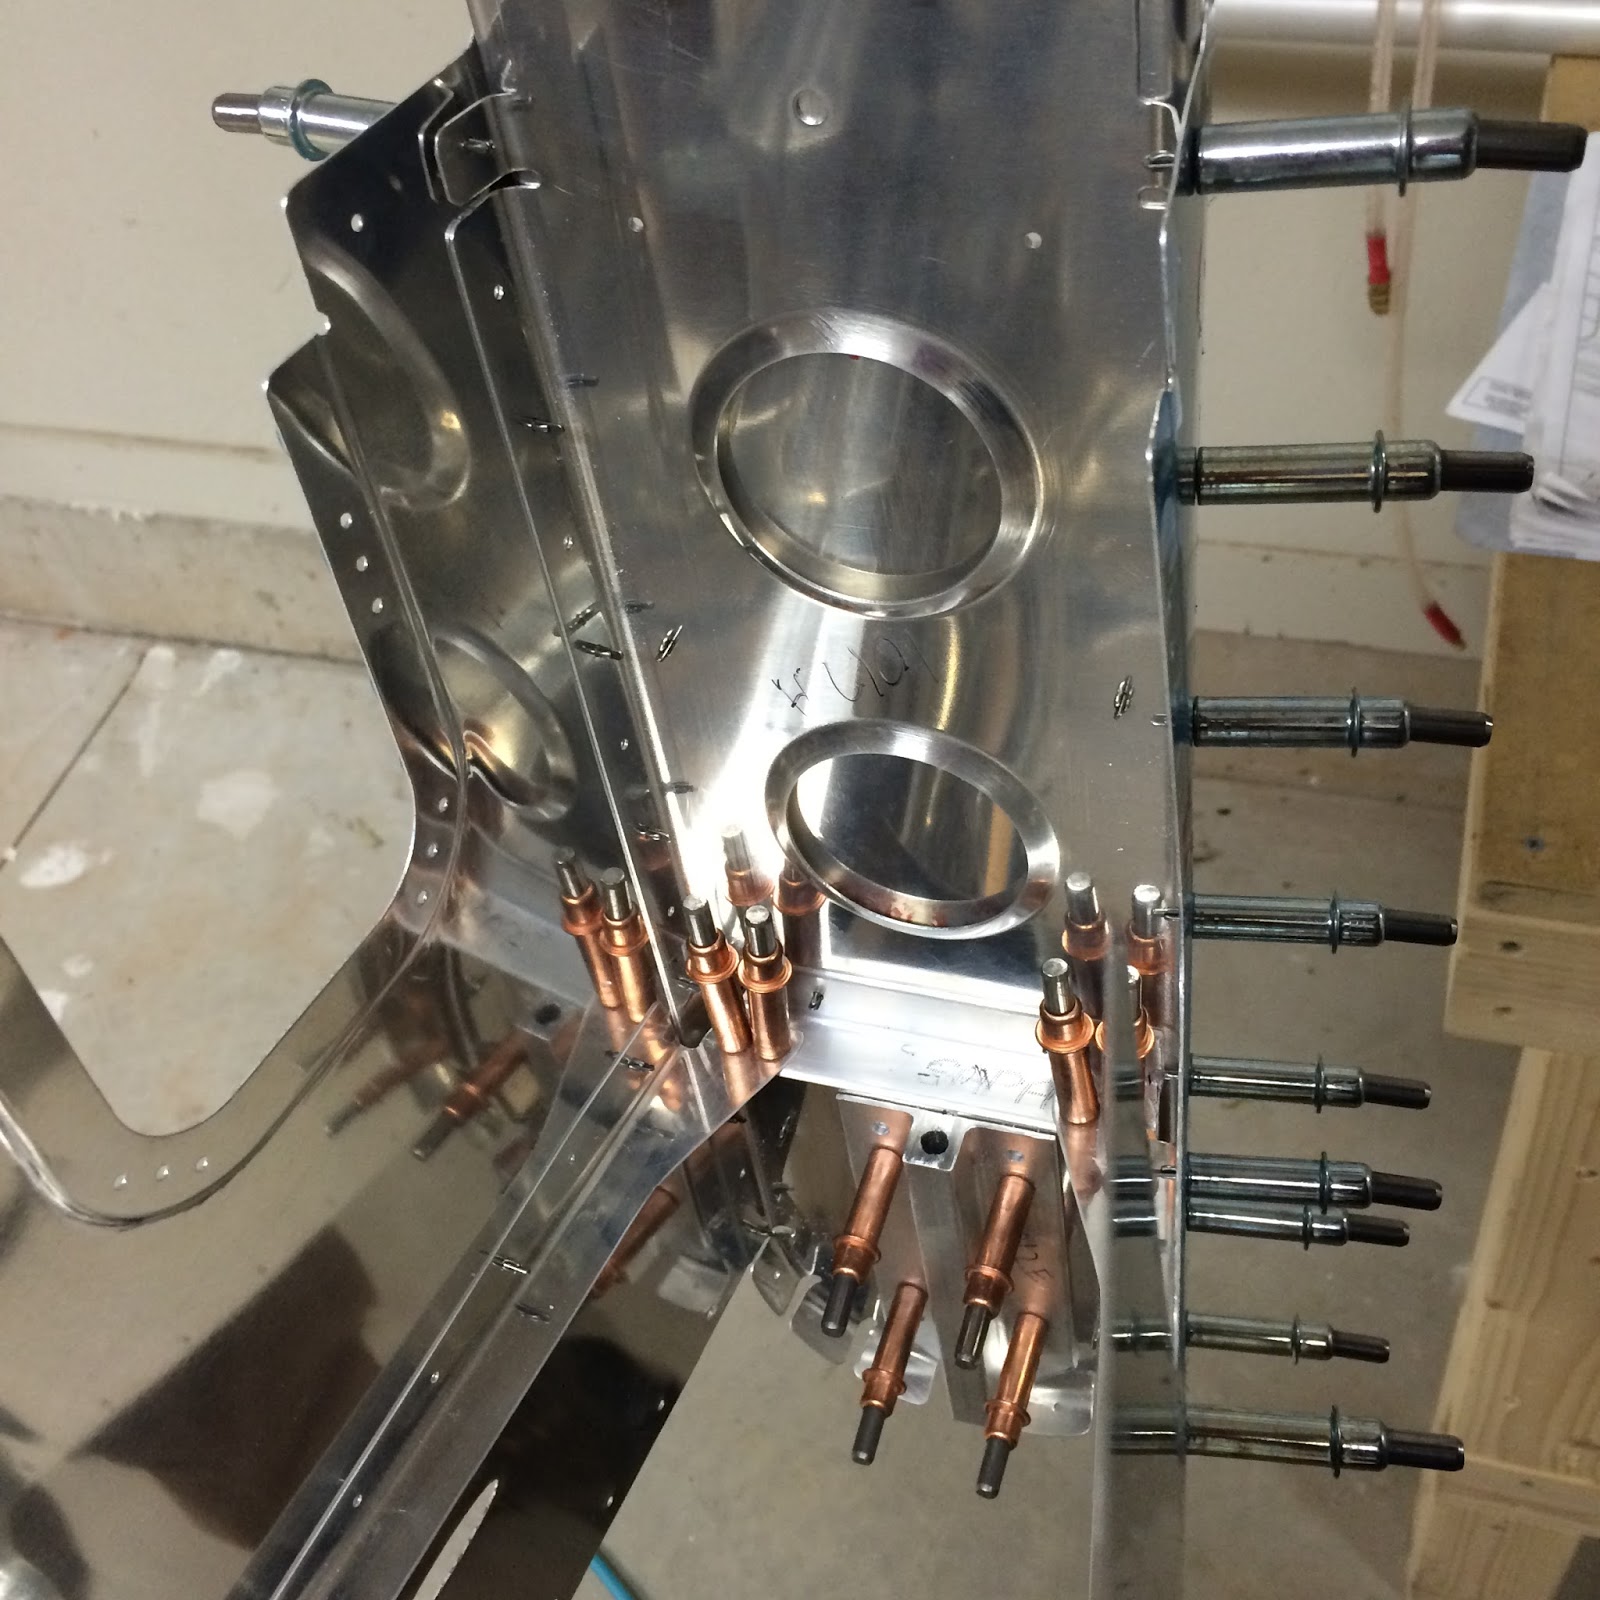
Tailcone
Now onto the RV-10 build. I had been looking forward to the tail cone for quite some time. While the other parts are extremely cool, nothing beats looking down the end of the tail cone in all it's shiny gloriousness. |
| Pretty! |
- Cleco Management - I had ordered 300 3/32 (Silver) clecos at the start of this project. Never really ran into any type of shortage issue until I got to the tail. You have to start getting rather crafty in harvesting clecos from completed areas... take too much and you can't ensure alignment... don't take enough and you can't complete tasks. My process was to start removing from the bottom then work to the sides.
- 3/32 vs #40, 1/8 vs #30 bit - I was under the incorrect assumption that these were synonymous with each other. I for whatever reason thought when the plans were telling you to use a 3/32 that that meant use a #40. After a discussion on VAF my ignorance was pointed out and I was able to correct it. The reason you drill once with a 3/32 and then again with a #40 is because this is done when you're overlapping two skins. So 3/32 will get the first skin cleco'd in and the final drill with the #40 ensures a snug fit.


Now comes the action! You start clecoing the frame ribs to the base of the tail. Lacking saw horses I tried several methods of working with the pieces.


 |
| This was the winner in the end. |


 |
| Reminds me of a canoe |

Hard to tell in the picture but this part is you make some more brackets and attach them to the bell-crank ribs. Not to give it away but as you can tell by the perfectly countersunk holes this will end up being an access panel for this area.

After you have some rigidity to the tail you are able to put the rest of the aft piece in place. This includes match drilling to 3/32 the longerons to the side skins. It's extremely snug when you do this and your hand will be in some pain afterwards from pushing in the clecos.
It all goes together very nicely, however don't forget to put the small skin piece under the tail tie down area. For whatever reason I missed this and didn't discover it until I was looking over the plans in bed and immediately went to the garage and corrected it. Nothing major because I hadn't match drilled it yet and it didn't affect the leveling at all.

You get to a point on the tail cone assembly where you can't work on it sitting on a work bench anymore. Unless I suppose you're freakishly tall which in that case you might not fit in the plane when it's completed anyhow. I'm not a fan of just setting stuff on my garage floor so I took the container my replacement HS spar came in and re-purposed it to a little platform along with some scrap ply wood.

Setting the tail on the platform allowed me to work through and attach the top skins, match drill and final drill everything together. It becomes a little challenging to match drill the stiffeners solo so it helps to have an extra set of hands come either drive the drill or align the line in the holes. In the end you have a pretty cool piece.
 |
| Not looking forward to taking this all apart.... |
No comments:
Post a Comment
Note: Only a member of this blog may post a comment.